
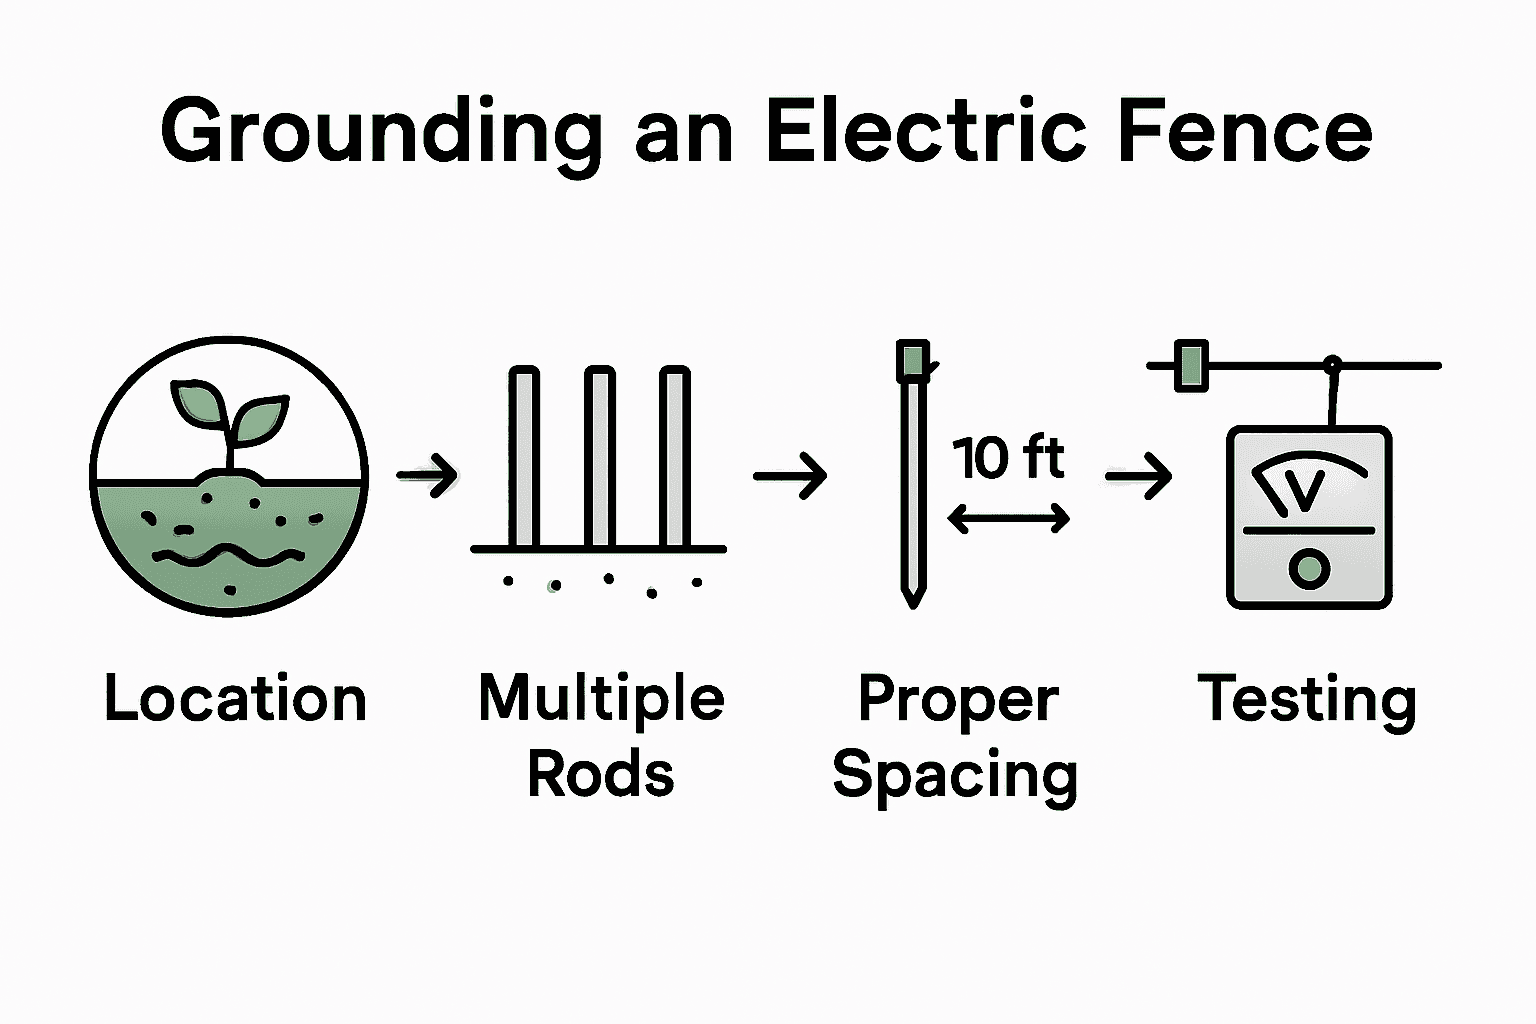
A poorly grounded electric fence will lose up to 80 percent of its power, leaving your property and animals at risk. The right grounding setup matters because it ensures safety, consistent performance, and peace of mind every day. Discover practical tips that help you choose the best location, gather quality materials, and install your grounding system so your fence works efficiently from the start.
Quick Summary
| Key Point | Explanation |
|---|---|
| 1. Choose a damp, shaded area | Locate the ground rod in consistently moist soil near roof eaves for optimal electrical conductivity. |
| 2. Use at least three ground rods | Gather three galvanized steel rods for effective grounding; adjust quantity based on energizer power output. |
| 3. Space rods at least 10 feet apart | Install ground rods at least 10 feet apart to ensure maximum efficiency and conductivity across the system. |
| 4. Connect with continuous galvanized wire | Ensure all ground rods are connected using continuous galvanized wire and secure clamps to avoid corrosion. |
| 5. Test voltage for safe operation | After installation, test voltage between the ground rod and soil; keep readings under 500 volts for safety. |
Table of Contents
- Step 1: Select An Optimal Grounding Location
- Step 2: Gather Essential Grounding Materials
- Step 3: Install Grounding Rods Correctly
- Step 4: Connect Fence And Grounding System Securely
- Step 5: Test Grounding Efficiency And Adjust
Step 1: Select an Optimal Grounding Location
Choosing the right grounding location is your first critical step in setting up an electric fence that performs safely and effectively. This process involves more than randomly picking a spot your ground rod will go into the earth.
According to research from Virginia Tech Extension, you want to place your ground system strategically about 33 feet away from utility grounds, service boxes, and metal water pipes. The goal is finding a location with consistently moist soil that will maximize electrical conductivity.
Ideal ground locations typically share a few key characteristics. Look for areas that stay naturally damp such as spots near roof eaves or in consistently shaded regions. As Kencove Fencing recommends, position your ground bed close to your energizer somewhere between 20 and 30 feet away. Avoid dry, sandy, or rocky terrain that will reduce your grounding system’s performance.
Pro Tip: Test your soil moisture before installation. A simple method is to dig a small hole and check if the soil feels consistently damp when you touch it.
When selecting your spot, also consider underground utilities. Stay at least 50 feet from buried electrical lines or water pipes to prevent potential interference or safety risks. A bit of careful planning now will save you significant headaches down the road.
Here’s a summary of optimal and poor locations for installing ground rods:
| Ground Rod Location Type | Recommended? | Key Characteristics |
|---|---|---|
| Damp/shaded area Near roof eaves |
Yes | Moist soil Consistent shade Good conductivity |
| Area 20-30 ft from energizer | Yes | Close enough for efficient wiring |
| 33+ ft away from utility/metal pipes | Yes | Prevents interference and safety risks |
| Dry, sandy, or rocky soil | No | Poor conductivity Dries out quickly |
| Less than 50 ft from buried utilities | No | Potential interference and hazards |
With your optimal ground location identified, you are ready to move forward with installing your ground rod and completing your electric fence grounding system.
Step 2: Gather Essential Grounding Materials
Before you start installing your electric fence grounding system, you will need to collect the right materials. Getting prepared means understanding exactly what equipment ensures a safe and effective ground setup.
According to research from Virginia Tech Extension, you will want to gather at least three galvanized steel ground rods. The number of rods can vary depending on your energizer output. For a more powerful 25 joule system, you might need up to five rods.
When selecting your ground rods, focus on specific details. Farm Stand App recommends using galvanized steel rods that are ½ to 5/8 inches in diameter and six to eight feet long. For areas with dry soil or more demanding electrical systems, consider even longer rods up to 8 feet with a ¾ inch diameter.
Pro Tip: Always use unbroken galvanized wire and matching clamps. Avoid mixing different metals to prevent potential corrosion and reduce grounding effectiveness.
Your materials list should include:
- Galvanized steel ground rods (6-8 feet long)
- High voltage rated connecting wire
- Ground rod clamps
- Sledgehammer or post driver
- Measuring tape
With these materials gathered, you are now ready to move forward and start installing your electric fence grounding system. Check that each component is in good condition before beginning your installation.
Learn more about ground wire selection in our complete guide to the best ground wire for electric fence.
Step 3: Install Grounding Rods Correctly
Now that you have gathered your materials, it is time to install the ground rods strategically to create an effective electrical grounding system for your fence. Proper installation is crucial for ensuring your electric fence performs safely and efficiently.
According to research from Virginia Tech Extension, you will want to drive multiple ground rods at least 10 feet apart. The number of rods depends on your energizer’s power output. For systems up to 15 joules, three rods installed deep in moist soil typically work well.
Grass Fed Solutions recommends a simple rule of thumb: install at least one ground rod per two joules of power. Each rod should be six feet long and buried deeply to ensure maximum conductivity.
Pro Tip: Always use a sledgehammer or post driver to install rods vertically. Avoid hitting the top of the rod directly to prevent damage.
When installing your rods, keep these key points in mind:
- Space rods at least 10 feet apart
- Ensure rods are in moist soil
- Drive rods at least six feet deep
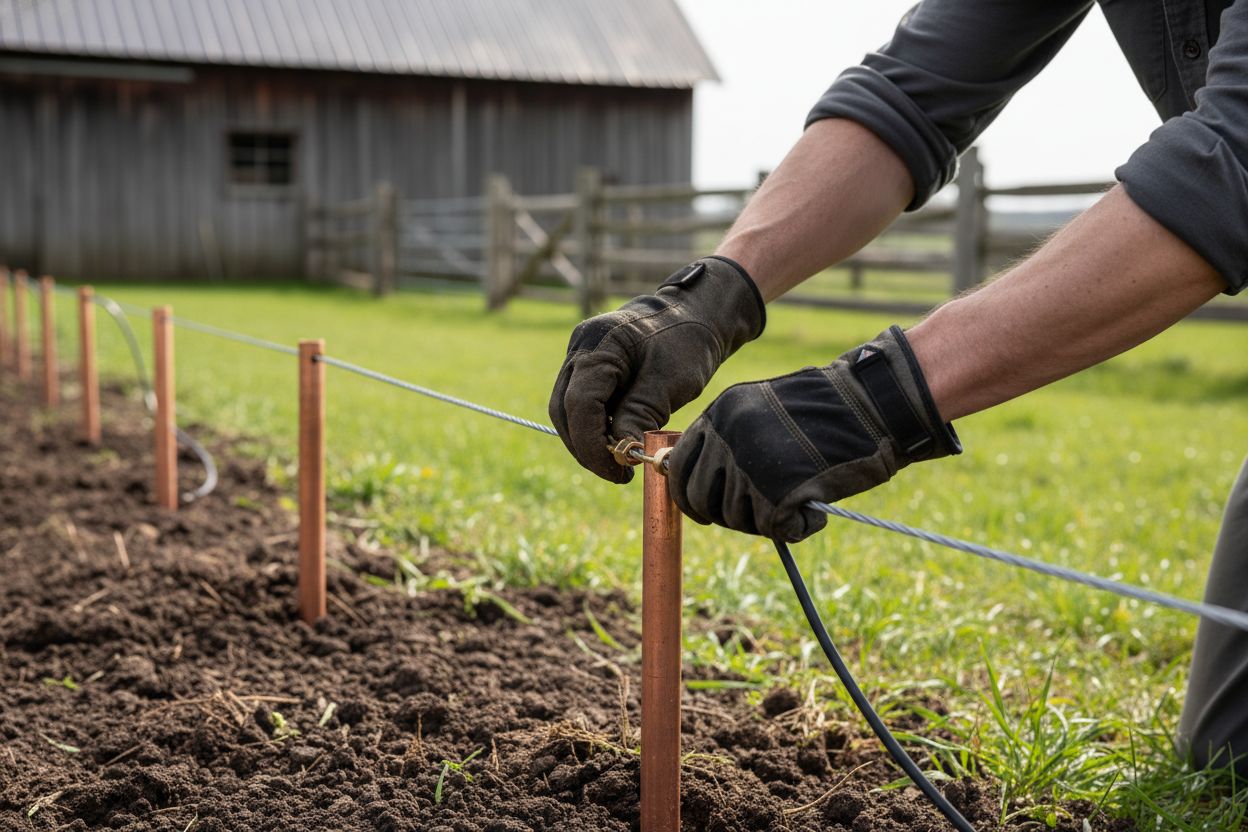
- Connect rods with a single unbroken galvanized wire
Avoid connecting copper materials with steel rods to prevent electrolysis and potential corrosion. A clean, consistent metal connection will provide the most reliable ground for your electric fence system.
If you are interested in alternative power solutions, check out our guide on installing a fence energizer solar system for additional insights into efficient fence power management.
Step 4: Connect Fence and Grounding System Securely
With your ground rods in place, the next crucial step is creating a robust and reliable connection between your electric fence and grounding system. A secure connection ensures your fence operates at peak performance and maintains electrical safety.
According to research from Virginia Tech Extension, you will want to use a single continuous wire to connect all ground rods. Ensure you use tight clamps and avoid mixing different metal types to prevent potential corrosion.
Farm Stand App recommends using heavy duty galvanized wire and secure clamps to maintain high voltage integrity. When running wire near buildings, switch to insulated lead out wire to protect against potential electrical interference.
Pro Tip: Double check all connections by gently tugging on wires to confirm they are tightly secured and will not come loose under tension.
Key steps for secure connection include:
- Use continuous galvanized wire
- Tighten clamps completely
- Keep wire runs as direct as possible
- Protect wire near structures with insulation
If you are looking to understand more about your electric fence setup, check out our guide to understanding electric fence basics for rural property to enhance your knowledge and ensure a professional installation.
Step 5: Test Grounding Efficiency and Adjust
Now that you have installed your grounding system, it is critical to verify its performance through systematic testing. A well-tested ground ensures your electric fence operates safely and effectively, protecting your livestock and property.
According to Datamars Livestock Support, testing your ground involves a straightforward process. Short the fence a significant distance from the energizer, turn the system on, and use a voltmeter to measure voltage between the farthest ground rod and a soil probe. Your target is keeping voltage under 0.3 kilovolts (300 volts).
Virginia Tech Extension recommends performing a load test by shorting the fence approximately 300 feet away to reduce fence voltage. Measure the voltage at the last ground rod. Ideally, this reading should remain under 500 volts.
Pro Tip: If your voltage readings consistently exceed recommended levels, consider adding more ground rods or treating your soil to improve conductivity.
Key testing steps include:
- Short the fence away from the energizer
- Use a reliable voltmeter
- Measure ground rod to soil voltage
- Compare readings to recommended standards
- Add ground rods if voltage is too high
If you want to dive deeper into understanding your electric fence setup, check out our guide to understanding electric fence basics for rural property for comprehensive insights into maintaining an effective system.
Upgrade Your Electric Fence Grounding with FenceFast.ca’s Proven Solutions
Are you frustrated by unreliable grounding that weakens your electric fence and jeopardizes livestock safety? Proper earth grounding is critical for maximizing both safety and fence performance, as you discovered in this guide. Issues like poor soil conductivity, incorrect rod installation, or subpar connectors can leave animals unprotected and operators facing costly setbacks. It is essential to select the right components and follow best installation practices to avoid these problems.

Protect your investment and gain peace of mind with professional-grade materials and expert help from FenceFast.ca. Browse our selection of high-quality fencing connectors, wire, and grounding accessories engineered for Canadian conditions. Our online catalog makes it easy for farmers, ranchers, and rural landowners to find everything they need in one place. Want more advice before you buy? Explore additional tips in our guide to understanding electric fence basics for rural property. Don’t leave your fence’s performance to chance—visit FenceFast.ca now to secure safer, more reliable protection for your animals and property.
Frequently Asked Questions
How do I select the best grounding location for my electric fence?
Choosing the best grounding location requires finding a damp area, ideally about 20-30 feet from your energizer. Look for spots near roof eaves or shaded areas to ensure good conductivity.
What materials do I need for grounding an electric fence?
To ground your electric fence effectively, gather at least three galvanized steel ground rods, high voltage rated connecting wire, ground rod clamps, and a sledgehammer. Ensure that the rods are 6-8 feet long for optimal performance.
How should I install the grounding rods for maximum effectiveness?
Install your grounding rods at least 10 feet apart and ensure they are driven into moist soil at a depth of at least six feet. Use a post driver or sledgehammer to avoid damaging the rods.
What steps do I take to connect my electric fence to the grounding system?
Use a single continuous galvanized wire to connect all the ground rods securely. Tighten the clamps well and ensure that the wire runs are kept as direct as possible to maintain electrical integrity.
How can I test the efficiency of my grounding system?
To test your grounding system, short the fence away from the energizer and measure the voltage between the ground rod and a soil probe using a voltmeter. Aim to achieve a reading under 0.3 kilovolts to ensure optimal grounding performance.
What should I do if my voltage readings are too high?
If your voltage readings exceed the recommended levels, consider adding more ground rods or improving soil conductivity. This adjustment can help maintain a safe and effective electric fence system.

