Marking your property boundaries might sound like something only surveyors worry about and most people have never actually done it themselves. But a single misplaced stake can lead to big problems, including legal disputes and even conflicts with neighbors. Here is the shocker: over 65 percent of homeowners who get into property line disputes later discover their original boundaries were marked inaccurately. Knowing exactly where your property ends is not just about following the law. It can save you money and give you peace of mind.
Table of Contents
- Step 1: Gather Essential Tools And Materials
- Step 2: Research Property Deeds And Surveys
- Step 3: Identify And Mark Existing Boundaries
- Step 4: Install Boundary Markers Or Fencing
- Step 5: Verify And Test Boundary Accuracy
Quick Summary
| Key Point | Explanation |
|---|---|
| 1. Assemble Essential Tools | Gather survey equipment like measuring tape, stakes, and GPS for accurate boundary marking. |
| 2. Research Property Documents | Locate and review your property deed and survey for precise boundary information before marking. |
| 3. Mark Boundaries with Precision | Use flags, stakes, and paint to clearly define property lines according to legal documents. |
| 4. Install Permanent Markers | Choose sturdy markers or fencing to establish a visible and durable property boundary. |
| 5. Verify Boundary Accuracy | Conduct systematic checks and measurements to ensure boundaries align with legal descriptions. |
Step 1: Gather Essential Tools and Materials
Marking property boundaries requires careful preparation and the right set of tools to ensure accuracy and efficiency. Before you begin this critical task, assembling a comprehensive toolkit will make the process smoother and more professional.
Recommended Survey and Marking Equipment
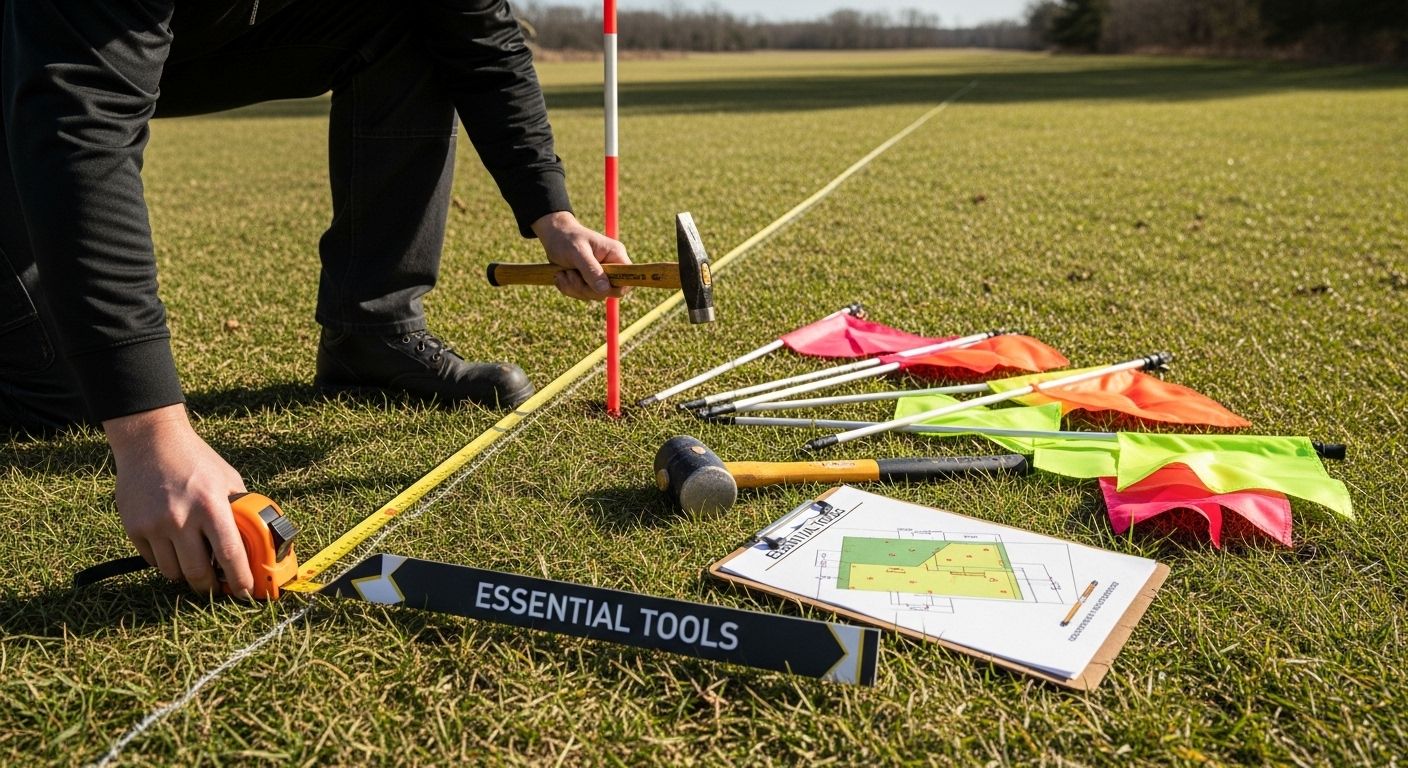
To successfully mark property boundaries, you will need a combination of precision instruments and durable marking materials. Your primary toolkit should include high-quality surveying equipment that enables precise measurements and clear demarcation. Start with a professional-grade measuring tape that extends at least 100 feet, preferably made of fiberglass or steel to withstand outdoor conditions. A laser distance meter can provide additional accuracy for longer distances, reducing measurement errors.
Your boundary marking kit should also include:
- Wooden or metal stakes for marking boundary points
- Brightly colored surveyor flags or marking tape
- Heavy-duty hammer or mallet for driving stakes
- GPS device or smartphone with GPS capabilities
- Compass or digital angle measurement tool
- Clipboard with property survey documents
- Waterproof marker or permanent paint
Preparation and Documentation Essentials
Beyond physical tools, gathering the right documentation is equally crucial. Locate your official property survey documents, which provide the legal description and precise measurements of your property lines. These documents are typically available from your local county assessor’s office or within your property deed records. ESRI’s Land Records Guide recommends maintaining digital and physical copies of these critical documents.
Before marking boundaries, confirm you have accurate and current property records. If your existing survey is older than 10 years, consider hiring a professional land surveyor to create an updated property map. This step ensures you are working with the most recent and legally recognized property line information.
Preparing thoroughly means you will approach boundary marking with confidence, precision, and legal accuracy. Take time to organize your tools, review documentation, and plan your marking strategy before venturing into the field.
Step 2: Research Property Deeds and Surveys
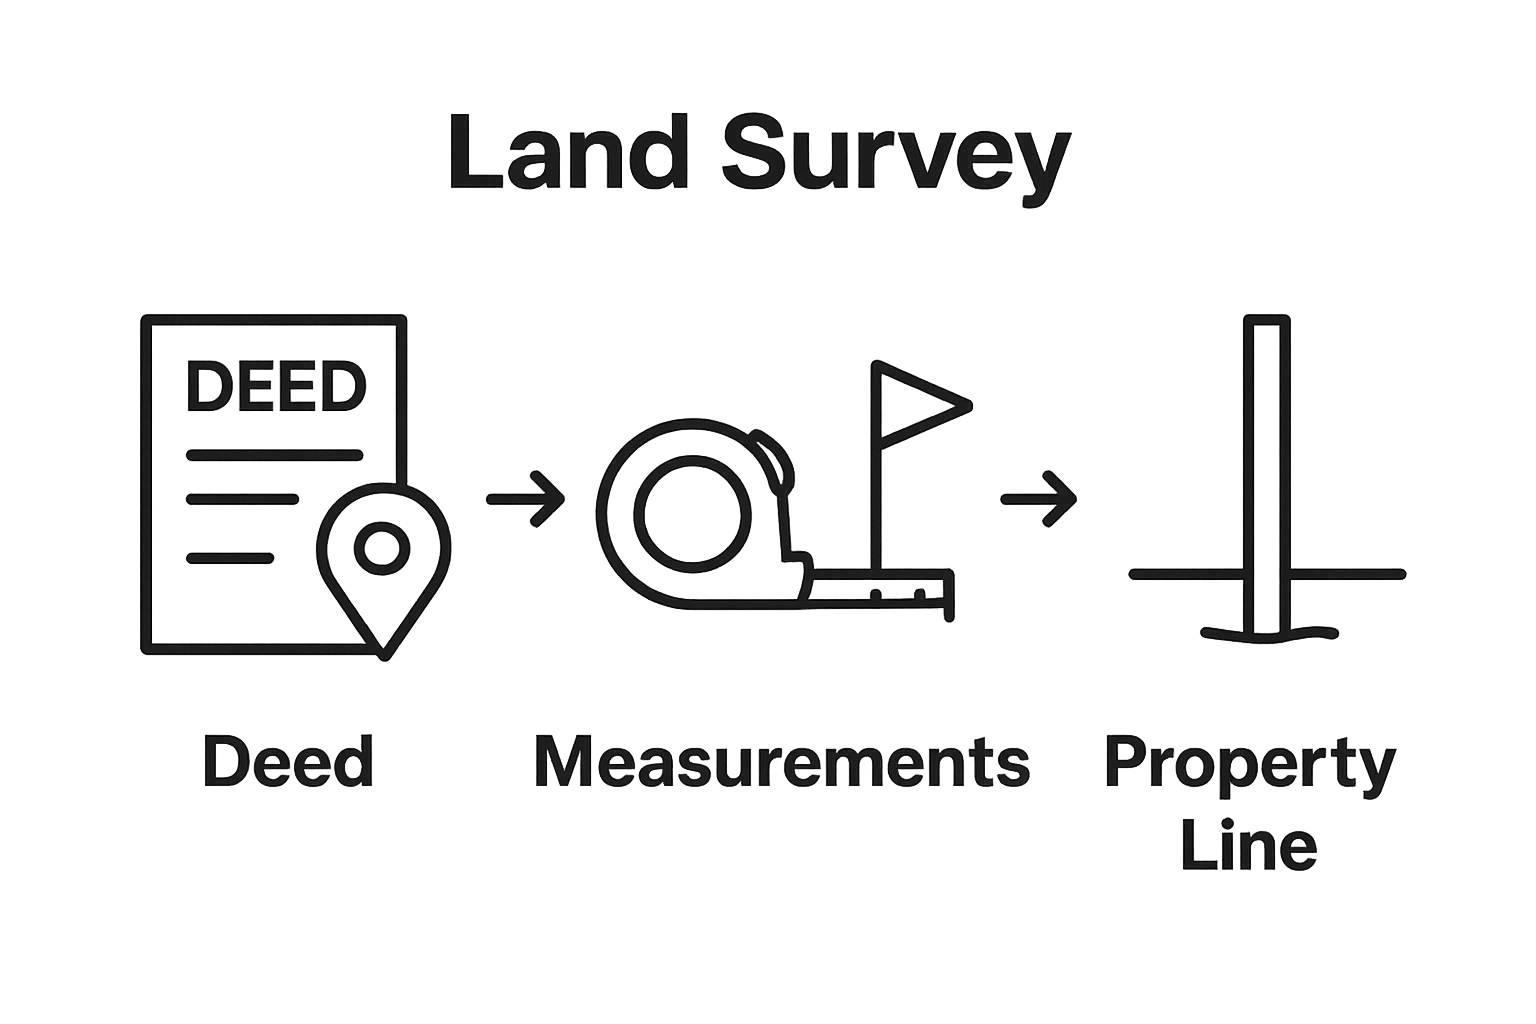
Researching property deeds and surveys forms the critical foundation for accurately marking property boundaries. This step transforms legal documentation into a clear roadmap of your property’s precise geographical limits, helping you avoid potential disputes and legal complications.
Locating and Interpreting Official Documents
Begin your research at the county recorder’s office or assessor’s website, where property records are meticulously maintained. These official repositories hold the most accurate and legally recognized documentation about your property’s dimensions and boundary lines. Prepare to invest time in carefully reviewing these documents, as they contain intricate details that will guide your boundary marking process.
When obtaining your property documents, request both digital and physical copies. Key documents to collect include:
- Original property deed
- Most recent property survey
- Plat maps showing neighborhood lot configurations
- Historical land records
- Tax assessment documents
Carefully examine these documents for legal property descriptions, which typically include metes and bounds measurements or lot and block references. These technical descriptions provide precise measurements and directional references that will help you accurately mark your property boundaries.
Professional Verification and Consultation
While self-research is valuable, consulting a professional land surveyor can provide definitive clarity. The National Society of Professional Surveyors recommends seeking expert guidance, especially if your property records are complex or outdated. A professional surveyor can interpret historical documents, resolve potential boundary ambiguities, and provide an authoritative boundary assessment.
Pay special attention to boundary markers mentioned in your documents, such as existing stakes, monuments, or natural landmarks. These physical references can corroborate the written descriptions and help you confirm boundary locations. Take detailed notes and photographs of these markers during your research phase, creating a comprehensive reference guide for your boundary marking project.
Successful completion of this research step means you have a clear, legally validated understanding of your property’s exact boundaries. Your collected documents and insights will serve as the definitive guide for the next stages of marking your property lines with confidence and precision.

Step 3: Identify and Mark Existing Boundaries
Identifying and marking existing property boundaries requires precision, patience, and a systematic approach. This critical step transforms your research and documentation into tangible, visible markers that clearly define your property’s physical limits.
Begin by carefully walking your property perimeter, comparing the ground reality with the measurements and descriptions from your property deed. Look for existing boundary markers such as old fence posts, survey stakes, stone markers, or permanent landmarks like large trees or rock formations. These physical indicators often provide the most reliable reference points for your boundary lines.
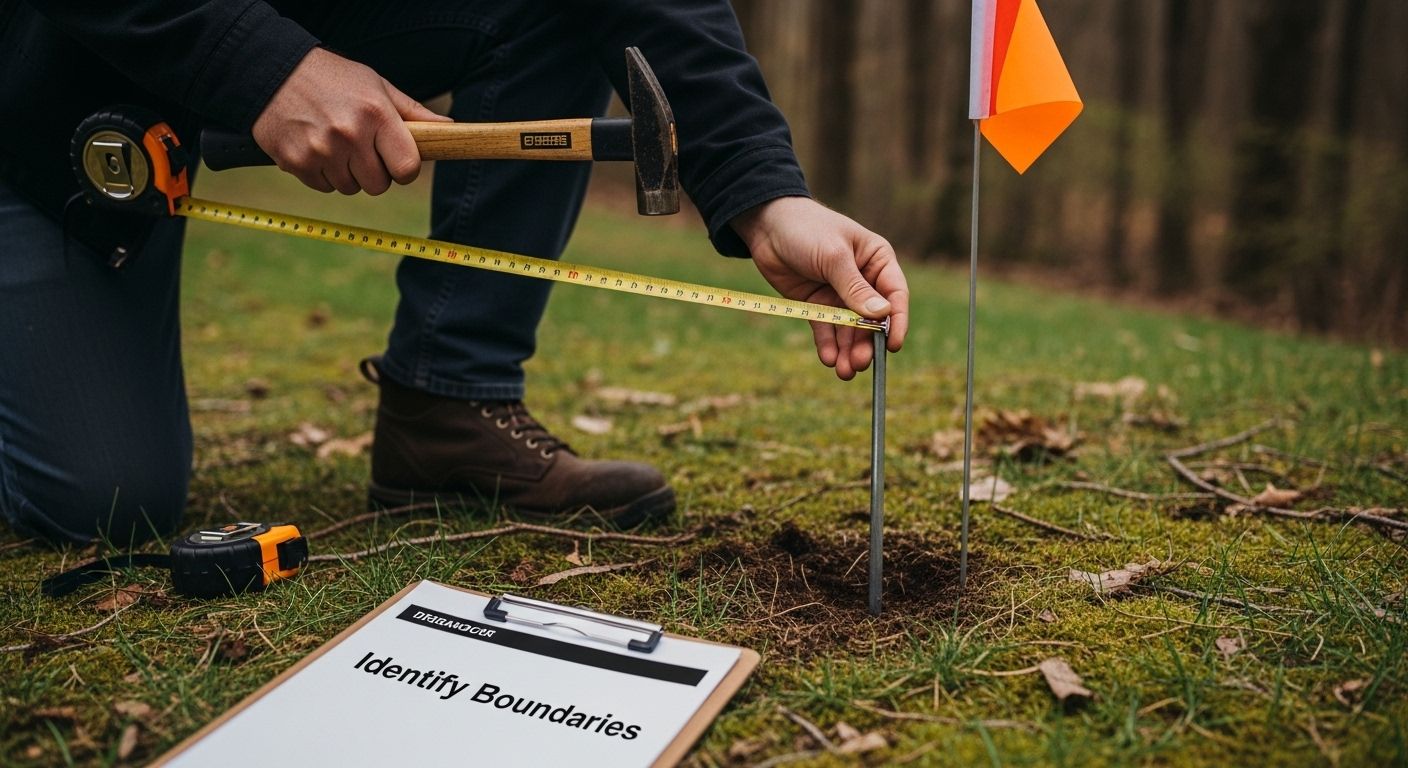
Using your compass, measuring tape, and property survey documents, start methodically marking the boundary line. Brightly colored surveyor flags are excellent for temporary marking, allowing you to visualize the entire boundary before making permanent installations. Place these flags at consistent intervals, ensuring they align precisely with the measurements from your legal documents.
When permanent marking becomes necessary, consider the following strategies:
- Drive wooden or metal stakes at critical boundary points
- Use permanent marking paint on trees along the boundary line
- Install durable boundary markers that can withstand weather conditions
- Create clear sight lines between markers to establish a straight boundary
Clemson Extension Forestry and Wildlife emphasizes the importance of accuracy during this process. Take multiple measurements and cross-reference your markings with your property deed to ensure precision. Pay special attention to corners and turning points, as these are often the most complex areas to mark correctly.
If you encounter any uncertainty or challenging terrain, do not hesitate to consult a professional land surveyor. Some property boundaries might involve complex geographical features or require specialized equipment to mark accurately. A professional can provide definitive guidance and help you avoid potential boundary disputes with neighboring properties.
Successful completion of this step means you have created a clear, visible representation of your property boundaries that matches your legal documentation. Your markers should be consistent, visible, and strategically placed to provide a comprehensive outline of your property’s limits.

Step 4: Install Boundary Markers or Fencing
Installing boundary markers or fencing represents the most tangible and permanent method of defining your property limits. This crucial step transforms your earlier research and marking efforts into a clear, physical demarcation that communicates your property boundaries to neighbors and potential visitors.
Begin by selecting appropriate boundary markers that match your property’s terrain and aesthetic requirements. For rural or agricultural properties, sturdy wooden or metal stakes provide a durable solution. Concrete markers with embedded metal tags offer long-term precision, especially in areas with challenging environmental conditions. Consider the visibility and permanence of your chosen markers, ensuring they can withstand local weather patterns and potential environmental stress.
When installing markers, maintain absolute precision by referencing your property survey documents. Use your measuring tape and compass to confirm each marker’s exact placement. Drive stakes or set concrete markers deep enough to prevent shifting, typically at least 12 to 18 inches into the ground. Space markers at regular intervals, with additional placements at critical points like property corners or significant directional changes.
For properties requiring more substantial boundary definition, fencing becomes an excellent option:
- Select fencing materials compatible with your landscape
- Choose weather-resistant posts and wire
- Ensure fence alignment matches legal property boundaries
- Consider terrain challenges during installation
- Maintain consistent post spacing
Pay special attention to boundary lines that intersect with natural features like streams, tree lines, or slopes. These areas often require additional planning and potentially more complex marking strategies. You might need to combine multiple marking techniques, such as using both stakes and fencing to create a clear boundary.
National Association of County Officials recommends consulting with adjacent property owners before final installation, fostering good neighborly relationships and preventing potential boundary disputes. While you are not legally required to obtain permission, communication can prevent misunderstandings and create a collaborative approach to property boundary definition.
Successful completion of this step means you have created a clear, permanent boundary that accurately reflects your property’s legal description. Your markers or fencing should provide an unambiguous visual representation of your property lines, serving both practical and legal purposes in defining your land’s precise limits.
Step 5: Verify and Test Boundary Accuracy
Verifying and testing boundary accuracy represents the final critical checkpoint in your property boundary marking process. This step ensures that all your previous efforts translate into a legally defensible and precisely documented property demarcation.
Begin by conducting a comprehensive systematic review of your boundary markers and measurements. Utilize multiple verification techniques to cross-reference your initial markings. Start with your GPS device or smartphone mapping application, comparing digital coordinates with your physical markers. These technological tools provide an additional layer of precision beyond traditional measuring methods.
Carry your original property survey documents during this verification process, comparing each marker’s location against the legal description. Precise measurement is crucial. Use your measuring tape to confirm distances between markers, checking that they align exactly with the documented metes and bounds or lot measurements. Pay extra attention to angles and turning points, as these are often the most complex areas where measurement discrepancies can occur.
Below is a checklist table summarizing key verification steps for ensuring your property boundaries are accurate after marking. Use this table as a reference to confirm each task is completed.
| Verification Step | What to Do | Why Its Important |
|---|---|---|
| Measure distances between boundary markers | Measure multiple times between all markers | Confirms consistency and adherence to survey |
| Confirm GPS coordinates match documentation | Use a GPS device or app to verify markers’ coordinates | Ensures geographic accuracy with legal docs |
| Check marker visibility and stability | Inspect every boundary marker for placement and durability | Prevents disputes, maintains clear boundaries |
| Verify alignment with original survey | Compare marker locations to the original property survey | Aligns markings with legal property lines |
| Photograph each marker for future reference | Take clear photos of each installed boundary marker | Provides documentation if disputes arise |
| Document all measurements and corrections | Record all findings, measurements, and any adjustments made | Creates a defensible record for future needs |
Key verification steps include:
- Measure distances between boundary markers multiple times
- Confirm GPS coordinates match legal property descriptions
- Check marker visibility and stability
- Verify alignment with original survey documentation
- Photograph each marker for future reference
If you discover any discrepancies during this verification process, do not ignore them. Minor variations might require remeasuring or repositioning markers. Significant differences could indicate a need for professional surveyor consultation to resolve potential boundary line conflicts.
Land Survey Professional Association recommends documenting your entire verification process. Create a detailed report including measurements, GPS coordinates, photographs, and any adjustments made. This documentation serves as valuable evidence of your diligence and can be crucial if future property line disputes arise.
Successful completion of this step means you have a thoroughly verified boundary marking that meets legal standards and provides clear, accurate property line definition. Your careful verification process transforms initial boundary marking into a precise, defensible property demarcation that protects your land ownership rights and prevents potential future conflicts with neighboring properties.
Mark Property Lines with Precision – Gear Up for Success
Marking property boundaries on rural or agricultural land comes with high stakes. As the article highlights, even small errors in marking boundaries can lead to confusion, neighbor disputes, or future legal complications. Whether you’re installing wooden stakes, setting up permanent fence lines, or verifying your property’s metes and bounds, you need robust, reliable tools to do the job right. If you ever worry about using the wrong measurement tools or finding fencing components that last through harsh Canadian weather, you are not alone. Many landowners face these same concerns, especially when clarity and legal accuracy matter most.
Build confidence with the right supplies from the start. At FenceFast.ca, you’ll find top-tier solutions for fence construction and property demarcation. Choose from premium measuring tapes, GPS-ready tools, durable stakes, and the toughest fencing hardware for all terrains. Our user-friendly shopping experience lets you explore products tailored to marking, building, and maintaining property boundaries—plus expert advice and nationwide shipping to your door.

Ready to stop second-guessing your boundary lines? Visit FenceFast.ca now to shop dependable marking and fencing supplies trusted by farmers and rural property owners across Canada. Take the next step toward peace of mind by equipping yourself with long-lasting tools that help you protect your investment. Shop today and start your project with clarity and confidence.
Frequently Asked Questions
What tools are essential for marking property boundaries?
To effectively mark property boundaries, essential tools include a high-quality measuring tape, laser distance meter, wooden or metal stakes, bright surveyor flags, a GPS device, and a permanent marker for clear demarcation.
How can I verify my property boundaries are accurate?
You can verify property boundaries by comparing physical markers with your official property survey documents, using a GPS device to check coordinates, and measuring distances between boundary markers multiple times to ensure consistency.
What should I do if I find discrepancies in my property boundaries?
If you find discrepancies, remeasure and possibly reposition the markers. For significant inconsistencies, consider consulting a professional surveyor to resolve potential boundary conflicts.
Why is it important to consult official property documents before marking boundaries?
Consulting official property documents is crucial as they provide the legal descriptions and measurements necessary to accurately define your property lines, helping you avoid disputes and legal issues.
