
Composting is often seen as a backyard project for gardeners, but its impact stretches way further than a simple pile of leaves. With backyard piles measuring up to 3 to 4 feet wide and tall, even small setups handle impressive amounts of waste while transforming it into rich soil amendment. Most folks think composting is fussy or messy, something only experts with lots of land and time could manage. That is just not true. The right method fits any property and any schedule and turns everyday scraps into soil gold.
Table of Contents
- Step 1: Select A Composting Method That Suits Your Needs
- Step 2: Gather Suitable Composting Materials And Tools
- Step 3: Build Your Compost Pile Or Bin Effectively
- Step 4: Monitor Moisture And Aeration Regularly
- Step 5: Turn The Compost To Speed Up The Process
- Step 6: Harvest And Use Your Finished Compost
Quick Summary
| Key Point | Explanation |
|---|---|
| 1. Choose a suitable composting method | Select a composting technique that fits your space, waste type, and lifestyle for optimal integration into your routine. |
| 2. Gather balanced composting materials | Combine carbon-rich browns like leaves with nitrogen-rich greens such as vegetable scraps for effective compost creation. |
| 3. Build and layer your compost pile properly | Start with coarse materials, layer greens and browns, and maintain a proper moisture balance for efficient decomposition. |
| 4. Monitor moisture and aerate regularly | Ensure your compost pile is moist but not soggy; turn the pile every one to two weeks to enhance airflow and decomposition. |
| 5. Harvest quality compost when ready | Screen finished compost for consistency; apply it effectively in gardens or lawns to enhance soil health and plant growth. |
Step 1: Select a Composting Method That Suits Your Needs
Starting your composting journey begins with selecting the right method for your specific situation. Your choice will depend on several key factors including available space, the type of organic waste you generate, and your personal time commitment. The goal is to find a composting approach that integrates seamlessly into your lifestyle and property setup.
Your primary composting options range from traditional backyard pile systems to more specialized techniques like vermicomposting or bin-based approaches. For rural property owners and agricultural professionals, outdoor composting methods typically work best. Consider an open pile system if you have substantial land and significant organic waste from livestock, crop residues, or landscaping activities. These systems allow for larger volume processing and are particularly effective for managing significant quantities of organic material.
Understanding Your Composting Options
Backyard pile composting represents the most straightforward method for beginners. This technique involves creating a dedicated outdoor area where organic materials decompose naturally through microbial action. You will need a sunny location with good drainage, preferably away from structures but close enough for convenient access. The pile should be approximately 3 to 4 feet wide and tall, allowing sufficient mass for heat generation and decomposition.
Alternatively, for those with limited outdoor space or wanting a more controlled environment, enclosed bin systems offer excellent composting potential. These systems help manage moisture, control odors, and prevent pest intrusion. According to the United States Environmental Protection Agency, enclosed bins are particularly suitable for urban and suburban settings where space and aesthetic considerations are paramount.
When selecting your method, assess your specific waste streams. Agricultural producers might find that livestock manure and crop remnants suit open pile systems, while home gardeners might prefer compact bin approaches. Your chosen method should align with your waste volume, available space, and desired end product quality.
Below is a table summarizing the main composting methods mentioned, so you can compare options and select the best approach for your property and needs.
| Composting Method | Best For | Space Requirements | Advantages | Considerations |
|---|---|---|---|---|
| Backyard Pile | Beginners with outdoor space | 3-4 ft width & height | Simple setup, large capacity | Needs sunny area and drainage |
| Enclosed Bin | Urban/suburban homes, small yards | Compact | Controls moisture, prevents pests and odors | Limited volume, must manage airflow |
| Open Pile (Large) | Farms, rural/agricultural properties | Ample outdoor area | Handles high volumes, good for manure/waste | Needs land, more frequent turning |
| Vermicomposting Bin | Those with limited indoor/outdoor space | Small/indoors | Suitable for kitchen scraps, low-maintenance | Requires worms, temperature control |
Step 2: Gather Suitable Composting Materials and Tools
With your composting method selected, the next critical step involves gathering the right materials and tools to ensure successful decomposition. Composting requires a strategic balance of organic materials that will transform into nutrient-rich soil amendment. Think of this process as creating a balanced ecosystem where different types of organic matter work together to break down effectively.
Your composting materials will fall into two primary categories: browns and greens. Browns represent carbon-rich materials like dry leaves, straw, wood chips, and cardboard. These provide structure and help maintain airflow in your compost pile. Greens are nitrogen-rich materials such as fresh grass clippings, kitchen vegetable scraps, coffee grounds, and fresh plant trimmings. These materials generate heat and accelerate the decomposition process.
Essential Tools and Material Collection
For agricultural professionals and rural property owners, material collection becomes significantly easier. Livestock operations generate substantial organic waste perfect for composting. Manure from cattle, horses, and other farm animals serves as an excellent green material. Combine this with brown materials like spent bedding straw, fallen leaves, or wood shavings to create a balanced compost mixture.
According to the United States Environmental Protection Agency, successful composting requires a few essential tools. You will need a sturdy pitchfork for turning materials, a sharp shovel for mixing and transferring, and a water source to maintain proper moisture levels. A wheelbarrow can also be incredibly helpful for transporting materials to and from your composting area.
Pro tip: Keep a separate container in your kitchen for collecting green materials like fruit and vegetable scraps to make collection more convenient.
When gathering materials, avoid including meat, dairy products, diseased plants, or chemically treated wood, as these can attract pests or introduce harmful elements into your compost. Your goal is creating a clean, nutrient-rich organic mixture that will ultimately enhance soil fertility and support healthy plant growth. By carefully selecting and balancing your materials, you set the foundation for a successful composting project.
This table organizes the essential tools and material categories referenced in the guide, describing their use in the composting process.
| Tool/Material | Category | Purpose/Use |
|---|---|---|
| Pitchfork | Tool | Turning and mixing compost materials |
| Shovel | Tool | Mixing, transferring, and building compost pile |
| Water Source | Tool | Adding moisture to maintain ideal compost conditions |
| Wheelbarrow | Tool | Transporting compost materials to and from the pile |
| Browns (dry leaves, straw, cardboard) | Material | Carbon-rich ingredient for airflow and structure |
| Greens (vegetable scraps, coffee grounds, grass clippings) | Material | Nitrogen-rich ingredient for heat and decomposition |
| Manure (livestock) | Material | Provides nitrogen, speeds up decomposition |
Step 3: Build Your Compost Pile or Bin Effectively
Building your compost pile represents a critical phase where your collected materials transform into a living, breathing decomposition system. The key to success lies in creating an environment that supports microbial activity and allows organic matter to break down efficiently. Your goal is to construct a pile or bin that maintains proper moisture, temperature, and material balance.
Start by selecting an ideal location with good drainage and partial sunlight. For open pile systems, choose a level ground area away from wooden structures to prevent potential moisture damage. If using a bin, ensure it provides adequate ventilation and has enough volume to generate internal heat necessary for decomposition. Agricultural producers with ample space can create larger piles, while home gardeners might opt for more compact bin systems.
Layering and Composition Techniques
Begin your pile by creating a base layer of coarse materials like small branches or wood chips. This initial layer promotes air circulation and prevents materials from becoming compacted. Next, alternate layers of brown and green materials, aiming for a general ratio of three parts brown to one part green. Spread materials in thin, even layers to encourage consistent decomposition and prevent clumping.
According to the United States Environmental Protection Agency, your compost pile should ideally measure approximately 3 to 4 feet wide and tall. This size provides sufficient mass to generate internal heat while remaining manageable for turning and maintenance. As you build the pile, periodically moisten the materials to maintain a damp but not waterlogged consistency. Think of the moisture level as similar to a wrung-out sponge - damp enough to support microbial activity but not so wet that it becomes anaerobic.
To verify your pile is developing correctly, monitor its internal temperature and observe the gradual breakdown of materials. A well-constructed compost pile will feel warm to the touch and slowly reduce in volume as organic matter transforms.
 By following these guidelines, you create an optimal environment for turning waste into nutrient-rich soil amendment.
Step 4: Monitor Moisture and Aeration Regularly
Successful composting requires consistent attention to two critical factors: moisture and oxygen. Think of your compost pile as a living ecosystem that needs regular care and maintenance. Proper monitoring ensures that microorganisms can efficiently break down organic materials, transforming waste into nutrient-rich soil amendment.
Moisture management is crucial for maintaining an active decomposition process. Your compost pile should feel like a wrung-out sponge - damp but not soaking wet. Too little moisture will slow down decomposition, while excessive water can create anaerobic conditions that generate unpleasant odors and prevent proper breakdown. During dry periods, you may need to water your pile occasionally, using a garden hose to distribute moisture evenly.
Aeration and Turning Techniques
Regular turning represents the most effective method of introducing oxygen into your compost pile. Using a pitchfork or specialized compost turning tool, mix the materials thoroughly every one to two weeks. This action breaks up compacted areas, redistributes moisture, and introduces fresh oxygen that accelerates microbial activity. Agricultural producers with larger piles might need more frequent turning, especially when working with high-volume organic waste from livestock operations.
According to the United States Environmental Protection Agency, consistent aeration is key to maintaining an efficient decomposition process. Pay attention to the pile’s internal temperature and appearance as indicators of healthy composition. A well-managed compost pile will feel warm to the touch and gradually reduce in volume as materials break down. If you notice a foul smell or the pile seems too wet, it’s time to adjust your moisture levels and increase turning frequency.
Verify your composting progress by observing the transformation of materials. Successful compost will look like rich, dark soil with a pleasant earthy smell. Materials should be unrecognizable, indicating complete decomposition. By dedicating time to regular monitoring and maintenance, you’ll create a robust composting system that efficiently converts organic waste into valuable soil nutrition.
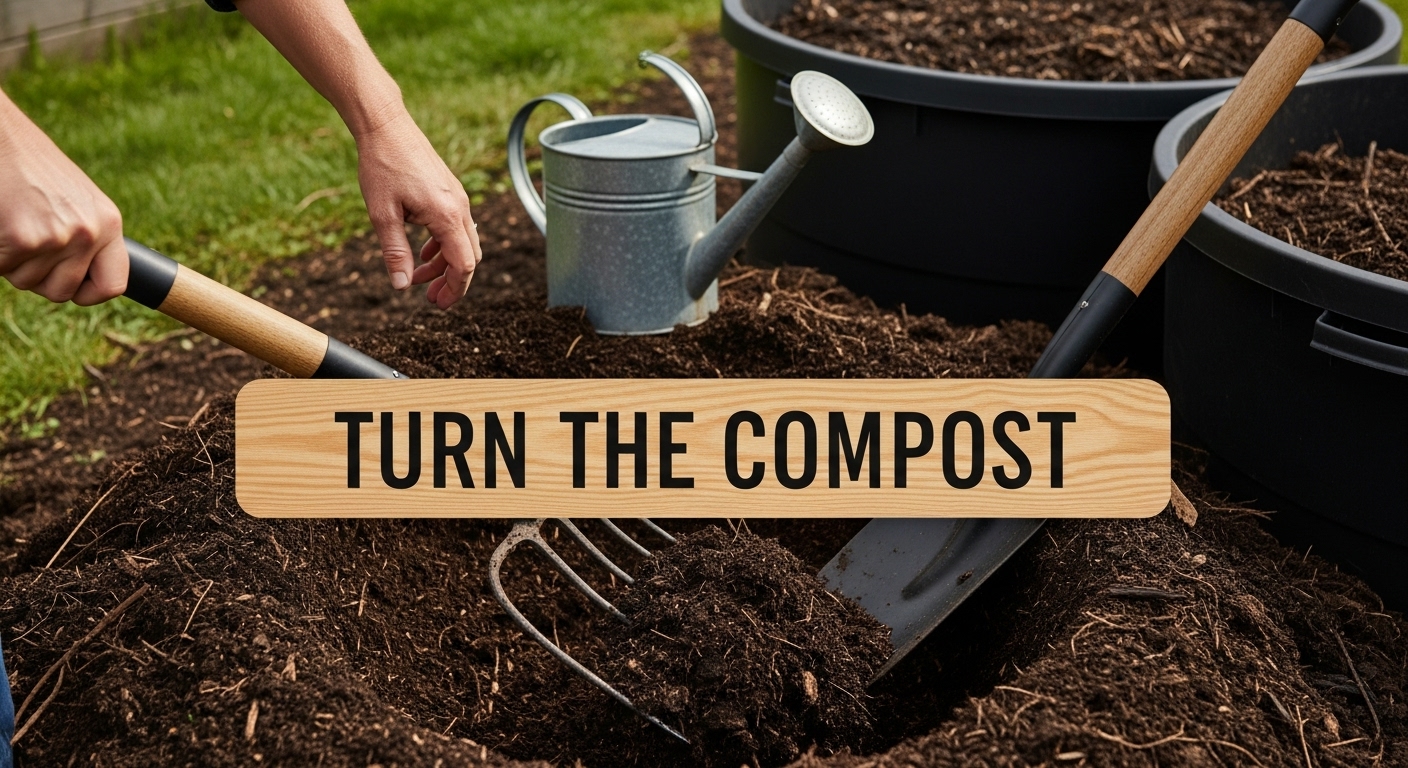
Step 5: Turn the Compost to Speed Up the Process
Turning your compost pile represents a critical intervention that dramatically accelerates decomposition and transforms organic waste into rich soil amendment. This active management technique introduces oxygen, redistributes moisture, and helps maintain the optimal microbial environment essential for rapid breakdown. By regularly mixing your compost materials, you create conditions that support faster, more efficient decomposition.
The turning process involves using a pitchfork or specialized compost turning tool to completely mix and aerate the pile. Start by moving materials from the outside of the pile to the center, ensuring that previously buried layers get exposed to air and surface conditions. This technique helps distribute heat and moisture more evenly, preventing potential anaerobic zones where decomposition slows down or generates unpleasant odors.
Frequency and Technique Considerations
For most home gardeners and small-scale agricultural producers, turning the compost pile every one to two weeks provides an ideal balance. Larger operations with significant organic waste might require more frequent turning. Pay attention to the pile’s internal temperature and appearance as key indicators of decomposition progress. A well-maintained pile will feel warm to the touch and gradually reduce in volume as materials break down.
According to the United States Environmental Protection Agency, consistent turning can significantly reduce the time required to produce finished compost. Agricultural professionals working with livestock manure or extensive crop residues will find that strategic turning helps manage larger volumes of organic material more effectively. When turning, break up any large clumps and ensure materials are evenly distributed to promote uniform decomposition.
Verify your turning effectiveness by observing changes in the compost’s texture, temperature, and volume. Successful turning will result in a more homogeneous mixture with materials becoming increasingly unrecognizable. The compost should develop a rich, earthy smell and dark, crumbly texture as decomposition progresses. By dedicating time to this crucial step, you transform waste into a valuable resource for soil enrichment.
Step 6: Harvest and Use Your Finished Compost
Harvesting your finished compost marks the culmination of your composting journey, transforming waste materials into a valuable soil amendment. Recognizing when your compost is ready requires careful observation and understanding of the decomposition process. The goal is to create a rich, dark, crumbly substance that looks and smells like fertile earth, with no recognizable traces of the original organic materials.
Finished compost typically takes three to nine months to develop, depending on your composting method, materials, and management techniques. You’ll know your compost is ready when it appears dark brown or nearly black, has a loose, crumbly texture, and emits a pleasant, earthy aroma. Materials should be completely unrecognizable, with only a few small twigs or woody fragments remaining.
Screening and Preparing Your Compost
Before using your compost, screening becomes an essential step to ensure quality and consistency. Use a wire mesh screen or compost sifter to separate fully decomposed materials from larger, unbroken pieces. Any chunks that don’t pass through the screen can be returned to your active compost pile to continue breaking down. Agricultural producers and gardeners will find that well-screened compost provides the most uniform and effective soil amendment.
According to the United States Environmental Protection Agency, mature compost offers multiple applications across different agricultural and landscaping contexts. For vegetable gardens, work the compost directly into soil before planting, mixing it thoroughly to a depth of 6-8 inches. Lawn applications involve spreading a thin layer as a top dressing, while flower beds benefit from mixing compost into the existing soil or using it as a protective mulch.
Verify your compost’s quality by its appearance, smell, and performance. High-quality compost should be dark, crumbly, and have a rich, earthy fragrance reminiscent of forest floor soil. When applied, it will improve soil structure, enhance nutrient availability, and support robust plant growth. By carefully harvesting and applying your finished compost, you complete the circular process of waste transformation and soil regeneration.
Turn Composting Success Into Better Land Management With FenceFast.ca
You have worked hard to master composting basics and produce fertile soil on your rural property. But every effective composting project relies on more than just the right pile. Controlling livestock movement and protecting your compost space from animal intrusion are critical for truly thriving compost and healthy soil. If you are facing challenges with livestock management, fencing, or safeguarding your compost zone, FenceFast.ca offers tools and solutions designed for agricultural and rural needs.

Ready to take your composting and land care to the next level? Discover secure, reliable fencing products and livestock management gear at FenceFast.ca. Shop now to get practical solutions with fast nationwide shipping and expert advice. Do not let your hard work go to waste. Protect your compost and support your farm’s success today.
Frequently Asked Questions
What are the best composting methods for beginners?
For beginners, backyard pile composting and enclosed bin systems are the most accessible methods. Backyard piles are great for larger spaces, while enclosed bins are suitable for smaller areas and help manage odors and pests.
What materials should I include in my compost pile?
Your compost materials should be balanced between ‘browns’ (carbon-rich materials like dry leaves and cardboard) and ‘greens’ (nitrogen-rich materials like kitchen scraps and grass clippings). Aim for a ratio of three parts brown to one part green for optimal decomposition.
How often should I turn my compost pile?
Turn your compost pile every one to two weeks to introduce oxygen, redistribute moisture, and accelerate decomposition. This is crucial for maintaining an active composting environment.
How do I know when my compost is ready to use?
Finished compost is typically dark brown or nearly black, has a crumbly texture, and an earthy smell. It takes three to nine months to mature, and it should have no recognizable pieces of the original materials.

