
Few jobs on a rural property test your patience like setting up a new chain link fence. Canadian farmers know that missing even a single tool can delay the whole process, turning a simple project into a multi-day ordeal. Gathering the right tools and materials up front streamlines fence installation and protects livestock with reliable boundaries. This guide highlights which equipment and accessories are most useful, helping you save time and minimize costly mistakes.
Table of Contents
- Step 1: Gather Necessary Tools And Materials
- Step 2: Mark And Measure The Fence Layout
- Step 3: Dig And Set Posts Accurately
- Step 4: Stretch And Attach Chain Link Mesh Securely
- Step 5: Check And Tighten Connections For Final Stability
Quick Summary
| Key Insight | Explanation |
|---|---|
| 1. Gather all necessary tools | Collect measuring, digging, cutting, and securing tools to streamline the installation process and ensure efficiency. |
| 2. Accurately measure and mark layout | Identify property boundaries and mark post locations to ensure straightness and proper alignment of the fence. |
| 3. Dig and set posts properly | Use consistent depth and quality concrete in post holes to ensure long-term stability and prevent shifting. |
| 4. Securely attach chain link mesh | Stretch and attach the mesh carefully to maintain tension, preventing sagging and ensuring a neat appearance. |
| 5. Check and tighten all connections | Inspect and tighten connections regularly to enhance the fence’s durability and identify potential weak points early. |
Step 1: Gather necessary tools and materials
Before starting your chain link fence installation project, you’ll want to collect all the essential tools and materials to ensure a smooth and efficient process. This step is crucial for creating a sturdy and professional-looking fence that will protect your property for years to come.
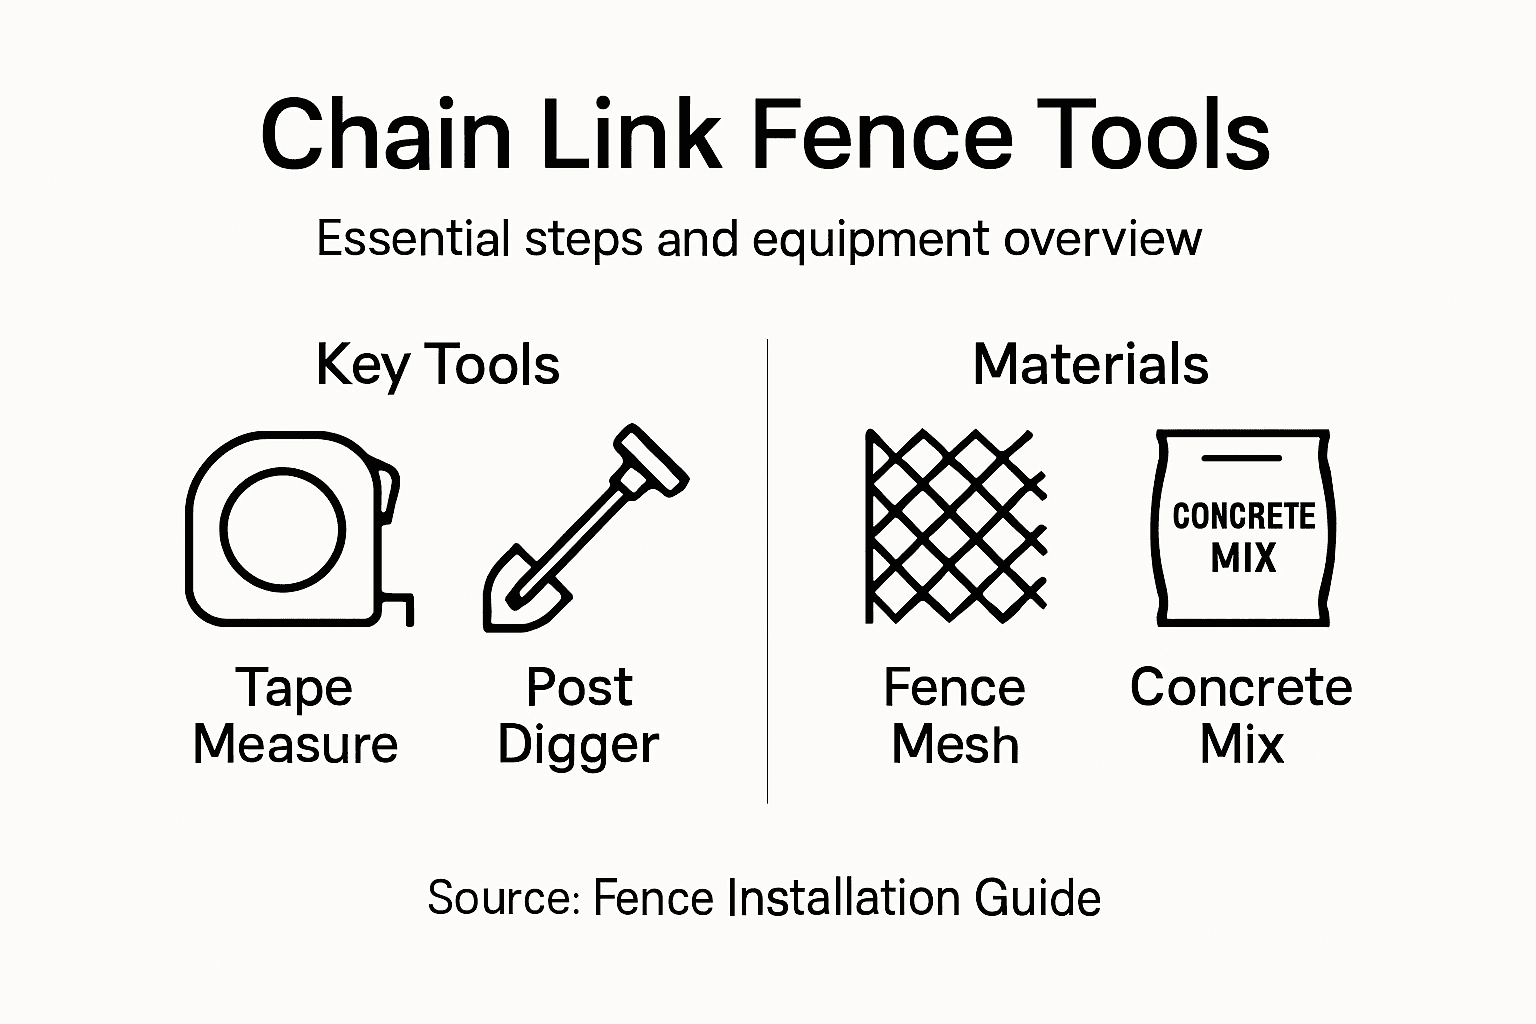
When preparing your toolkit, focus on gathering key items like measuring and marking tools, digging equipment, and fence installation accessories. Chain link fence installation requires specific tools that help you set posts accurately and secure the fencing fabric. Here’s a comprehensive list of tools you’ll need:
-
Measuring tools:
- Tape measure
- Level
- String or mason line
- Stakes
-
Digging and mixing equipment:
- Post hole digger
- Shovel
- Wheelbarrow
- Hoe (for mixing concrete)
-
Cutting and securing tools:
- Wire cutters
- Hacksaw or pipe cutter
- Pliers
- Sledgehammer
- Crescent wrench
- Fence stretcher
Professional farmers know that having the right tools before starting makes fence installation dramatically faster and more precise.
For materials, you’ll want to purchase all necessary fence components in advance. Chain link fence accessories are critical for stability and include items like tension bands, carriage bolts, and post caps. Your material checklist should include:
Here’s a quick reference to the purpose and impact of key chain link fence components:
| Component | Main Function | Importance to Fence |
|---|---|---|
| Terminal post | Anchors fence ends | Provides stability |
| Top rail | Connects posts | Maintains alignment |
| Tension bar | Holds mesh under tension | Prevents sagging |
| Wire ties | Secures mesh to posts | Ensures security |
| Post cap | Protects post top | Extends post life |
| Carriage bolt | Fastens hardware | Adds strength |
| Tension band | Holds tension bar | Maintains tension |
- Fence fabric (typically sold in 50-foot rolls)
- Terminal and line posts
- Top rail and rail sleeves
- Tension bars and bands
- Loop caps
- Gate hardware
- Post caps
- Fence ties
Pro tip: Before purchasing materials, carefully measure your fence line and add 10% extra for cutting and potential mistakes to save time and reduce additional trips to the hardware store.
Step 2: Mark and measure the fence layout
Marking and measuring your fence layout is a critical step that determines the accuracy and professionalism of your entire chain link fence installation. Getting this right ensures your fence will be straight, properly aligned, and positioned exactly where you want it.
Precise property boundary measurements are essential before beginning your installation. You’ll want to start by carefully identifying your exact property lines and planning your fence route. Here are the key steps to mark and measure your fence layout:
-
Locate property boundaries:
- Check property deed or survey documents
- Consult local land records
- Consider hiring a professional surveyor if uncertain
-
Mark initial reference points:
- Use wooden stakes
- Place stakes at corners and gate locations
- Ensure stakes are firmly planted
Accurate boundary marking prevents potential legal disputes and ensures your fence meets local regulations.
When setting your fence line, plan to set posts approximately 4 inches inside your property line to avoid potential encroachment issues. Use a string line to create a straight path between terminal posts, which helps maintain a clean, professional appearance. Your measurement process should include:
- Measure total fence length
- Calculate number of posts needed
- Mark exact post locations
- Check distances between posts
- Verify gate placement and clearance
Pro tip: Always add 10% extra to your measured distance for unexpected terrain variations and potential material adjustments.
Step 3: Dig and set posts accurately
Digging and setting fence posts is a critical stage that determines the long-term stability and performance of your chain link fence. Proper installation ensures your fence will withstand environmental challenges and remain sturdy for years to come.
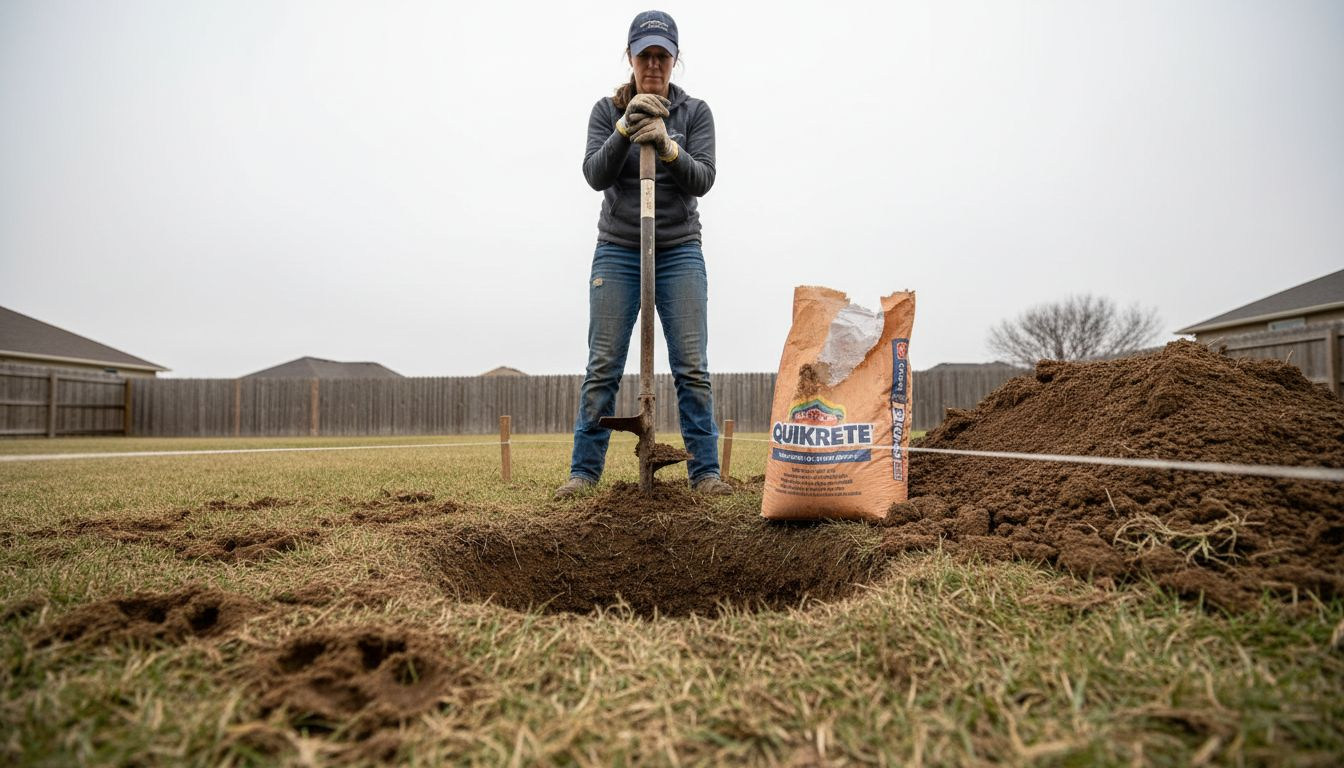
Post installation techniques require careful preparation to guarantee a solid foundation. Terminal post holes should be approximately 8 inches in diameter and at least 30 inches deep, though these dimensions may vary depending on your specific soil conditions and local climate. When digging, remember that consistent depth and proper placement are key to a professional-looking fence.
Here are the essential steps for digging and setting your fence posts:
-
Digging tools and preparation:
- Use post hole digger or power auger
- Clear area of rocks and debris
- Check for underground utilities
- Wear protective gloves and safety glasses
-
Post setting techniques:
- Center posts in holes
- Use level to ensure posts are perfectly vertical
- Allow 2 inches above ground for terminal posts
- Slope hole sides for better drainage
Proper post installation is the backbone of a durable and reliable chain link fence.
When setting posts, you’ll want to use a concrete mix that provides maximum stability. The recommended ratio is typically one part cement, two parts sand, and four parts gravel. Ensure the concrete crowns away from the post to facilitate water drainage and prevent moisture accumulation.
The table below summarizes common post setting mistakes and recommended solutions:
| Common Mistake | Potential Issue | Prevention Tip |
|---|---|---|
| Posts set too shallow | Fence may lean or shift | Dig at least 30 inches deep |
| Unleveled posts | Uneven fence appearance | Always use a level tool |
| Skipping drainage prep | Water damage or heaving | Add gravel at hole bottom |
| Ignoring cure time | Weak post foundations | Allow concrete to fully cure |
| Inconsistent spacing | Gaps or tension problems | Measure and mark each post |
- Mix concrete to proper consistency
- Pour concrete around post
- Use level to check vertical alignment
- Allow concrete to cure completely
- Backfill with additional soil if needed
Pro tip: Consider using gravel at the bottom of post holes to improve drainage and prevent frost heaving in colder regions.
Step 4: Stretch and attach chain link mesh securely
Stretching and attaching the chain link mesh is a precise process that determines the overall strength, appearance, and durability of your fence. Getting this step right ensures a professional-looking installation that will stand up to environmental challenges.
Chain link mesh installation requires careful technique to maintain proper tension and alignment. The mesh is unrolled and strategically attached to create a secure, taut barrier that looks clean and performs effectively. Understanding the right approach will help you achieve a perfect fence installation.
Here are the key steps for stretching and securing your chain link mesh:
-
Mesh preparation:
- Unroll fabric carefully
- Align with terminal posts
- Check for any damage or weak spots
- Ensure mesh is straight and flat
-
Attachment tools needed:
- Fence stretcher
- Tension bars
- Wire ties
- Pliers
- Tension bands
Proper mesh tension is critical for maintaining fence integrity and preventing future sagging or weakness.
The installation process involves several precise steps:
- Insert tension bars through mesh loops
- Attach tension bars to terminal posts
- Use fence stretcher to pull mesh tight
- Secure mesh to line posts with wire ties
- Attach top rail for additional stability
Secure attachment techniques include using aluminum or steel tie wires, which should be twisted tightly with pliers. Space your ties approximately every 12-15 inches to ensure the mesh remains uniformly stretched and supported.
Pro tip: Work slowly and systematically, checking mesh tension frequently to avoid uneven stretching that could compromise your fence’s structural integrity.
Step 5: Check and tighten connections for final stability
The final step in your chain link fence installation involves carefully checking and tightening all connections to ensure maximum durability and performance. This critical process will help guarantee your fence remains strong and secure for years to come.
Fence connection inspection requires systematic approach to identify and address potential weak points. Thorough examination of every component helps prevent future issues and maintains the fence’s structural integrity.
Here are the key areas to inspect and tighten:
-
Connection points to examine:
- Tension bars
- Tension bands
- Wire ties
- Carriage bolts
- Brace bands
- Post caps
-
Tightening tools needed:
- Adjustable wrench
- Pliers
- Come-along winch
- Bolt cutters
- Screwdriver
A meticulously checked fence is your first line of defense against potential structural failures.
Your final stability process should include:
- Inspect all connection points for looseness
- Use come-along winch to re-tension fabric
- Tighten bolts and bands systematically
- Trim any excess mesh with bolt cutters
- Check for uniform tension across entire fence
Careful examination means looking for signs of potential weakness such as rust, loose hardware, or uneven fabric tension. Pay special attention to areas exposed to more environmental stress, like corners and gate connections.
Pro tip: Conduct a comprehensive fence inspection twice annually, preferably in spring and fall, to catch and address any developing issues before they become major problems.
Equip Yourself with the Right Tools for Flawless Chain Link Fence Installation
Struggling with gathering the perfect set of tools to install your chain link fence correctly can slow down your project and add frustration. The article highlights how having essential equipment like post hole diggers, tension bars, wire ties, and concrete mix is key to securing long-lasting stability and professional results. If you want to avoid common mistakes such as uneven posts, sagging mesh, or weak connections, getting quality fencing components and accessories is critical.

Take control of your fencing project today by exploring the extensive selection of fencing supplies at FenceFast.ca. Whether you need durable posts, top rails, tension bands, or heavy-duty wire cutters, our platform has everything designed for agricultural and rural fencing needs. Benefit from expert advice, fast nationwide shipping, and easy online ordering to complete your chain link fence installation with confidence. Visit FenceFast.ca now and equip your project for success.
Looking for specialized electric fencing solutions or livestock management tools? Discover how our product range supports all aspects of your farm or ranch setup. Start building a stronger fence line now with FenceFast.ca.
Frequently Asked Questions
What tools are essential for installing a chain link fence?
To install a chain link fence correctly, you’ll need key tools such as measuring tools (tape measure, level, and stakes), digging equipment (post hole digger and shovel), and cutting tools (wire cutters and hacksaw). Gather these tools to ensure a smooth installation process and a sturdy fence.
How deep should the posts be set in the ground?
Posts for a chain link fence should typically be set at least 30 inches deep to ensure stability. Dig post holes that are 8 inches in diameter to provide adequate support against environmental challenges.
What materials should I purchase in advance for chain link fence installation?
Before starting, make sure to gather all necessary materials, including fence fabric, terminal and line posts, tension bars, and top rails. Purchasing these components in advance will save time and help maintain a professional appearance during installation.
How can I ensure my fence is straight during installation?
To keep your chain link fence straight, use a string line to mark the fence route between terminal posts. This will guide you in placing the posts accurately, helping you create a clean and professional-looking fence.
What is the best method for stretching chain link mesh?
When stretching chain link mesh, insert tension bars through the mesh loops, then use a fence stretcher to pull the mesh tight against the terminal posts. Secure the fabric to line posts with wire ties spaced about 12-15 inches apart to maintain even tension and support.
How often should I check the fence connections for stability?
It’s recommended to inspect and tighten fence connections at least twice a year, ideally in spring and fall. Regular inspections help identify any loose connections or weak points, ensuring your fence remains strong and secure for years to come.

