
A single mistake during fence installation can lead to costly repairs and ongoing frustration. Nearly half of all property owners encounter issues by overlooking essential steps before building a fence. Knowing what to watch for at the very start makes all the difference. This guide breaks down every stage from assessing your land to checking your finished fence so you can plan, build, and maintain a strong barrier that stands the test of time.
Table of Contents
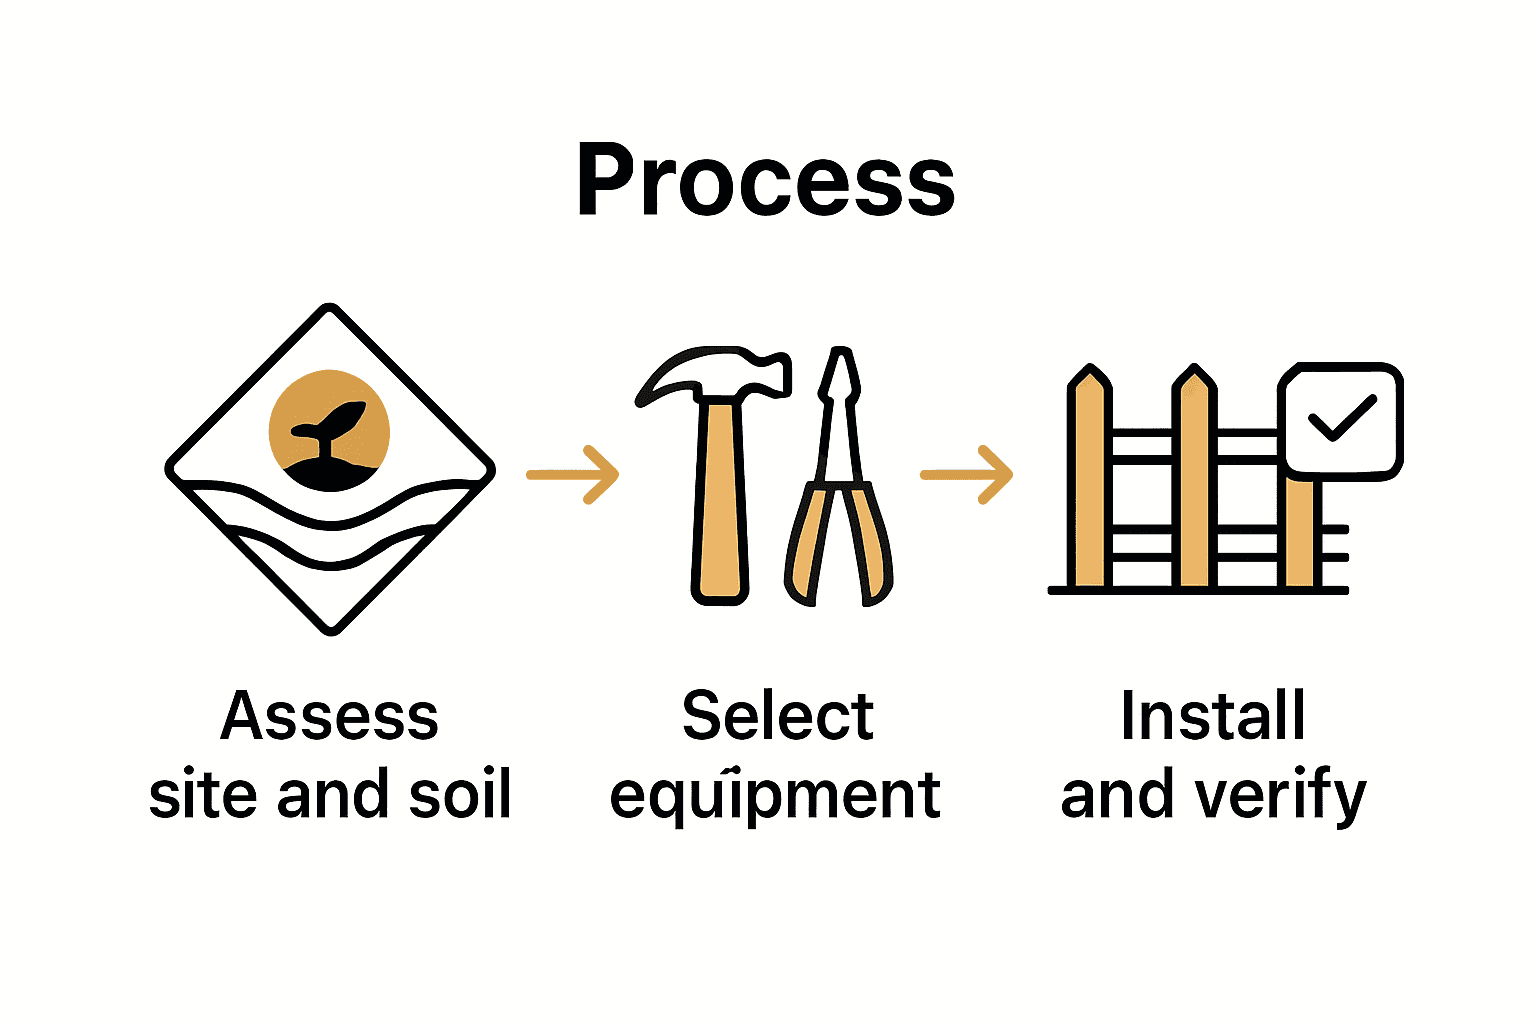
- Step 1: Assess Project Needs And Site Conditions
- Step 2: Select Appropriate Fence Installation Equipment
- Step 3: Prepare Site And Set Up Equipment
- Step 4: Operate Tools To Install Fence Components
- Step 5: Verify Installation Quality And Safety
Quick Summary
| Key Point | Explanation |
|---|---|
| 1. Evaluate Site Conditions First | Assess your property’s soil and terrain to select appropriate materials and installation strategies. This prevents future installation errors. |
| 2. Choose the Right Tools | Use specialized equipment tailored to your fence type to ensure durability and proper installation. Renting may save costs for occasional needs. |
| 3. Prepare the Site Thoroughly | Mark your fence line clearly and remove obstacles before installation. Ensure post holes are consistent in size for uniform stability. |
| 4. Ensure Proper Installation Techniques | Use tools methodically to install components, maintaining tension and alignment. Protective gear is essential for safety during operation. |
| 5. Verify Quality and Safety After Installation | Conduct a detailed inspection of the finished fence to check for alignment, stability, and tension. This step is crucial for longevity and performance. |
Step 1: Assess Project Needs and Site Conditions
Before diving into fence installation, you need a strategic plan that considers your unique property requirements and ground conditions. Understanding your site’s specific characteristics will help you select the right materials and installation approach.
According to VentureWorld, selecting appropriate materials and thoroughly evaluating ground conditions are critical steps in preventing installation errors. Start by mapping your property and examining soil composition. Different soil types dramatically impact fence stability and post durability.
The University of Maine Extension recommends conducting a comprehensive site assessment that includes analyzing terrain, drainage patterns, and ground consistency. Look for potential challenges like rocky ground, slopes, or areas with high moisture content. These factors will influence your post material selection whether you choose wood, metal, or fiberglass.
Pro tip: Walk your entire proposed fence line and mark potential obstacles or challenging terrain sections. Take soil samples if possible and consider consulting a local agricultural expert who understands your region’s specific ground conditions.
By thoroughly assessing your project needs and site conditions upfront, you’ll set the foundation for a strong, long lasting fence that meets your specific agricultural or property management requirements.
Step 2: Select Appropriate Fence Installation Equipment
Choosing the right equipment is crucial for creating a durable and effective fence that meets your specific agricultural or property management needs. Your selection will directly impact the fence’s performance and longevity.
According to Mississippi State University Extension, selecting appropriate equipment varies depending on your specific fencing system. Different fence types require unique tools and materials. For high tensile wire fences, you’ll need specialized equipment like tension springs, wire stretchers, post hole diggers, and specific insulators. For plastic or fiberglass post installations, invest in post drivers, alignment tools, and ground preparation equipment.
Before purchasing equipment, consider these key factors: your property’s terrain, the type of livestock or area you’re enclosing, climate conditions, and long term durability requirements. Essential Tools for Fence Building provides comprehensive guidance on selecting the right tools for different fencing scenarios.
Pro tip: Rent or borrow specialized equipment for one time projects instead of purchasing expensive tools you might use infrequently. This approach can save money while ensuring you have professional grade equipment for your fence installation.
Taking time to select the right equipment upfront will save you significant time frustration and potential rework during your fence installation project.
Step 3: Prepare Site and Set Up Equipment
With your site assessed and equipment selected, now comes the critical phase of preparing your installation area and organizing your tools for an efficient fence building process. Proper preparation will streamline your workflow and help prevent potential complications during installation.
According to the US Forest Service, site preparation involves careful planning for bracing assemblies and strategic positioning of key infrastructure. Start by clearly marking your fence line using stakes and string to ensure a straight and precise route. Clear any vegetation grass or debris that might interfere with post installation or wire tensioning.
The Field Fence Organization recommends creating a systematic approach to site preparation. Dig post holes to the recommended depth for your specific soil type and fence design usually between 24 to 36 inches deep. Ensure holes are consistent in depth and width to provide uniform support for your fence posts. How to Build Farm Fence offers additional insights into creating stable post foundations.
Pro tip: Before digging, contact local utility companies to mark underground cables and pipes. This critical step prevents potential damage and ensures worker safety during site preparation.
By meticulously preparing your site and setting up equipment, you create a solid foundation for a robust and long lasting fence that will serve your agricultural or property management needs effectively.
Step 4: Operate Tools to Install Fence Components
With your site prepared and equipment ready, you are now set to begin the precise work of installing fence components. This critical phase requires careful tool handling and systematic approach to ensure a sturdy and reliable fence.
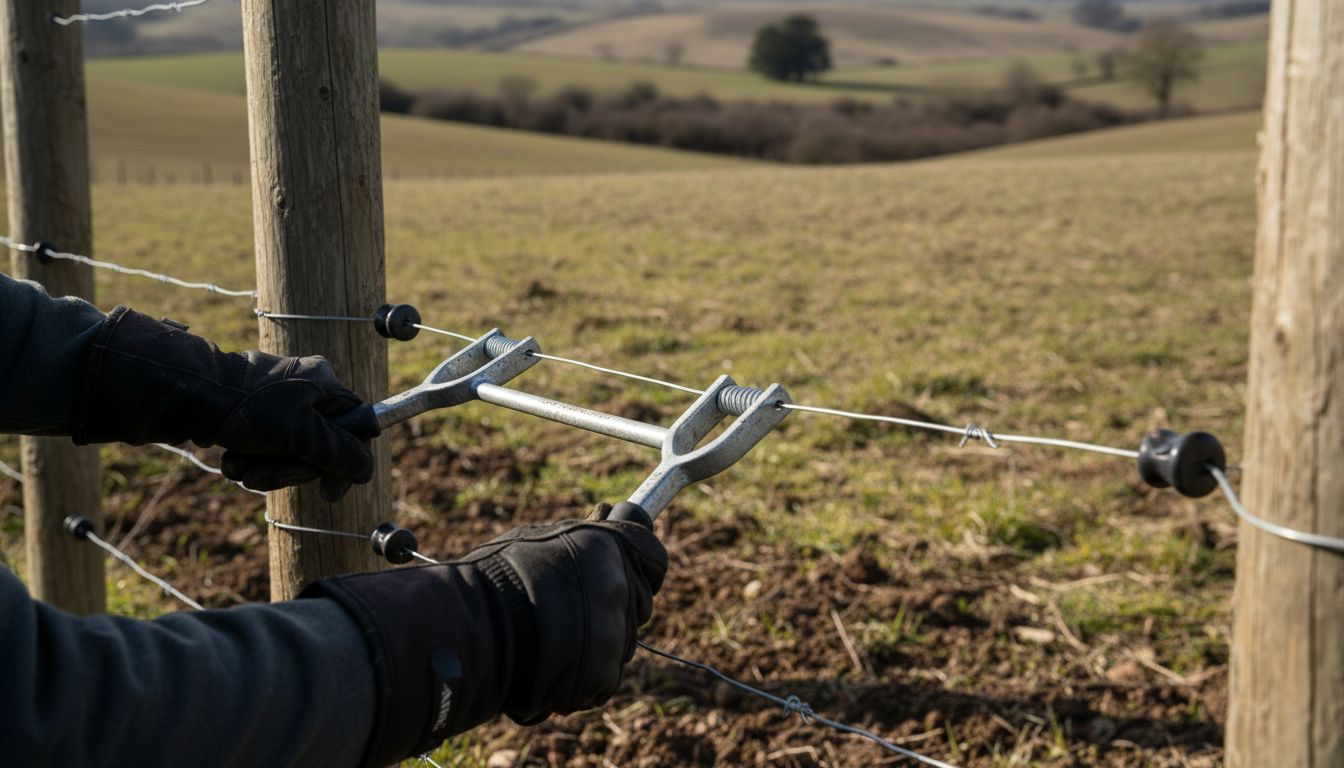
According to the US Forest Service, installing fence components involves strategic use of specialized tools for tension wires, fabric installation, and stretcher bars. Begin by using wire stretchers to create uniform tension across your fence line. Carefully align and secure each component ensuring consistent spacing and alignment. Fence Insulators can provide additional guidance on proper insulator placement and wire tensioning.
The Field Fence Organization recommends using a combination of tools like hammers, pliers, and specialized wire tensioning equipment. When installing posts, use a post driver to ensure deep and stable placement. For wire installation, use wire stretchers and tensioning tools to achieve the right tightness without over stressing the materials.
Pro tip: Always wear protective gloves and safety glasses when operating fence installation tools. Sharp wire edges and powerful tools can cause injury if not handled carefully.
By mastering the proper operation of your fence installation tools, you create a foundation for a robust and long lasting fence that will serve your agricultural or property management needs effectively.
Step 5: Verify Installation Quality and Safety
The final and most critical phase of fence installation is carefully verifying the quality and safety of your entire project. This comprehensive inspection ensures your fence will perform effectively and protect your property for years to come.
According to the US Forest Service, a thorough installation verification process should systematically examine bracing assemblies, tension wire installation, and overall fabric positioning. Start by checking each post for vertical alignment and ensuring they are set at consistent depths. Inspect tension wire connections to confirm they are secure and properly stretched without excessive slack or uneven tension. How to Install Electric Fence offers additional insights into specialized safety checks for electric fencing systems.
The Field Fence Organization recommends conducting a comprehensive walkthrough to assess overall fence stability. Test wire tension by applying gentle pressure at multiple points along the fence line. Check for any loose connections, potential weak spots, or areas that might compromise the fence’s structural integrity. Pay special attention to corner posts and gate areas which typically experience more stress.
Pro tip: Take photographs of your completed installation from multiple angles. These can serve as a reference for future maintenance and help you identify potential issues during your initial inspection.
By meticulously verifying your fence installation quality and safety, you protect your investment and create a reliable boundary that will serve your agricultural or property management needs effectively.
Build Strong, Lasting Fences with the Right Tools and Supplies
Fence installation can be challenging without the proper equipment and quality materials that stand up to tough ground conditions and demanding livestock management. This article highlights how selecting specialized tools like post drivers, wire stretchers, and tensioners can save you time and frustration while ensuring your fence is durable and secure. Understanding your site and using the right installation techniques are crucial for avoiding costly mistakes and creating a fence that truly protects your property.

Take control of your fencing project today by choosing from a wide selection of professional-grade fence installation equipment and accessories designed for Canadian agricultural needs at FenceFast.ca. Whether you need staplers, connectors, electric fence components, or livestock management tools, we make it easy to find everything in one place. Start building fences that last by visiting FenceFast.ca, your trusted source for quality supplies and expert support in rural fencing solutions.
Frequently Asked Questions
What equipment do I need for installing a high tensile wire fence?
You will need specialized tools including tension springs, wire stretchers, post hole diggers, and specific insulators. Begin by gathering all necessary equipment before starting your project to ensure a smooth installation process.
How do I prepare my site for fence installation?
Start by marking your fence line with stakes and string, then clear any vegetation or debris that may interfere with post installation. Ensuring a clean and clear site is crucial to prevent complications during the installation.
What steps should I follow to ensure proper alignment while installing fence posts?
Use a post driver to install each post at consistent depths, typically between 24 to 36 inches. Align posts with a level tool to keep them vertically straight and evenly spaced, ensuring a sturdy fence structure.
How can I verify the tension of the wire during the installation?
Check the wire tension by applying gentle pressure at multiple points along the fence line. Adjust the tension as needed to avoid excessive slack or uneven tension, which can compromise the fence’s integrity.
What safety precautions should I take while using fence installation tools?
Always wear protective gloves and safety glasses to guard against sharp wire edges and powerful tools. Ensuring personal safety during installation protects you from potential injuries.
How do I check the overall quality of my completed fence installation?
Conduct a thorough walkthrough to inspect bracing assemblies, tension wire installation, and vertical alignment of posts. Document your findings with photographs from various angles to assist with future maintenance reviews.

