
Did you know that over half of electric fence failures are caused by simple planning errors or poor installation? Whether you are protecting livestock or marking boundaries, a reliable electric fence starts with smart preparation. The way you assess your property, gather the right tools, and plan your fence line can save you hours of work and prevent costly mistakes. By following a structured approach, you set the stage for safe and effective livestock control from the ground up.
Table of Contents
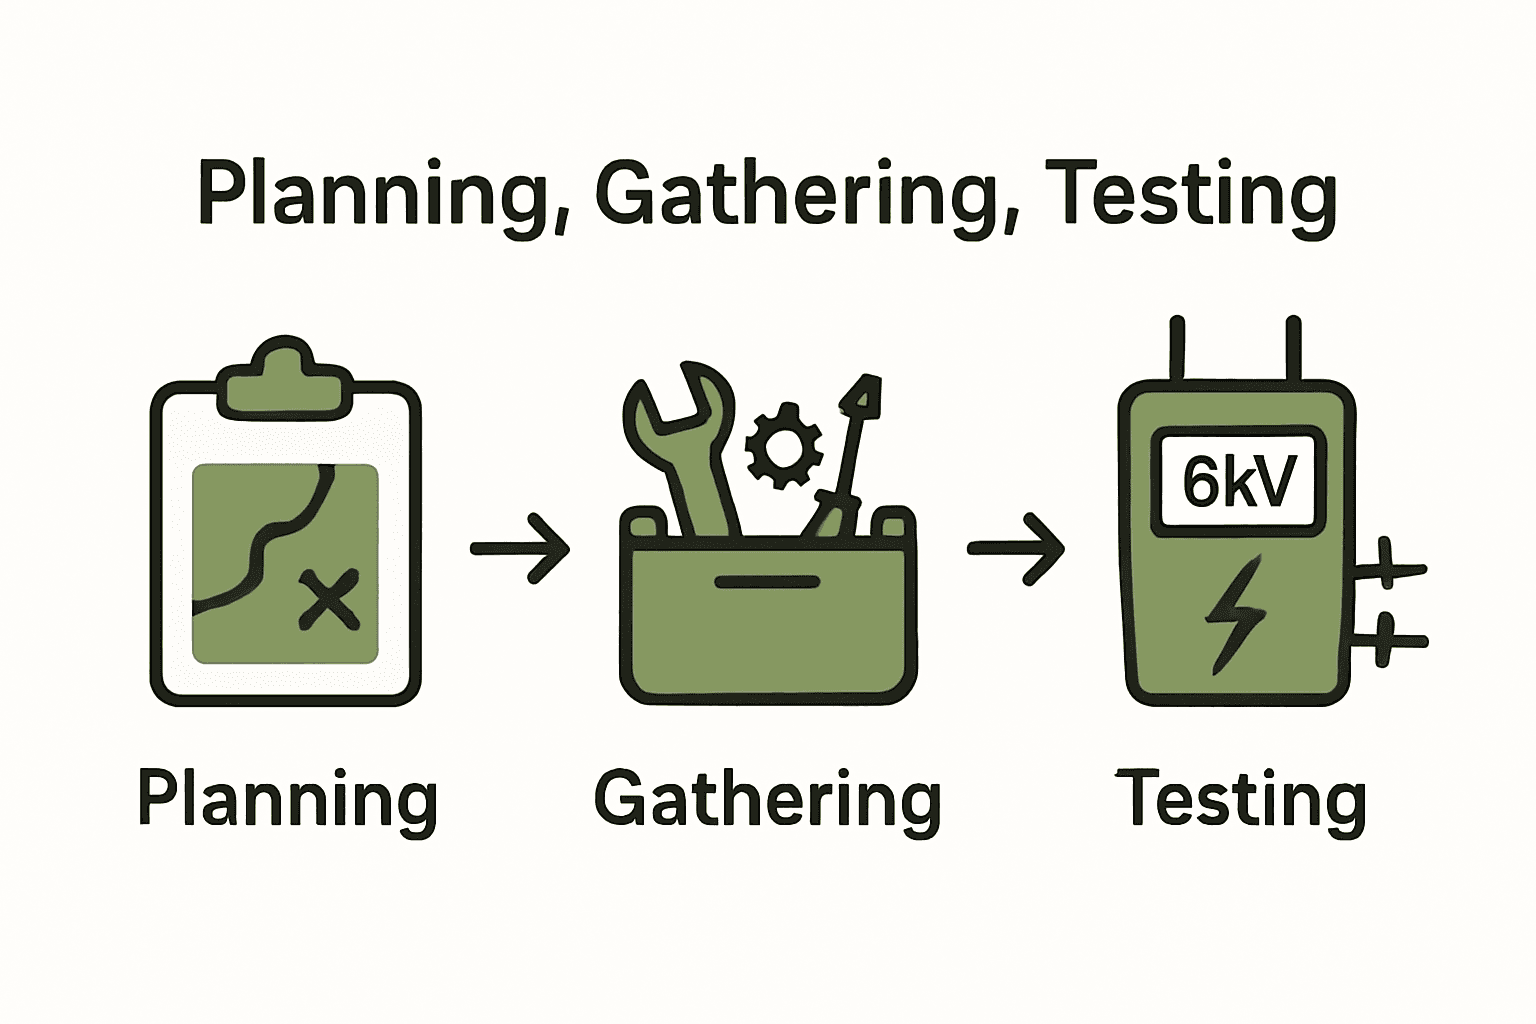
- Step 1: Assess And Plan Your Fencing Layout
- Step 2: Gather Tools And Select Electric Fence Components
- Step 3: Install Fence Posts And Wire Lines
- Step 4: Connect Power Supply And Safety Devices
- Step 5: Test And Adjust The Electric Fence System
Quick Summary
| Key Point | Explanation |
|---|---|
| 1. Assess livestock needs before planning | Understand your specific livestock containment needs to design an effective electric fence layout. |
| 2. Gather essential tools and components | Assemble tools like wire cutters, fence pliers, and select high-quality electric fence components for durability. |
| 3. Install posts and wires precisely | Mark post locations accurately and maintain wire tension for effective livestock deterrence throughout the fence system. |
| 4. Ensure proper power supply and grounding | Connect energizers securely, using multiple ground rods to enhance effectiveness and safety of your electric fence. |
| 5. Regularly test and maintain voltage levels | Use a digital voltmeter to ensure fence voltage is consistent, and adjust as needed for reliable livestock containment. |
 |
|
Step 1: Assess and Plan Your Fencing Layout
Planning an effective electric fence layout starts with understanding your specific livestock containment needs and terrain. According to Virginia Tech Ext, the key is ensuring your wire heights and spacing match the exact species you want to contain.
Begin by walking your entire property and identifying critical zones like pasture boundaries, grazing areas, and potential entry points. Sketch a rough map that includes natural landscape features trees, slopes, water sources, and existing structures. Your goal is creating a strategic fence line that provides maximum coverage while minimizing unnecessary material costs. Note the total linear footage you will need to cover and consider how many corner and gate posts you might require.
When mapping your layout, factor in multiple practical considerations. Consider the animal behavior of your specific livestock whether cattle, horses, or sheep and design wire spacing accordingly. For instance, younger animals might require tighter wire spacing compared to mature stock. A helpful pro tip is to leave enough clearance for vegetation management and potential future expansion of your fencing system. Choosing the Best Livestock Fence can provide additional insights into creating an optimal fencing strategy.
Before purchasing materials, double check your measurements and consider consulting local agricultural extension services for specific regional recommendations. Your precise planning now will save significant time and resources during the actual installation process.
Step 2: Gather Tools and Select Electric Fence Components
Gathering the right tools and components is crucial for building a reliable electric fence system. According to Oklahoma State University Extension, investing in a high-quality fence charger and ensuring proper grounding are critical steps in creating an effective electric fence.
Start by assembling your essential toolkit. You will need wire cutters, fence pliers, post driver, measuring tape, grounding rods, electrical testers, and safety gloves. For components, select a fence charger compatible with your property size and livestock type. Choose between solar powered or battery operated energizers depending on your specific needs. Essential Tools for Fence Building can provide additional guidance on selecting the right equipment.
Pay close attention to wire selection. Choose galvanized steel wire for durability and opt for wire thickness appropriate to your livestock species. Collect enough posts ceramic insulators and connectors to complete your planned layout. Remember that quality components might cost more upfront but will save you significant maintenance expenses in the long run.
Your next step will involve preparing the ground and beginning the actual installation process. Carefully review your collected materials and ensure you have everything needed before starting the fence construction.
Step 3: Install Fence Posts and Wire Lines
Installing fence posts and wire lines requires precision and careful planning to create an effective livestock barrier. According to Virginia Tech Publications, installing hot wires at the correct height and spacing ensures that livestock receive an effective deterrent shock, enhancing the fence’s overall effectiveness.
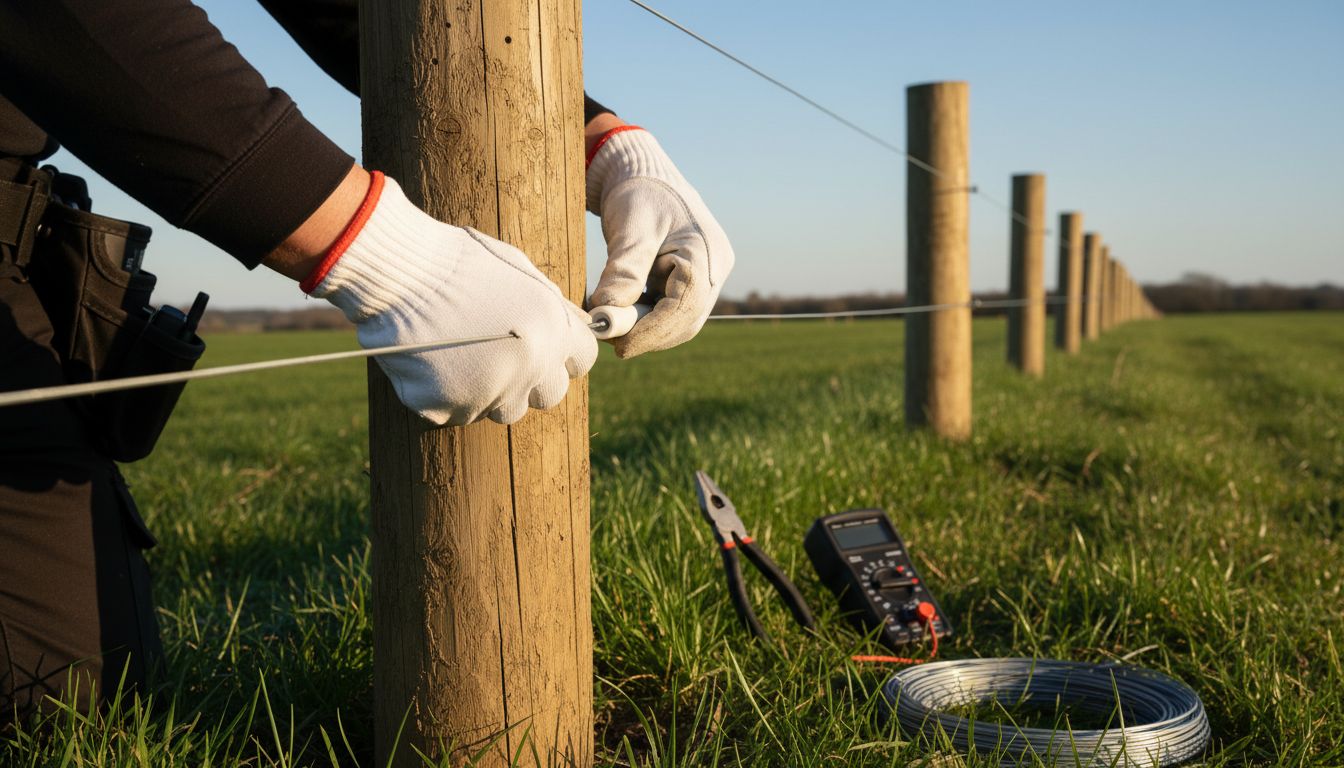
Begin by marking your post locations using wooden or metal stakes spaced consistently about 50 to 100 feet apart. For corner and gate areas, use sturdy corner posts that can withstand additional tension. Drive each post at least 2 feet into the ground using a post driver, ensuring they are perfectly vertical and stable. When installing line posts, alternate the direction they face to help maintain wire tension and prevent sagging. Electric Fence Post Insulators Guide offers additional insights into proper post and insulator installation.
Carefully attach insulators to each post and run your electric wire through them, maintaining consistent tension. For most livestock applications, install multiple hot wires at different heights to prevent animals from going under or over the fence. Start with a bottom wire about 12 inches from the ground and add additional wires every 12 to 18 inches, depending on your specific livestock type.
Your next critical step will involve connecting the energizer and testing the electrical system to ensure proper functionality and livestock safety.
Step 4: Connect Power Supply and Safety Devices
Connecting your electric fence power supply and safety devices is a critical step in creating a reliable livestock containment system. According to Oklahoma State University Extension, proper grounding is essential for the fence’s effectiveness, recommending multiple ground rods placed in parallel to ensure adequate current flow.
Start by installing your energizer in a dry protected location close to an electrical outlet or solar charging system. Connect ground rods by driving them at least 6 feet into moist soil approximately 10 feet apart from each other. Use heavy gauge copper wire to link the ground rods to the energizer ground terminal. Make sure each connection is tight and free from corrosion. Install and Maintain a Fence Energizer Solar System can provide additional guidance on different power supply configurations.
As recommended by University of Maine Extension, incorporate safety devices like lightning diverters to protect your fence system from electrical surges. These devices help prevent equipment damage and enhance overall system reliability. Test your ground system using a digital voltmeter to ensure proper electrical continuity and performance before fully activating the fence.
With your power supply and safety devices installed, you are now ready to activate and test your electric fence system to ensure optimal livestock control.
Step 5: Test and Adjust the Electric Fence System
Testing and fine-tuning your electric fence system is crucial for ensuring reliable livestock containment. According to University of Maine Extension, after installation you must test the fence voltage to confirm it meets the required levels for effective livestock control, with regular testing and maintenance being essential for ongoing functionality.
Begin by using a digital voltmeter to measure the electrical charge across your fence lines. The recommended voltage typically ranges between 4000 to 5000 volts for most livestock species. Check multiple points along the fence perimeter to ensure consistent electrical flow. Look for potential voltage drops caused by vegetation contact ground issues or damaged wire sections. Electric Fence How To: Build and Test for Livestock Safety offers additional insights into comprehensive system evaluation.
As recommended by Virginia Tech Publications, regularly monitor and adjust the fence to maintain appropriate voltage levels. Trim vegetation near wire lines clean and tighten connections and replace any damaged components immediately. Pay special attention to corners and gate areas where electrical continuity can be compromised.
With your electric fence system thoroughly tested and optimized you can now confidently manage your livestock containment with improved safety and reliability.
Take Control of Your Livestock with Premium Electric Fencing Solutions
Installing an electric fence that truly suits your livestock and landscape can be challenging. From choosing the right energizer and wires to ensuring proper grounding and safety devices, every step matters. If you want durable materials that minimize maintenance and reliable components designed for Canadian farms you have found the right partner. At FenceFast.ca, we provide specially selected electric fencing systems, wires, connectors, and accessories crafted to help you build effective barriers that match the detailed planning and installation advice from your guide.

Don’t wait until your fencing project stalls or your livestock containment is compromised. Explore our extensive range of electric fencing products and benefit from expert design consulting and nationwide shipping. Get started today to secure your farm or ranch with equipment built for performance and peace of mind.
Frequently Asked Questions
How do I plan the layout for my electric fence before installation?
To plan your electric fence layout, assess your land by walking the property and noting critical zones like grazing areas and potential entry points. Sketch a rough map to strategize fence lines that cover the necessary terrain while keeping material costs low.
What tools do I need to install an electric fence effectively?
Essential tools for electric fence installation include wire cutters, fence pliers, a post driver, measuring tape, grounding rods, and safety gloves. Gather these tools before starting to ensure a smooth installation process.
How do I ensure my electric fence wires are set at the correct height and spacing?
Install hot wires at approximately 12 inches from the ground for the bottom wire, and add additional wires every 12 to 18 inches based on your specific livestock type. Measure and mark post locations consistently to maintain effective wire spacing throughout the fence.
What should I do to connect the power supply and ensure proper grounding?
Install the energizer close to a power source and connect multiple ground rods in moist soil, ensuring they are at least 6 feet deep and 10 feet apart. Use heavy gauge wire to connect the rods to the energizer ground terminal for effective current flow.
How can I test if my electric fence is functioning properly?
Use a digital voltmeter to measure the voltage across the fence lines, aiming for a range between 4000 to 5000 volts. Check multiple points to identify potential voltage drops and ensure electrical continuity along the entire perimeter.
What ongoing maintenance should I perform on my electric fence system?
Regularly test and monitor the fence voltage, trim vegetation near wire lines, and tighten connections as needed. Address any damage immediately to maintain effective livestock control, ensuring a safer environment for your animals.

