

For most farm and boundary setups, the right choice is a long-arm or long-screw insulator sized to give you real stand-off from the post, in porcelain for corner and end posts and UV-stabilized polymer for line runs.
Here’s the quick version before you dig into specs:
- T-post runs: snap-on long-arm extenders, 2 to 3 inches of extra reach.
- Wood perimeter posts: 100 mm or 250 mm long-screw insulators driven into the post face.
- High-interference boundaries (brush, trees, wet ground): stand-off insulators designed to keep conductors well away from posts for cleaner electrical isolation.
- Corners and ends: porcelain, for the dielectric strength and mechanical load they’re built to handle.
Grab a tape measure and check your post width and conductor type before you order anything. That five-minute step prevents the single most common return: an insulator that doesn’t fit.
Key Takeaways
Long electric fence insulators solve stand-off and isolation problems that standard insulators can’t, and matching material and length to post type is what determines whether they last one season or ten.
| Point | Details |
|---|---|
| Match style to post | Use snap-on long-arm extenders for T-posts and long-screw insulators suitable for wood posts. |
| Choose material by location | Reserve porcelain for corners and end posts; use UV-stabilized polymer for line runs. |
| Size for real stand-off | Pick 100 mm for standard perimeter work and 250 mm for high-interference boundaries. |
| Inspect twice a year | Check for cracks, carbon tracking, and brittle plastic before failures cause shorts. |
| Get help matching hardware | Fencefast offers design consulting and nationwide shipping to fit insulators to your exact posts and conductors. |
Table of Contents
- What Are the Main Types of Long Electric Fence Insulators?
- Porcelain vs. Polymer: Which Material Actually Lasts Longer?
- How Do You Measure and Size a Long Insulator Correctly?
- When Should You Replace a Long Electric Fence Insulator?
- How Fencefast Helps You Match Insulators to Your Fence
- What Most Fencing Guides Get Wrong About Length
- Get the Right Insulators Without Guessing at Fit
- Frequently Asked Questions
- Sources
What Are the Main Types of Long Electric Fence Insulators?
Four styles cover almost every long-insulator job on a working farm, and each one solves a different problem.
- Long-arm T-post extenders snap onto standard 1.25 or 1.33 inch T-posts and push the conductor several inches away from the steel, cutting the risk of grounding and improving visibility along the line. Retailers list extra-long versions with roughly 2.5 inches of added spacing over standard clips, which matters most on runs where you’re retrofitting old fence with new hot wire.
- Long-screw insulators thread directly into wood posts. A 100 mm screw is the standard choice for most perimeter and cross-fencing jobs on timber, giving enough offset to keep the wire clear of the post without excessive leverage on the threads.
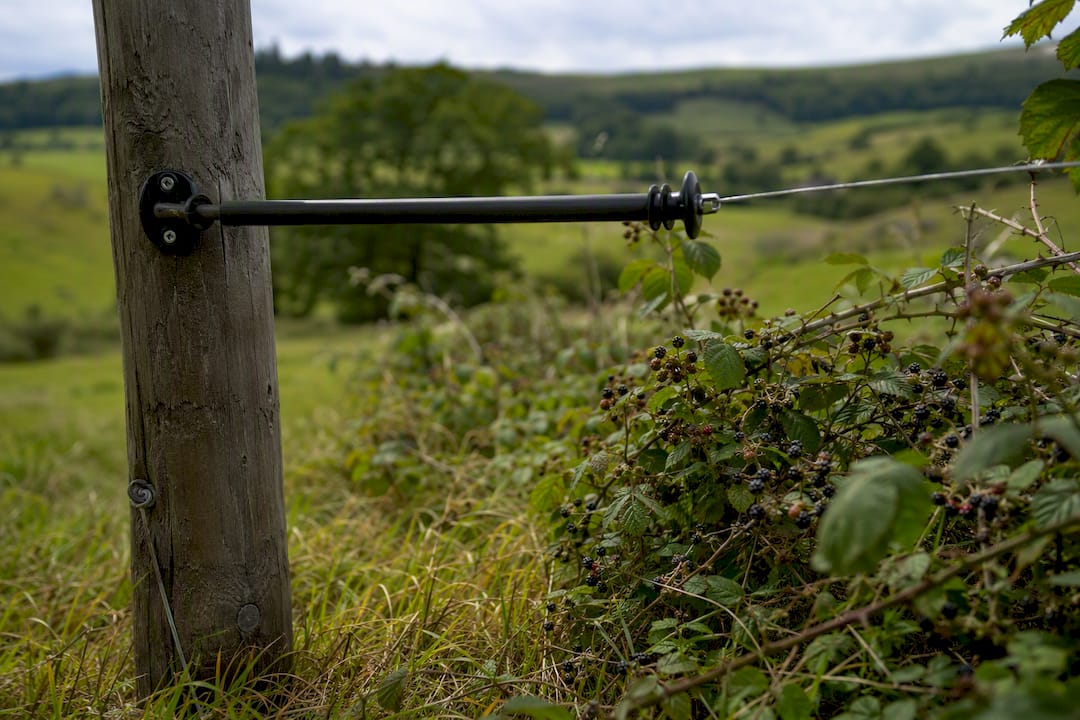
- Stand-off or offset insulators extend further, often to 250 mm, and exist specifically for interference-heavy borders where vegetation, wet soil, or nearby structures raise the risk of arcing.
- Tape-specific long arms use a wider, flatter groove or clip built for polytape and ribbon rather than round wire, and they matter more than most buyers assume.
New builds usually favor screw-in and stand-off styles since you’re setting posts fresh. Retrofits lean on snap-on T-post extenders because they install in seconds without new hardware.
Pro Tip: If you’re mixing tape and wire on the same fence line, don’t reuse wire-groove insulators for tape. The tape will twist and lose tension inside a round groove within a season.
Porcelain vs. Polymer: Which Material Actually Lasts Longer?
Porcelain wins on raw durability and dielectric strength, but polymer wins on cost and weight, and knowing when each applies saves you money in the long run.
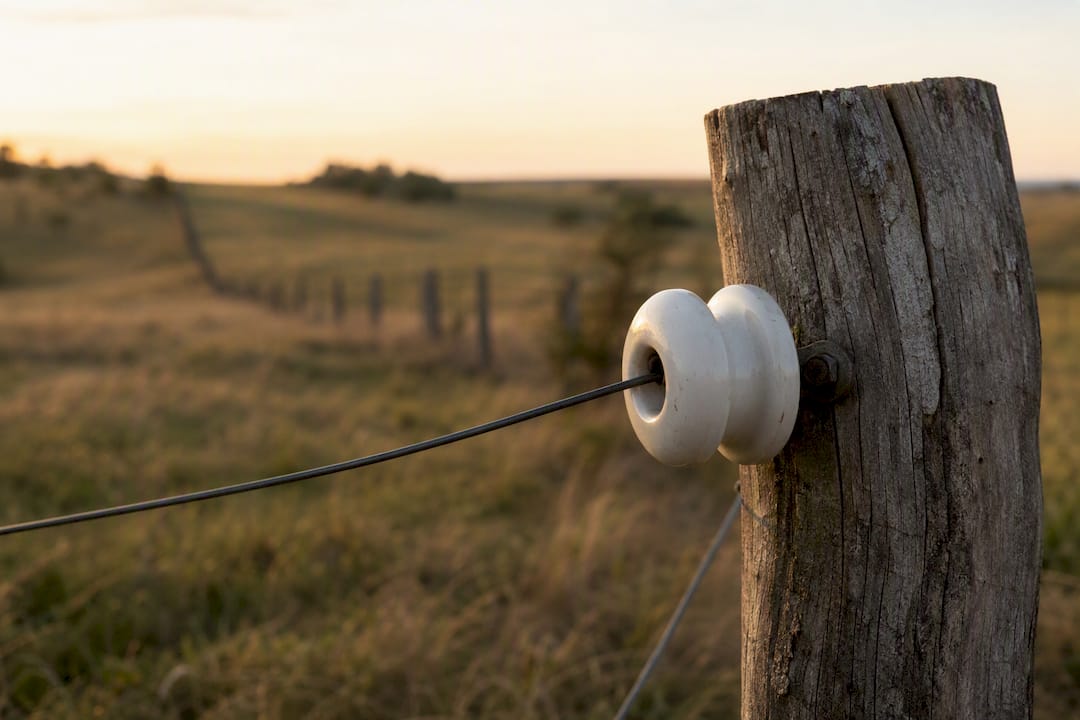
Porcelain insulators handle higher mechanical load and resist carbon tracking better over decades of use, which is why they’re the standard recommendation for corner and end posts, the spots carrying the most tension and stress on your entire fence. Some heavy-duty porcelain corner and end-post models carry lifetime guarantees, a signal of how confident manufacturers are in the material once it’s properly mounted.
UV-stabilized polymer is the right call for line insulators, where you need dozens or hundreds of units and don’t want the added weight or cost of ceramic on every post. Modern polymer blends resist UV breakdown far better than the plastics of even a decade ago, but “UV-stabilized” on the label isn’t optional; unstabilized plastic insulators can turn brittle and crack within two or three seasons in full sun.
What actually shortens service life:
- Direct, unbroken sun exposure in southern or high-altitude climates
- Repeated freeze-thaw cycling that stresses screw threads and clip joints
- Livestock rubbing or leaning directly on line insulators
- Cheap plastic blends with no UV stabilizer disclosed in the spec sheet
Check the warranty language before you buy. A supplier confident enough to guarantee an insulator for life has usually tested it past the point most buyers ever will.
How Do You Measure and Size a Long Insulator Correctly?
Get the stand-off distance right and everything downstream, spacing, tension, insulation, falls into place. Get it wrong and you’ll be replacing insulators within a year.
Start with these three measurements before you order:
- Measure from the post face to where you want the conductor to run; that’s your required stand-off, and it’s the number that determines which product family you need.
- Confirm your post’s actual width or thread standard: 1.25 or 1.33 inch for T-posts, and check the screw thread size your wood posts will accept.
- Note your conductor type: round high-tensile wire, polywire, or flat tape, since each needs a differently shaped groove or clip.
Once you know your stand-off requirement, matching a length gets simple. A 100 mm long-screw handles most standard wood-post perimeter work, giving enough clearance for routine mowing and brush without excessive strain on the mounting point. A 250 mm stand-off model earns its keep on boundary runs where vegetation or ground moisture raises the risk of leakage, and where maintaining that full clearance measurably improves electrical isolation compared to shorter designs.
Spacing matters just as much as length. General guidance for polywire and tape runs on line posts:
- Line posts every 20 to 30 feet on straight, low-tension runs
- Tighter spacing (10 to 15 feet) on high-tensile wire or areas with heavy livestock pressure
- Corner and end posts always get the heaviest-duty insulator you’re using on that fence, regardless of spacing elsewhere
Poor spacing is a quiet cause of shorts. Wire that sags between posts spaced too far apart eventually touches grass, brush, or a post itself, and that’s a short you won’t notice until your voltage reading drops. If you’re working with steel posts specifically, fitting notes for common post standards can save a wasted trip to the hardware store.
When Should You Replace a Long Electric Fence Insulator?
A five-minute walk of your fence line twice a year catches most failures before they cost you a shocked animal or a blown-out charger. Look for these warning signs:
- Hairline cracks in porcelain, especially near the mounting hole
- Carbon tracking (thin dark lines across the surface where current has arced)
- Brittle, chalky, or faded plastic on polymer insulators
- Loose or stripped screw threads on screw-in models
- Visible sag where a wire has pulled the groove out of shape
Most fixes are quick. A cracked insulator gets swapped, not patched; there’s no reliable field repair for a compromised dielectric surface. A loose screw-in insulator often just needs re-seating into fresh wood, a few inches over from the stripped hole. If you’re chasing a voltage drop and can’t find the cause visually, isolate sections of fence one at a time with a voltage tester until you narrow down the failing segment.
Premature failure almost always traces back to one of three causes: unshielded sun exposure on unstabilized plastic, livestock or equipment impact, or a fit mismatch where the insulator was never rated for that post or conductor in the first place.
Pro Tip: Keep a handful of spare insulators and a few wire-to-insulator fastening clips in your truck during calving or lambing season. A five-minute roadside fix beats a loose hot wire and a scattered herd.
How Fencefast Helps You Match Insulators to Your Fence
Twenty-six years as an authorized Gallagher dealer means Fencefast has seen just about every post, conductor, and terrain combination a Canadian farm can throw at a fence line. That history shapes practical stock decisions, not just a wide catalog.
What that means for you:
- A range of long-arm, long-screw, and stand-off insulators sized for T-post, wood, and steel installations
- Design consulting to match insulator length and material to your actual post spacing and voltage setup
- Nationwide shipping, so remote properties get the same access as anyone else (PO boxes excluded)
The practical path is straightforward: measure your posts and conductor width, note your terrain (open pasture versus brush-heavy boundary), and reach out for a fit recommendation before you order. Getting the spec right the first time beats reordering after a season of mismatched hardware.
What Most Fencing Guides Get Wrong About Length
Most buying guides treat insulator length like a spec sheet detail instead of the decision that actually determines whether your fence works. The conventional advice says “pick a durable insulator.” That’s incomplete. Durability without correct stand-off just means you have a long-lasting insulator that still shorts out against wet brush.
The bigger blind spot is installation reality. A 250 mm stand-off insulator sounds excessive until you’ve walked a boundary line choked with blackberry canes every August. A 100 mm screw sounds insufficient until you realize most interior cross-fencing never needs more. Farmers who get this right measure their actual conditions first and let that dictate length, rather than defaulting to whatever’s cheapest per unit at the store.
If there’s one habit worth building, it’s the twice-a-year inspection walk. Insulators fail quietly. Nobody notices a hairline crack until a calf tests the fence and finds no resistance at all. Prioritize fit and inspection over brand loyalty, and the rest of the fence tends to take care of itself.
Get the Right Insulators Without Guessing at Fit
Fencefast is the practical alternative to piecing together mismatched hardware from three different stores: one online order gets you insulators sized for your actual posts, backed by consulting from a team that’s fitted Gallagher systems across Canadian farms for 26 years.

The catalog covers long-arm T-post extenders, long-screw wood-post insulators, and stand-off models for tough boundary conditions, alongside the fastening clips and accessories that make installation go faster the first time. If you’re not sure which length or material fits your setup, the design consulting team will walk through your post type, terrain, and conductor choice before you spend a dollar on the wrong SKU.
Measure your posts, note your conductor type, and visit Fencefast to get a fit recommendation and place your order with nationwide shipping included.
Frequently Asked Questions
What length of electric fence insulator do I need for a wood post perimeter fence? A 100 mm long-screw insulator handles most standard wood-post perimeter runs, giving enough clearance for routine brush growth and mowing without overloading the screw thread.
Are porcelain insulators worth the extra cost over polymer? For corners and end posts, yes. Porcelain offers stronger dielectric resistance and mechanical durability under sustained tension, and some models carry lifetime guarantees. For line posts, UV-stabilized polymer is lighter and more cost-effective for the job it needs to do.
Can I use the same long insulator for wire, polywire, and tape? No. Tape and ribbon conductors need a wider, flatter groove or clip than round wire or polywire, so use tape-specific long-arm insulators rather than forcing tape into a wire groove.
How often should I inspect long electric fence insulators? Twice a year at minimum, checking for cracks, carbon tracking, brittle or faded plastic, and loose screw threads, with an extra check after major storms or heavy livestock pressure on the line.
What causes long insulators to fail early? Unstabilized plastic breaking down under UV exposure, livestock or equipment impact, and fit mismatches where the insulator wasn’t rated for that post or conductor are the three most common causes of early failure.
Sources
- Long Distance Insulators (Pack of 10) - Pasturetec
- Forcefield Long Distance Insulators (Pack 10) Stand-Off
- Insulator with long screw 100 mm for electric fence
- Zareba Systems Heavy-Duty U-Shaped Corner/End Post Insulator (10-Pack) | True Value Hardware

