
Every Canadian cattle rancher knows how quickly grazing needs can change as the seasons shift and herd movements demand flexibility. Temporary electric fencing has become a flexible, quick, and affordable tool for creating adaptable boundaries that help manage pasture, rotate livestock, and protect forage health. This guide walks you through simple, strategic steps to assess your grazing area, choose the right materials, and install a safe, reliable system tailored for efficient livestock control.
Table of Contents
- Step 1: Assess Grazing Area And Plan Fence Layout
- Step 2: Select Proper Temporary Electric Fencing Materials
- Step 3: Install Fence Posts And Wire Effectively
- Step 4: Connect And Power The Electric Fence System
- Step 5: Test Fence Integrity And Ensure Animal Safety
Quick Summary
| Key Point | Explanation |
|---|---|
| 1. Assess Pasture Layout Thoroughly | Map your pasture to identify terrain features, water sources, and existing barriers, ensuring effective use of space for grazing. |
| 2. Choose Appropriate Fencing Materials | Select lightweight and durable components that suit your livestock type and environmental conditions for effective temporary fencing. |
| 3. Ensure Proper Installation Techniques | Maintain consistent post spacing and wire tension to create a secure boundary that prevents livestock escapes and encourages psychological containment. |
| 4. Connect to Reliable Power Source | Establish a consistent and suitable power source for the energizer to ensure effective electrical connectivity across the entire fence. |
| 5. Test Fence Performance Regularly | Conduct systematic voltage tests and checks to ensure your electric fence maintains its protective functionality and prevents livestock injury. |
Step 1: Assess Grazing Area and Plan Fence Layout
Preparing an effective temporary electric fence for your livestock requires strategic planning and careful assessment of your grazing environment. Your goal is to create a flexible fencing system that maximizes pasture health and manages animal movement efficiently.
Start by conducting a comprehensive survey of your pasture landscape. This involves mapping out your available land, identifying key topographical features, and understanding soil conditions. Temporary fencing for controlled grazing depends on several critical factors:
- Total acreage available for grazing
- Landscape terrain and slope
- Soil type and ground conditions
- Water source locations
- Natural barriers or existing fence lines
Strategic fence layout can significantly improve pasture utilization and livestock management.
Carefully measure and sketch your pasture area, noting any challenging terrain or problematic zones. Consider subdividing larger pastures into smaller paddocks, which allows for rotational grazing and gives grass time to regenerate. When planning your layout, prioritize:
- Creating efficient livestock movement paths
- Ensuring easy access to water sources
- Avoiding wet or unstable ground areas
- Maximizing grazing potential of each section
Your fence design should provide maximum flexibility while maintaining clear boundaries for your herd. Pay special attention to power supply considerations and potential grounding challenges that could compromise your electric fence’s effectiveness.
Pro Tip: Use aerial photographs or topographical maps to help visualize your pasture layout and identify optimal fencing routes before physically marking the ground.
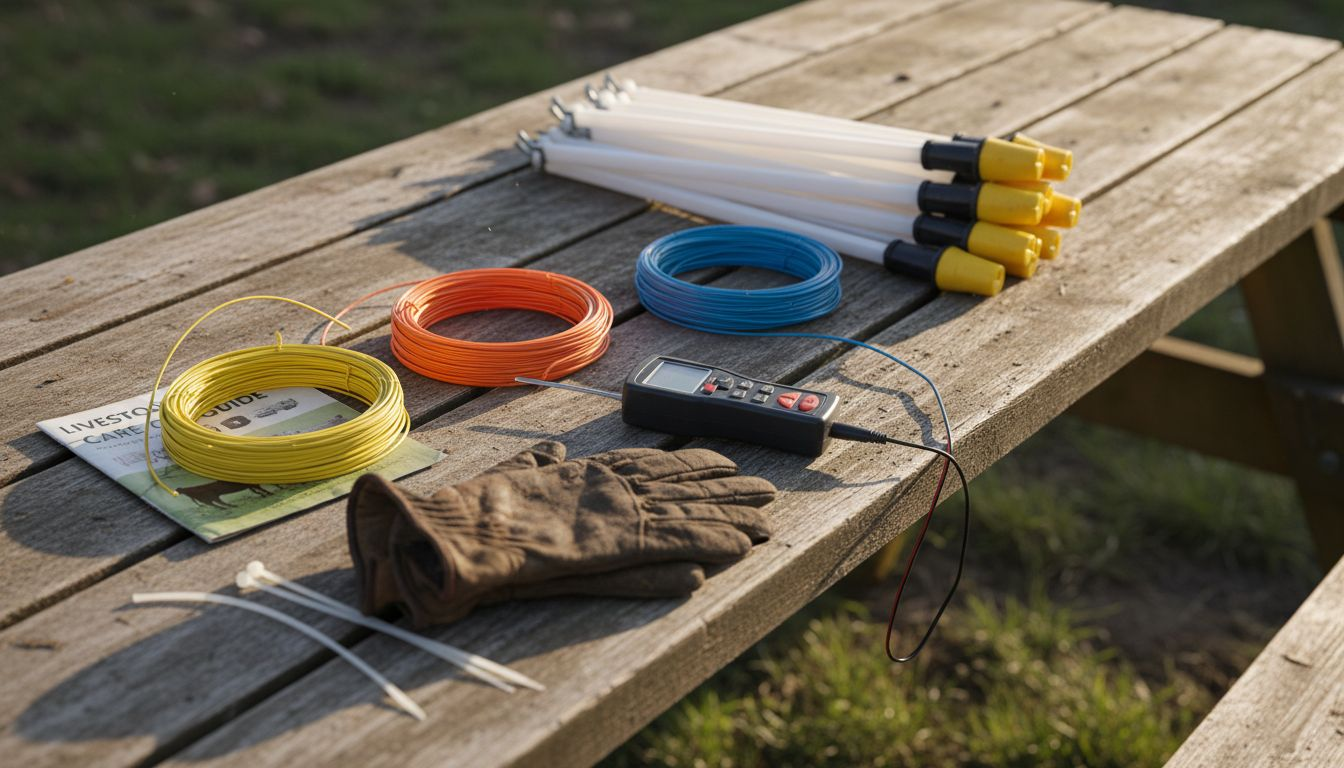
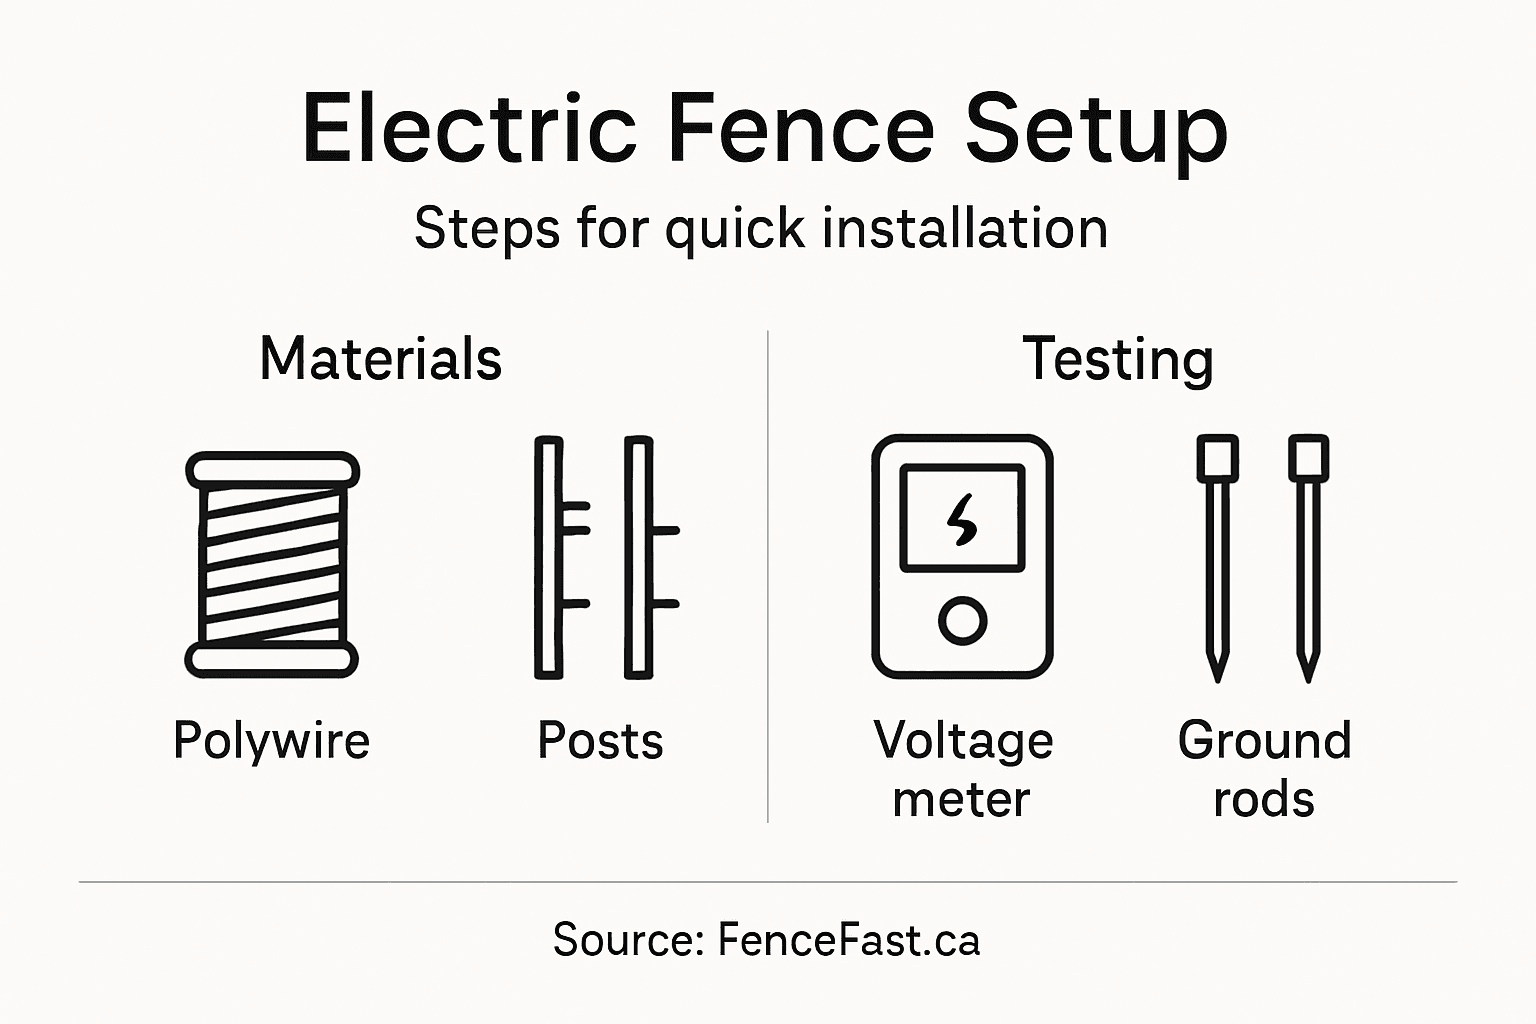
Step 2: Select Proper Temporary Electric Fencing Materials
Choosing the right materials is crucial for creating an effective and reliable temporary electric fence that will keep your livestock secure and managed efficiently. Your goal is to select lightweight, durable components that balance performance, cost, and ease of use.
Temporary electric fencing materials include several key components that work together to create a functional grazing boundary:
- Polywire with interwoven stainless steel strands
- Polytape for increased visibility
- Electric netting for comprehensive animal containment
- Step-in posts for quick installation
- Fence energizers powered by solar or household electricity
- Insulators to maintain electrical current
- Gate handles for controlled access
Selecting the right materials ensures your temporary fencing is both effective and adaptable to changing grazing needs.
Consider your specific livestock type and environmental conditions when making material selections. Cattle might require different fencing characteristics compared to sheep or horses. Pay attention to factors like:
- Durability of materials
- Ease of installation and removal
- Visibility of fence lines
- Power source availability
- Terrain and weather conditions
Lightweight and portable components will make your fencing system more flexible and easier to manage. Invest in quality reels with features like wire guards and braking systems to improve handling and reduce tangling.
Here’s a summary of common temporary electric fencing materials and their best-use scenarios:
| Material Type | Ideal Use Case | Durability | Visibility |
|---|---|---|---|
| Polywire | Cattle & rotational grazing | Moderate | Low |
| Polytape | Horses & long fence runs | High | Very High |
| Electric Netting | Sheep & poultry containment | Good | Medium |
| Step-in Posts | Temporary boundaries | Variable | N/A |
Pro Tip: Always purchase a voltage tester to regularly check your fence’s electrical integrity and ensure consistent performance.
Step 3: Install Fence Posts and Wire Effectively
Successfully installing temporary electric fencing requires precision and careful attention to detail to create a secure boundary for your livestock. Your goal is to establish a reliable and effective fence that keeps animals contained while minimizing potential breaches.
Temporary electric fencing installation involves several critical steps to ensure maximum effectiveness:
- Select appropriate step-in or ring-top posts
- Choose lightweight conductive wire or tape
- Ensure proper post spacing
- Maintain consistent wire tension
- Position wire at correct animal-specific heights
Proper fence installation creates a psychological barrier that effectively manages livestock movement.
Begin by mapping your installation area and marking post locations strategically. Consider these key installation techniques:
- Space posts consistently (typically 50-100 feet apart)
- Drive posts firmly into ground
- Attach insulators securely
- Connect wire with minimal slack
- Test electrical continuity before finalizing
Lightweight and flexible components will make your fencing system more adaptable. Pay special attention to terrain variations and potential ground conditions that might impact post stability.
Pro Tip: Always carry a voltage tester during installation to immediately verify electrical connectivity and prevent potential livestock escape routes.
Step 4: Connect and Power the Electric Fence System
Creating a reliable electrical connection is the heart of an effective temporary electric fence system. Your goal is to establish a consistent power source that delivers reliable voltage throughout the entire fence line.
Electric fence power requirements involve careful selection of power sources and grounding techniques:
- Solar panel power systems
- Battery-powered energizers
- 110V electrical outlet connections
- Grounding rod installations
- Voltage regulators
- Wire connectors
A properly powered electric fence creates a psychological barrier that effectively contains livestock.
Evaluate your specific location and power availability when choosing an energizer. Consider these critical connection steps:
- Select an energizer matching your fence length
- Install multiple ground rods (3-6 feet long)
- Space ground rods 10 feet apart
- Connect energizer to fence wires securely
- Test voltage levels before finalizing
Consistent electrical output is crucial for maintaining an effective fence. Ensure your connections are tight, clean, and free from corrosion or damage.
Compare key power sources for electric fences:
| Power Source | Strengths | Limitations |
|---|---|---|
| Solar Energizer | Off-grid operation, eco-friendly | Weather dependent |
| Battery Energizer | Portable, flexible placement | Needs recharging |
| 110V Outlet | Reliable, high power output | Requires fixed supply |
Pro Tip: Invest in a digital voltage meter to regularly check your fence’s electrical performance and quickly identify any potential connection issues.
Step 5: Test Fence Integrity and Ensure Animal Safety
Testing your temporary electric fence is a critical final step that ensures both livestock containment and animal protection. Your objective is to verify the electrical system’s performance and create a safe, reliable boundary for your herd.
Fence integrity testing techniques involve several comprehensive assessment methods:
- Voltage meter measurements
- Short circuit detection
- Ground connection verification
- Wire height alignment
- Vegetation clearance checks
Proper fence testing prevents livestock escapes and reduces potential injury risks.
Conduct a systematic evaluation of your electric fence using these critical steps:
- Check voltage levels at fence endpoints
- Verify voltage between 3000-6000 volts
- Inspect wire spacing for livestock type
- Test ground rod effectiveness
- Clear vegetation near fence lines
Consistent voltage maintenance is crucial for creating an effective psychological barrier. Pay special attention to potential interference sources like wet vegetation or damaged components.
Pro Tip: Purchase a digital voltage tester with fault-finding capabilities to quickly diagnose and resolve potential electrical issues before they compromise your fence’s effectiveness.
Build Your Perfect Temporary Electric Fence with Ease
Setting up an effective temporary electric fence for your livestock can feel overwhelming when you face challenges like choosing the right materials, ensuring consistent power supply, and installing posts that hold on uneven terrain. This article highlights the essential steps and common pain points such as selecting durable polywire or polytape, powering your fence reliably with solar or battery energizers, and maintaining proper voltage to keep your animals safe and secure.
At FenceFast.ca, we understand the demands of livestock management in Canadian rural environments. Our broad range of electric fencing systems includes everything from energizers and solar panels to connectors and gate handles designed for easy installation and flexible layouts. Whether you need lightweight step-in posts for rotational grazing or durable electric netting for added containment, you can trust us to provide quality solutions tailored for your farm or ranch.

Don’t let fencing challenges hold back your livestock management goals. Visit FenceFast.ca now to explore trusted fencing components, expert advice, and nationwide shipping. Take control of your grazing boundaries today and protect your herd with confidence.
Frequently Asked Questions
How do I assess my grazing area for setting up temporary electric fencing?
To assess your grazing area, survey your pasture landscape, noting key features like terrain, soil conditions, and water sources. Map out the area carefully, identifying obstacles, and consider subdividing larger pastures into smaller paddocks for better management.
What materials should I use for temporary electric fencing?
Select lightweight and durable materials such as polywire, polytape, and step-in posts. Prioritize components that suit your specific livestock type, ensuring they are easy to install, stable in various weather conditions, and visible to prevent accidental breaches.
How do I install fence posts and wire effectively for livestock?
Space posts consistently, typically 50-100 feet apart, and ensure proper installation by driving them firmly into the ground. Attach insulators securely, maintain consistent wire tension, and test the electrical connectivity before finalizing the installation to prevent escapes.
How can I properly connect and power my temporary electric fence system?
Select a suitable energizer, such as a solar or battery-powered option, and install grounding rods spaced 10 feet apart. Securely connect the energizer to the fence wires, ensuring the voltage levels are consistent to keep the fence effective for animal containment.
What steps should I take to test the integrity of my electric fence?
Test your electric fence by checking voltage levels at the endpoints, ensuring they are between 3000-6000 volts. Verify the effectiveness of your ground connections and clear any vegetation around the fence to maintain consistent voltage and prevent escapes.
How often should I check the electrical performance of my temporary electric fence?
Regularly test the electrical performance of your temporary electric fence every few weeks or whenever you make adjustments to the system. Use a voltage tester to quickly identify any issues and ensure that your fence remains an effective barrier for livestock.

