
Managing cattle and horses across large Canadian pastures can feel like a balancing act between animal needs and pasture recovery. For ranchers committed to both healthy livestock and land, finding effective temporary fencing is key. By focusing on rotational grazing benefits and reliable containment strategies, you can maximize pasture productivity, minimize labor, and set up a flexible system that keeps both grass and animals in their best condition.
Table of Contents
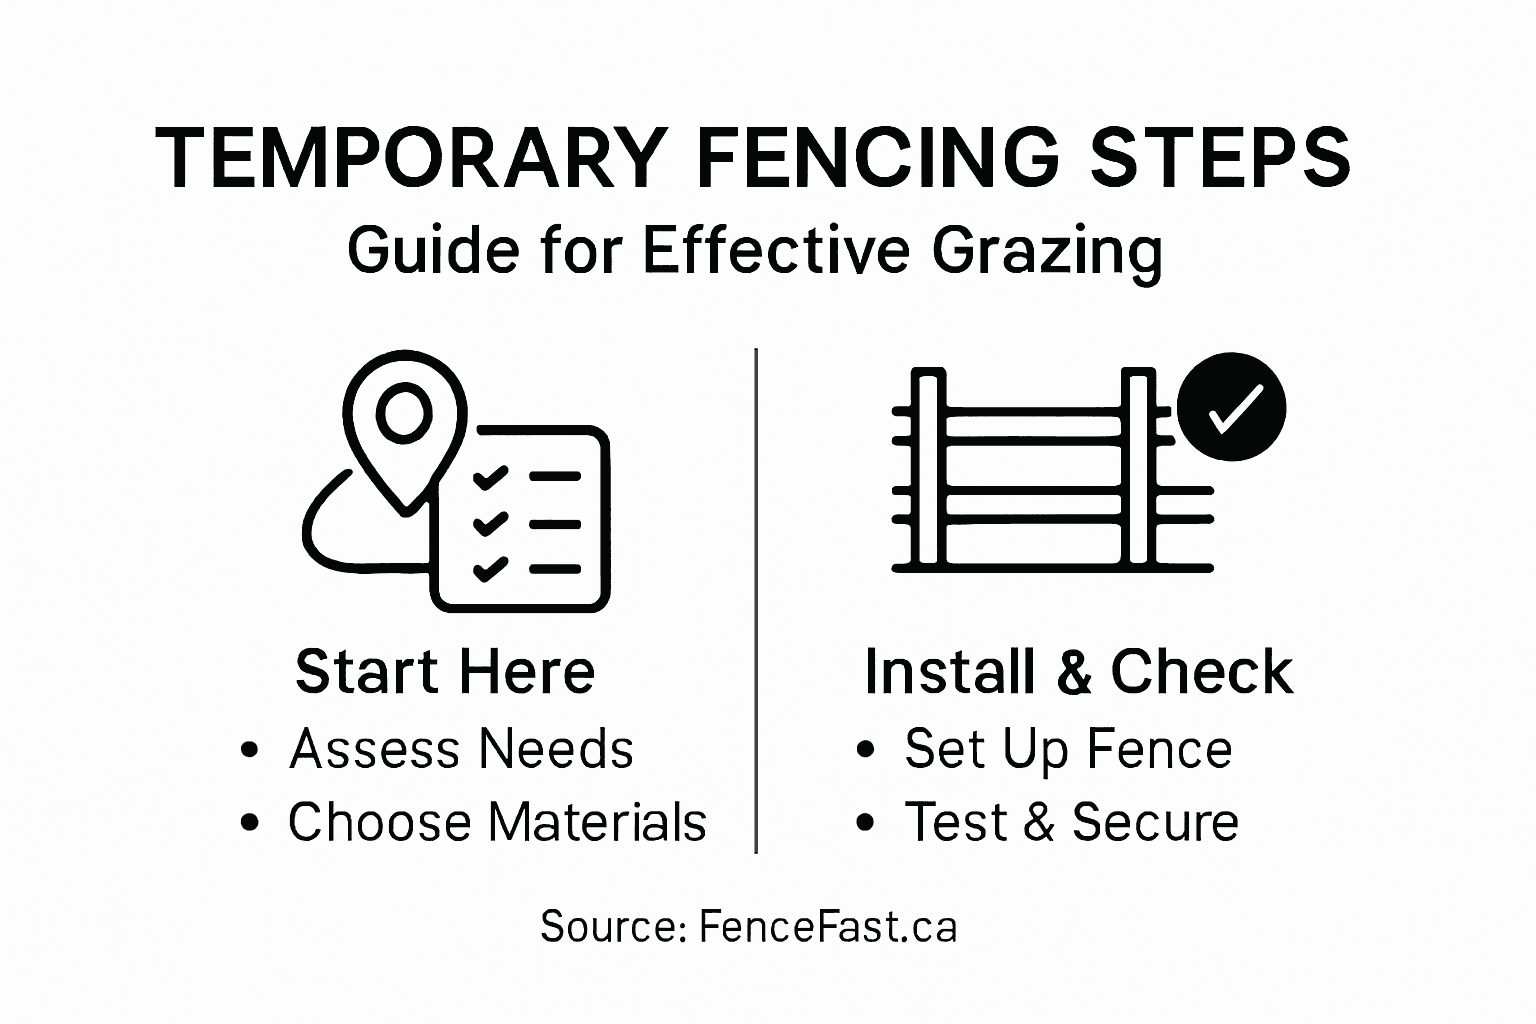
- Step 1: Assess Pasture And Livestock Needs
- Step 2: Select Temporary Livestock Fencing Materials
- Step 3: Install Fencing For Optimal Containment
- Step 4: Test And Secure Fence Performance
Quick Summary
| Key Takeaway | Explanation |
|---|---|
| 1. Assess Pasture and Livestock Needs | Before installing fencing, thoroughly evaluate pasture conditions and livestock requirements to avoid costly decisions later. |
| 2. Choose the Right Fencing Materials | Select fencing materials based on livestock type and management goals to enhance safety and efficiency in the grazing operation. |
| 3. Proper Fence Installation is Crucial | Install fences correctly to prevent animal escapes and reduce the need for frequent repairs in the future. |
| 4. Regularly Test and Secure Your Fence | Conduct thorough check-ups on fence integrity and voltage to ensure it effectively contains the livestock over time. |
| 5. Document Baseline Data for Paddocks | Keep records of pasture conditions and grass heights to track improvements and make better grazing management decisions. |
Step 1: Assess Pasture and Livestock Needs
Before you string up a single wire, you need to know what you’re working with. Your pasture and animals have specific needs that will shape every fencing decision you make. Taking time upfront saves costly mistakes later.
Start by understanding your pasture itself. Walk through each paddock and note the soil type and water infiltration patterns. Clay soil drains differently than sandy soil, which affects grass growth and animal comfort. Check what plant species are currently growing. Are they nutritious grasses, or is the area dominated by weeds and less desirable plants?
Measure your pasture’s current condition using a simple tool like a grass measuring stick or ruler. Grass height tells you whether animals can graze effectively without damaging future growth. Most Canadian forage crops perform best when grazed between 6 to 8 inches tall.
Document baseline data on each paddock you plan to rotate:
- Current grass height and species composition
- Soil drainage and moisture levels
- Water source availability
- Shaded areas and shelter potential
- Problem spots like swampy areas or overgrazed patches
Now assess your livestock. Calculate your stocking rate by counting cattle and horses and determining their daily nutritional requirements. Cattle typically need 2 to 3 percent of their body weight in forage daily. Horses require similar amounts. Effective livestock management must consider nutritional requirements and available pasture quality.
Consider your animals’ condition and health needs. Are calves and foals present? Do any animals have special dietary requirements? Nursing mothers need higher quality forage than growing animals. These details influence how long animals can stay in each paddock before you rotate them.
Match your grazing goals to realistic outcomes. If your goal is pasture recovery, you’ll need more paddocks and shorter grazing periods. If you’re simply managing available grass, you might use fewer paddocks but with longer rest periods. Understanding rotational grazing benefits helps you plan realistic expectations.
Accurate baseline measurements take an hour but prevent months of poor grazing management decisions.
Pro tip: Use your smartphone camera to document paddock photos and grass heights before starting, so you can track improvement over the grazing season and adjust your rotation timing accordingly.
Step 2: Select Temporary Livestock Fencing Materials
Choosing the right fencing material makes or breaks your grazing operation. The material you select affects how quickly you can move animals, how safe your fence is, and how much labor you’ll spend managing it. Your choice depends on your livestock type, pasture layout, and management style.
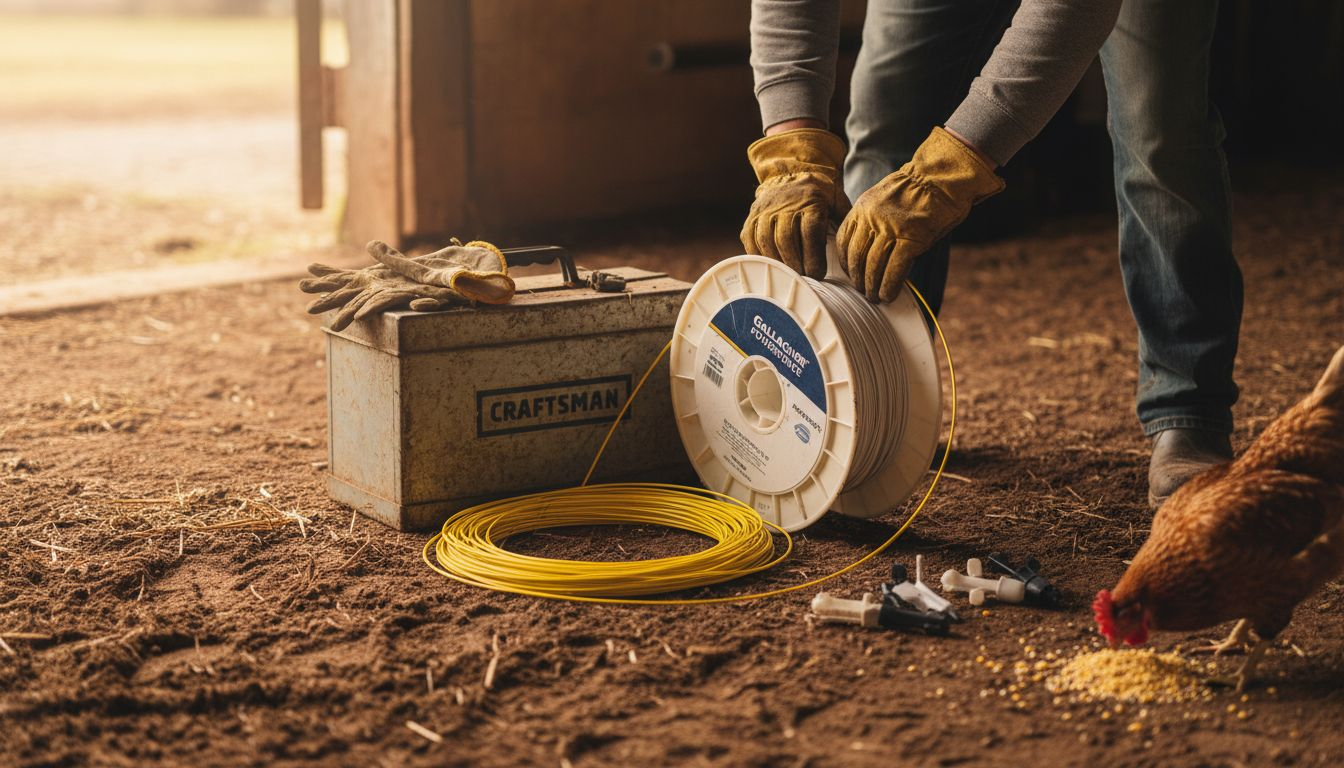
Start by understanding what materials are available. Temporary fencing materials typically include woven wire, polywire, polyrope, and polytape. Each has different strengths. Woven braided wire offers durability and works well for cattle that test fences. Polywire and polytape are lighter, easier to move, and ideal for frequent rotations. Polyrope sits somewhere in between, providing decent conductivity for electric fencing.
Consider whether you want electric fencing. An energized fence requires fewer physical barriers because animals respect the shock. Non-electric fencing relies on solid materials to contain livestock. Most Canadian ranchers use electric temporary fencing because it’s cheaper, faster to install, and highly effective.
Match your material to your animals. Cattle are stronger and more aggressive with fences than horses. Horses spook easily but rarely push through a solid barrier. Young animals test fences more than mature ones. Sheep and goats need smaller mesh or closer spacing to prevent escape.
Evaluate these factors for your situation:
- Installation time: How quickly do you need to move animals between paddocks?
- Durability: How many seasons will you use each fence?
- Visibility: Can animals see the fence clearly to avoid running into it?
- Conductivity: If using electric fencing, does the material conduct reliably?
- Cost: What fits your budget for this season?
- Maintenance: How often are you willing to check and repair fence?
Temporary fencing enables flexible livestock movement for rotational grazing systems. By choosing materials that work with your rotational strategy, you reduce labor costs and allow pastures to recover between grazing periods.
Most Canadian ranchers combine materials for best results. Use electric polywire on flat, open pastures where visibility is good. Switch to woven wire in brushy areas where animals might not see the fence clearly. Use polytape in high-traffic paddocks where durability matters.
Here’s a summary of common temporary fencing materials and their ideal uses:
| Material | Best For | Conductivity | Durability |
|---|---|---|---|
| Woven Wire | Cattle, brushy areas | Moderate | Long lasting |
| Polywire | Frequent rotations | High (electric) | Moderately durable |
| Polyrope | Mixed livestock | Decent (electric) | Moderate |
| Polytape | High-traffic paddocks | High (electric) | Most durable |
The best temporary fencing material is the one you’ll actually move regularly and maintain consistently.
Pro tip: Start with polywire and a solar-powered energizer on a small paddock to test the system before committing to full rotational grazing across your entire operation.
Compare electric and non-electric fencing effectiveness:
| Feature | Electric Fencing | Non-Electric Fencing |
|---|---|---|
| Installation Speed | Quick | More labor intensive |
| Animal Containment | Animals respect shock | Relies on physical barrier |
| Maintenance Required | Regular voltage checks | Frequent repairs needed |
| Material Cost | Lower upfront cost | Higher material expense |
| Adaptability | Easy to relocate | Less flexible |
Step 3: Install Fencing for Optimal Containment
Proper installation separates a fence that works from one that fails within weeks. The way you position posts, tension wire, and energizers determines whether your animals stay contained or escape. Take time now to install correctly, and you’ll avoid frustrating repairs later.
Start by selecting your paddock location carefully. Avoid rough terrain with rocks and roots that make post installation difficult. Skip dense vegetation where you’ll constantly battle brush and fallen branches. Choose flat or gently sloping ground where animals can move safely and you can access the fence for maintenance.
For electric fencing, proper energizing is critical. Electric fences require appropriate energizers delivering adequate voltage between 3000 to 6000 volts for effectiveness. Too low voltage and animals won’t respect the shock. Too high and you risk safety issues. Choose an energizer rated for your pasture size and animal type.
Install posts at proper spacing. Most temporary fences use posts 8 to 12 feet apart depending on wire type and terrain. Closer spacing in rough ground prevents sagging. Wider spacing works fine on flat pastures. Push posts firmly into the ground at least 12 inches deep so they resist animal pressure.
Your installation process should follow these steps:
- Mark paddock corners and walk the perimeter to identify obstacles
- Drive posts in a straight line, checking alignment as you work
- Attach insulators to posts if using electric fencing
- String wire or tape between posts, maintaining consistent tension
- Connect energizer to fence and ground rods
- Walk the fence checking for gaps where animals could escape
Test your fence thoroughly before moving animals in. Walk the perimeter. Look for low spots. Check all connections. Touch the wire to verify it’s energized. An animal testing your fence is not the time to discover a problem.
Consider paddock size and shape for your management goals. Smaller paddocks with shorter grazing periods let pasture recover faster. Larger paddocks allow longer grazing periods but need more fencing materials. Rectangular shapes work better than irregular shapes for rotational grazing.
A properly installed temporary fence takes one day but saves you weeks of chasing escaped livestock.
Pro tip: Install your first test paddock near the barn where you can monitor animals closely and adjust post spacing or wire tension if needed before expanding across the property.
Step 4: Test and Secure Fence Performance
Before you move animals into a new paddock, your fence must prove it can contain them. Testing reveals problems before they become expensive escapes. Securing your fence means checking it regularly and making adjustments that keep animals contained season after season.
Walk the entire fence perimeter slowly. Look for gaps at ground level where small animals or young cattle might squeeze through. Check that wire or tape is straight and tight, not sagging between posts. Feel the tension by pushing on the wire. It should have some give but spring back immediately.
For electric fences, verify the energizer is working. Touch the fence with a voltmeter or a special tester to confirm voltage is present. Livestock respond to training through auditory warnings and mild shocks delivered consistently by a properly functioning fence. If voltage drops below 2000 volts, animals won’t respect the boundary.
Check your ground system carefully. Electric fences need solid ground contact to complete the circuit. Drive a dedicated ground rod at least 3 feet into moist soil near the energizer. Corrosion and poor connections cause voltage loss.
Perform these security checks before introducing animals:
- Walk the entire perimeter checking for gaps and damage
- Test voltage at multiple points around the fence
- Verify ground rod connections are clean and tight
- Look for vegetation touching the fence that could drain voltage
- Confirm all insulators are intact and preventing shorts
Introduce animals gradually if possible. Put one calm animal in first to test the fence’s reaction. Observe how they respond to the electric shock. Most cattle learn within one or two touches. If animals repeatedly test the fence, check voltage and connections.
Inspect your fence weekly during grazing season. Wind, snow, and animal pressure damage fences quickly. Repair breaks immediately before animals discover weak spots. Replace damaged wire or posts right away.
A fence tested before use rarely fails when it matters most.
Pro tip: Trim vegetation back from the fence line by 12 inches on both sides to maintain voltage and visibility, and check your voltmeter reading weekly to catch problems before animals escape.
Enhance Your Rotational Grazing with the Right Fencing Solutions
Managing temporary livestock fencing for effective rotational grazing can be challenging. From selecting durable materials like polywire and woven wire to ensuring proper installation and electric energizing, every detail affects pasture recovery and animal containment. If you want to save time, reduce fence maintenance, and keep your livestock safe and secure, choosing reliable fencing components and electric systems is critical.
At FenceFast.ca, we specialize in providing Canadian farmers and ranchers with high-quality fencing supplies tailored to your specific grazing needs. Whether you are installing electric fences or durable woven wire, our broad selection of staples, energizers, solar-powered options, and connectors lets you build a flexible, effective system that matches your pasture layout and livestock type. With nationwide shipping and expert consulting, you get the support you need to optimize your rotational grazing strategy right from the start.
Unlock the full potential of your pasture today. Visit FenceFast.ca to explore our electric fencing systems and premium fencing components designed for quick installation and long-term performance.

Get started now with fencing solutions that match the demands of your livestock and pasture. Protect your investment and improve grazing efficiency with FenceFast.ca’s trusted products and expertise.
Frequently Asked Questions
How do I assess the needs of my pasture before installing temporary livestock fencing?
To assess your pasture needs, walk through each paddock and document soil type, drainage patterns, and current grass height. Measure grass height using a ruler to ensure it’s between 6 to 8 inches for optimal grazing before fencing installation.
What materials should I consider for temporary livestock fencing?
Consider materials such as woven wire, polywire, polytape, and polyrope. Choose based on your livestock type and management style; for example, use polywire for quick setups and woven wire for durability in rugged areas.
How do I properly install temporary fencing for my livestock?
To install temporary fencing correctly, choose a flat or gently sloping area, space posts 8 to 12 feet apart, and ensure they are firmly anchored at least 12 inches deep. Follow a systematic installation process to string the wire or tape and check for any gaps to ensure optimal containment.
How can I ensure my electric fencing is functioning properly?
Test your electric fencing by verifying the voltage with a voltmeter, ensuring it falls between 3000 to 6000 volts. Regularly check connections and the ground system for any corrosion or damage that may impede performance.
What steps should I take to maintain my temporary fencing?
Regularly walk along the fence’s perimeter, checking for gaps or damage, and trim any vegetation that may hinder electric current. Perform these checks weekly during the grazing season to prevent escapes, and address repairs immediately to maintain effective livestock containment.
How often should I rotate my livestock between paddocks?
Rotate livestock at least every few days to a week, depending on your goals for pasture recovery and grass growth. Aim to keep animals in a paddock long enough to graze effectively but short enough to allow for adequate recovery of the pasture.

