
TL;DR:
- Rotational grazing can increase pasture productivity by 35 percent with proper fencing systems.
- Combining permanent perimeter, semi-permanent internal, and temporary fences is crucial for effective grazing management.
- Starting with few paddocks, observing livestock, and gradually expanding leads to long-term success in Canadian conditions.
Rotational grazing can deliver a 35% increase in pasture productivity, yet many Canadian farmers stall out before seeing those gains because their fencing setup can’t keep pace with the system. The confusion is real: permanent, semi-permanent, or temporary? Electric or woven wire? Posts every five feet or eight? This article breaks down every fencing type suited to rotational grazing, shows you how to design paddocks that actually work on Canadian land, and gives you the practical details on electric fencing setup, maintenance, and troubleshooting for our climate. By the end, you’ll have a clear, actionable plan.
Table of Contents
- Understanding fencing types for rotational grazing
- Designing effective paddocks: Planning for productivity
- Key components and best practices for electric fencing
- Troubleshooting and adapting to local Canadian conditions
- Why most rotational fencing projects succeed or fail: Hard-won lessons
- Get expert fencing solutions for your grazing plan
- Frequently asked questions
Key Takeaways
| Point | Details |
|---|---|
| Mix fence types | Blend permanent, semi-permanent, and temporary fences for a flexible, cost-effective system. |
| Smart paddock design | Plan 4 to 8 paddocks sized for fast rotation and rest, with central water access to boost productivity. |
| Electric fence essentials | Use solar-powered energizers, stainless conductors, and regular maintenance to keep fences safe and effective. |
| Adapt to local conditions | Choose materials and configurations that handle Canadian terrain and seasonal extremes. |
| Start simple, scale up | Begin with a manageable setup and build confidence before adding complexity or smart-tech solutions. |
Understanding fencing types for rotational grazing
To build a system that works, you need to know what each fencing type does and where it fits. Rotational grazing uses a mix of permanent, semi-permanent, and temporary fences, and each layer plays a specific role. Trying to do everything with one type is where most operations run into trouble.
Permanent perimeter fencing is your foundation. High-tensile wire, woven wire mesh, or wood and metal post combinations create the outer boundary that keeps livestock in and predators out year-round. This is the investment you make once and maintain for decades. It needs to be strong, weather-resistant, and appropriate for your animal type.

Semi-permanent internal fencing uses lighter PVC or metal posts with electrified wire to divide your pasture into larger zones. You won’t move these weekly, but you can adjust them seasonally as your grazing plan evolves. They offer more flexibility than permanent fencing without the daily labor of temporary systems.
Temporary fencing is the workhorse of rotational grazing. Polywire, polytape, and step-in or pigtail posts let you create and dissolve paddocks in minutes. This is what allows you to move livestock every 24 to 36 hours and give each paddock the recovery time it needs.
Here’s a quick comparison to help you decide where to invest:
| Fencing type | Best use | Cost level | Flexibility |
|---|---|---|---|
| Permanent | Outer perimeter | High | Low |
| Semi-permanent | Internal zone division | Medium | Medium |
| Temporary | Daily or weekly rotation | Low | High |
Key considerations for Canadian farms specifically:
- Climate: Freeze-thaw cycles stress post anchoring and wire tension. Choose materials rated for cold climates.
- Soil type: Clay-heavy or rocky soils affect post installation and drainage near fence lines.
- Animal type: Cattle need higher voltage and sturdier wire than sheep or poultry.
- Terrain: Hilly or brushy land may require woven wire where polywire would snag.
Pro Tip: Combine a solid permanent perimeter with a flexible temporary interior system. You get long-term security without locking yourself into a layout that doesn’t match how your pasture actually grows season to season. Explore the full range of rotational fencing options to match your operation’s scale and budget.
Designing effective paddocks: Planning for productivity
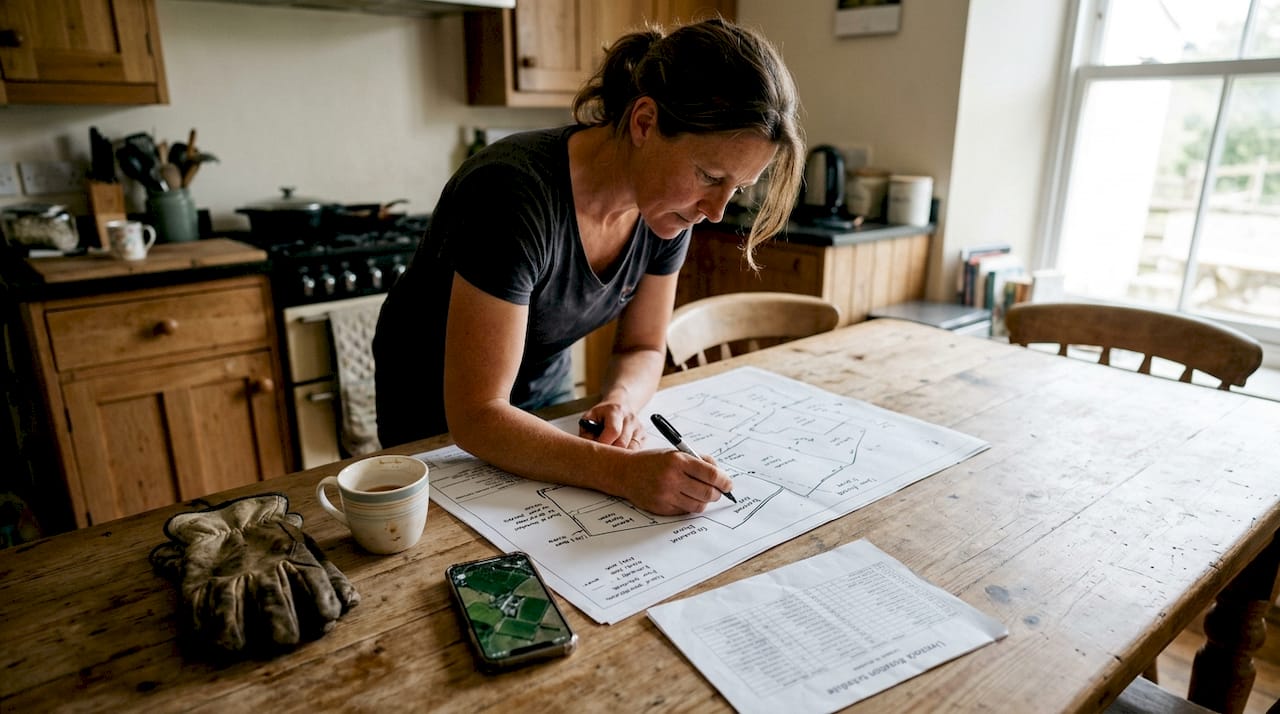
Once you understand your fencing toolkit, the next challenge is arranging those fences on your land in a way that actually drives results. Paddock design is where theory meets terrain, and small decisions here have big consequences for pasture health and livestock performance.
Paddock design should plan for 1-3 days of grazing, 3-week rests, and often use 4-8 paddocks with 20-30% extra space built in for seasonal growth variation and emergency flexibility. That extra buffer isn’t optional. A dry July or a wet spring can throw your whole rotation off if you haven’t planned for it.
Here’s a practical paddock planning reference:
| Number of paddocks | Grazing days per paddock | Rest period |
|---|---|---|
| 4 | 7 days | 21 days |
| 6 | 5 days | 25 days |
| 8 | 3-4 days | 24-28 days |
| 12+ | 1-2 days | 22-26 days |
For most Canadian operations starting out, 4 to 8 paddocks is the practical sweet spot. It’s manageable, and it gives your pasture enough recovery time to see real regrowth before livestock return.
Shape matters more than most guides admit. Rectangular or L-shaped paddocks allow livestock to move naturally from one end to the other without bunching. Irregular shapes create dead corners where animals congregate, overgraze, and compact the soil. Keep it simple and clean.
Here’s a step-by-step approach to paddock layout:
- Walk your entire pasture and note wet spots, slopes, rocky patches, and existing shade.
- Identify where your permanent water source is or where you can run a line.
- Sketch a rough grid using rectangular sections, adjusting for terrain features.
- Assign each paddock a number and plan your rotation sequence before you put in a single post.
- Build your first 4 paddocks, graze through one full rotation, then adjust based on what you observe.
- Add paddocks gradually as your confidence and herd size grow.
Pro Tip: Place water access at or near the center of your paddock system. Livestock that have to travel far for water will overgraze areas near the source and underuse the rest. Central water also reduces soil compaction along fence lines. If your water source is fixed, consider solar power for electric fencing to run pumps or energizers in remote areas without trenching power lines.
Key components and best practices for electric fencing
A well-designed paddock layout only works if the fence itself is reliable. Electric fencing for rotational grazing has a few non-negotiable fundamentals, and skipping any one of them tends to cause problems fast.
Solar-powered energizers and stainless steel filaments in polywire and polytape provide longevity; test voltage and trim vegetation regularly to keep your system running at full strength. These aren’t suggestions. They’re the habits that separate operations that work from ones that constantly chase escaped cattle.
Core setup requirements:
- Post spacing: Space posts 5 to 8 feet apart for temporary fencing. Closer spacing on slopes or in windy areas keeps wire at consistent height.
- Grounding: Use at least three ground rods, each 6 feet long, spaced 10 feet apart. Poor grounding is the number one cause of weak fence voltage.
- Conductor visibility: Use brightly colored polytape or polywire so animals and people can see the fence clearly. This matters especially when training new livestock.
- Vegetation clearance: Keep at least 12 inches of vegetation cleared below the wire. Grass contact drains voltage and can drop your fence from 5,000 volts to under 1,000 volts quickly.
- Voltage testing: Test your fence weekly with a digital voltmeter. Aim for a minimum of 3,000 volts for cattle, higher for horses.
For remote paddocks away from grid power, a quality solar fence energizer comparison will help you match output to your paddock size and animal type. Solar units have improved dramatically and can now power large systems reliably through Canadian winters with proper battery sizing. If you’re setting one up for the first time, a step-by-step guide on installing solar energizers will save you a lot of trial and error.
One often-overlooked factor is livestock training. Animals that have never encountered electric fencing will test it hard, and a single escape can set back your whole rotation plan. Introduce new animals to a hot wire in a controlled area before putting them into your paddock system. A few minutes of training prevents weeks of frustration.
Statistic: Temporary electric fencing alone, when properly maintained, can boost pasture productivity by up to 30% compared to continuous grazing systems.
Troubleshooting and adapting to local Canadian conditions
Building a solid system is one thing. Keeping it running through a Canadian winter, a wet Alberta spring, or a brushy Ontario pasture is another challenge entirely. Canada’s geography demands that you think beyond the generic fencing guide.
Use pigtail posts on frozen ground, woven wire for brush, and adjust wire height for mixed livestock to handle the specific conditions your land throws at you. These aren’t workarounds. They’re the adaptations that make the difference between a system that runs smoothly and one that breaks down every other week.
Common Canadian fencing challenges and solutions:
- Frozen or hard ground: Step-in posts become nearly impossible to drive in January. Pigtail posts, which you twist into the ground, handle frozen soil far better and are worth the extra cost in colder regions.
- Brushy or wooded terrain: Polywire snags and breaks in heavy brush. Woven wire or high-tensile strand fencing holds up far better and requires less frequent inspection.
- Wet or sloped areas: Water pooling near fence lines causes voltage shorts. Assess drainage before placing posts, and use insulators rated for wet conditions.
- Multi-species management: Cattle, horses, and sheep all need different wire heights and tension levels. Visible polytape helps horses respect boundaries, while sheep may need a lower strand added to the system.
- Seasonal flexibility: Temporary systems let you pull back paddocks during deep winter and re-establish them in spring without major labor. Plan your layout with seasonal contraction in mind.
The broader picture supports investing in these adaptations. Rotational grazing adoption in Canada is rising, with roughly 50% of progressive beef producers now using some form of managed grazing. That growth is driven by producers who figured out how to make the system work in real Canadian conditions, not ideal ones. For guidance on getting your animals comfortable with the system from day one, a detailed guide on training livestock to electric fences is worth reading before you move your first group.
Why most rotational fencing projects succeed or fail: Hard-won lessons
Here’s the uncomfortable truth: the fencing rarely fails. The operator does. Most rotational grazing projects that stall out do so because the farmer started with a system too complex to manage consistently, got frustrated, and reverted to continuous grazing within a season.
The operations that succeed long-term almost always started simple. Starting with 2-4 paddocks and building gradually leads to better outcomes than launching with a 12-paddock system on day one. Mastering animal training, voltage maintenance, and basic rotation timing gives you the foundation that more advanced techniques require.
Virtual fencing and GPS-based livestock management are genuinely exciting technologies, and they will reshape Canadian ranching over the next decade. But they require operators who already understand how livestock behave around boundaries, how pasture recovers, and how to read land. That knowledge only comes from working a simple system well.
The biggest wins we see come from farmers who spent their first season doing less: fewer paddocks, more observation, and better understanding of their specific land. Explore solar fence strategies for Canadian farms when you’re ready to scale, but earn that step first.
Pro Tip: Before you buy a single post, spend two full grazing cycles just watching how your livestock move, where they prefer to graze, and where they avoid. That observation is worth more than any equipment upgrade.
Get expert fencing solutions for your grazing plan
Having a smart plan is the first step. Now equip yourself with the right products and expert support to make your rotational grazing a success.

At FenceFast.ca, we stock everything Canadian farmers need to build reliable rotational grazing systems, from temporary polywire and pigtail posts to high-output solar energizers built for our climate. The Gallagher S200 solar energizer is a top choice for remote paddocks, delivering consistent power without grid access. If you’re setting up a new paddock system, the Patriot electric fence accessory kit gives you the connectors, insulators, and hardware to get started right. Our team offers design consulting and can help you match products to your specific land, livestock, and budget across Canada.
Frequently asked questions
What type of fencing is best for quick rotational grazing changes?
Temporary electric fencing with polywire and step-in posts enables fast, flexible paddock changes without tools or heavy labor.
How many paddocks should I start with for rotational grazing?
Begin with 2-4 paddocks to keep management simple, then expand as you gain confidence and observe how your pasture responds.
How do I prevent livestock escapes with electric fencing?
Train livestock to electric wires early in a controlled setting and test fence voltage weekly to ensure it stays above the minimum threshold for your species.
What’s the main fencing challenge in Canadian winters?
Frozen ground makes standard step-in posts nearly impossible to drive; pigtail posts work better in hard or icy conditions because you twist rather than push them in.
Recommended
- Agricultural fencing in Canada: choosing durable solutions – FenceFast Ltd.
- Predator control fencing: proven solutions for farmers – FenceFast Ltd.
- Rotational Grazing Fencing: Maximizing Pasture Health – FenceFast Ltd.
- Rotational Grazing Fence: Boosting Pasture Health and Herd Control – FenceFast Ltd.

