
More than half of livestock escapes on Canadian farms trace back to poor electric fence grounding, a problem faced by farmers across the Canadian and American prairies. Reliable fence grounding is vital for keeping animals contained and protecting valuable herd investments. If you want practical steps for selecting the best tools, installing ground rods, and creating strong electrical connections, you will find clear guidance tailored to the unique challenges of Canadian agricultural life.
Table of Contents
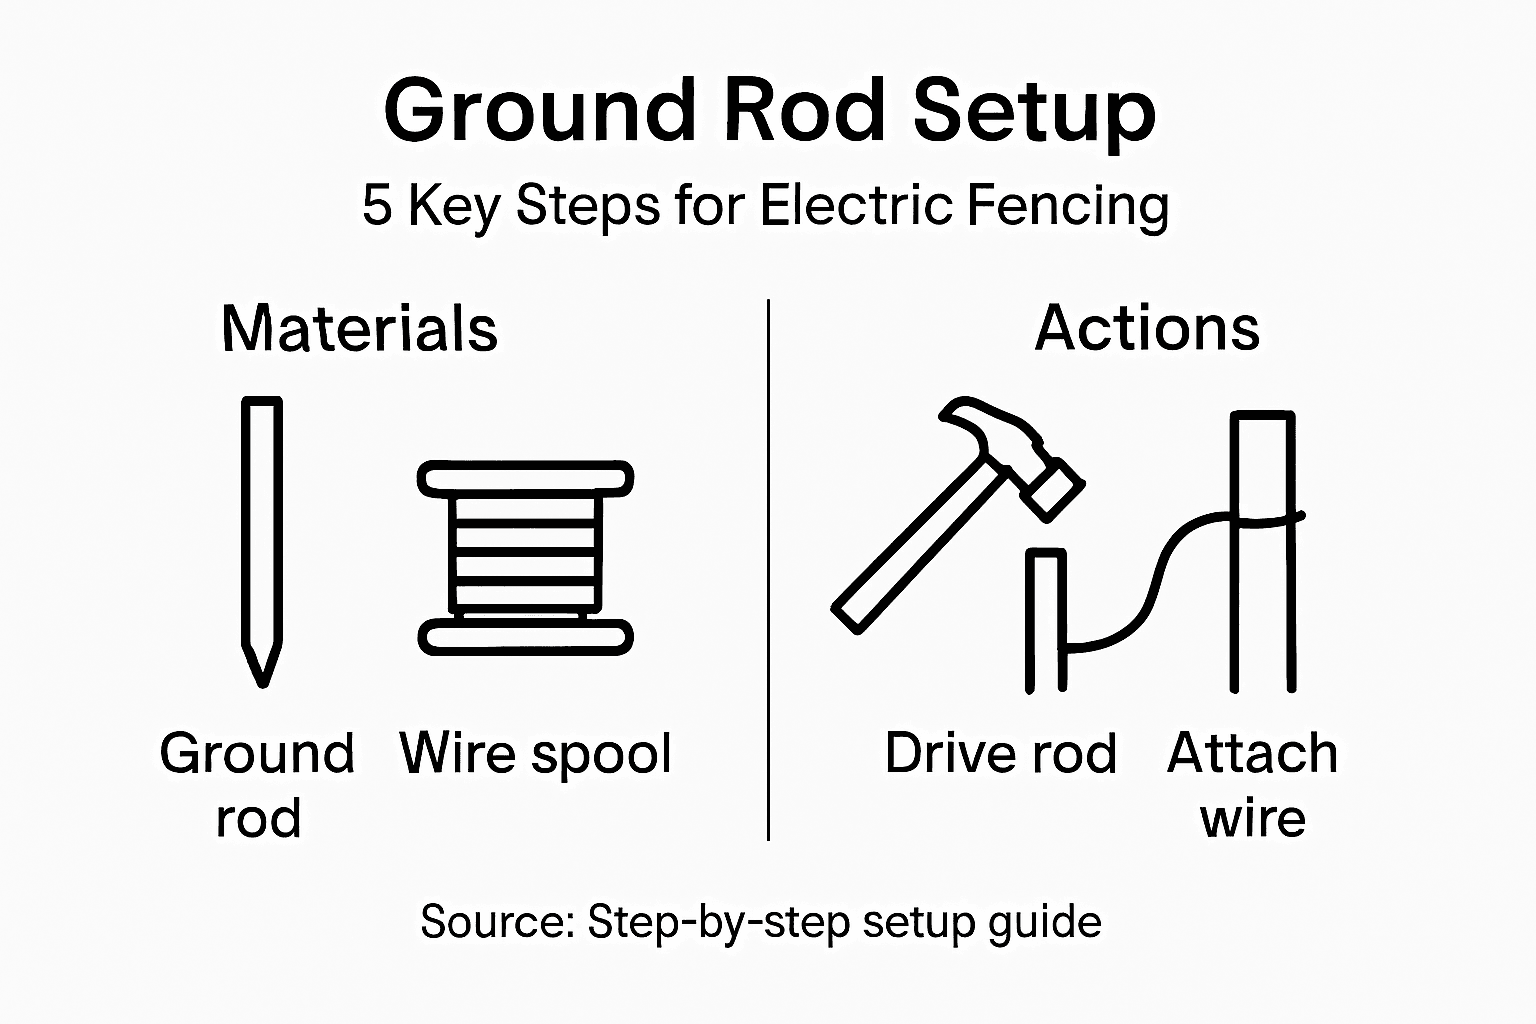
- Step 1: Gather Essential Materials And Tools
- Step 2: Select The Optimal Ground Rod Location
- Step 3: Install The Ground Rod Into The Soil
- Step 4: Connect Grounding Wire Securely
- Step 5: Test Electric Fence Grounding Effectiveness
Quick Summary
| Essential Insight | Description |
|---|---|
| 1. Gather correct materials | Use a copper or galvanized steel ground rod, along with compatible grounding wire and tools to ensure a successful installation. |
| 2. Choose ideal rod location | Select areas with consistent soil moisture and avoid rocky terrain to enhance grounding effectiveness for your electric fence. |
| 3. Install rod properly | Drive the ground rod at least 8 feet deep into moist soil, ensuring it stays vertical for optimal conductivity and stability. |
| 4. Secure wire connections | Match grounding wire to rod material and ensure a tight connection using high-quality connectors for maximum electrical contact. |
| 5. Test grounding effectiveness | Use a ground resistance meter to check readings under 25 ohms, and consider additional rods if resistance is high to improve performance. |
Step 1: Gather essential materials and tools
Before you start installing your ground rod for an electric fence, you will need to collect a specific set of materials that will make your project smooth and successful. Comprehensive grounding research indicates that proper preparation is crucial for an effective electric fence system.
For this project, you will want to gather the following key materials: a copper or galvanized steel ground rod (typically 8 feet long), grounding wire matching the rod material, a sturdy post driver or sledgehammer, wire cutters, electrical pliers, and safety gloves. You will also need additional fence components like wire, insulators, and connectors to complete your setup. Make sure the ground rod is long enough to reach consistently moist soil layers underground, which helps ensure a reliable electrical connection.
The specific tools you choose can make a significant difference in your installation efficiency. A quality post driver will help you sink the ground rod smoothly, while good wire cutters and pliers will help you make precise electrical connections. Always prioritize materials that are compatible with each other and suited to the specific conditions of your Canadian farm or ranch.
Pro tip: Before purchasing materials, measure your soil moisture and terrain to select the most appropriate ground rod length and type for your specific electric fencing needs.
Here is a quick summary of common ground rod materials and their main properties:
| Material Type | Corrosion Resistance | Electrical Conductivity | Ideal Usage Scenario |
|---|---|---|---|
| Copper | Excellent | Very High | Wet soils, long-term use |
| Galvanized Steel | Good | Moderate | Budget installations |
| Stainless Steel | Outstanding | Moderate | Highly corrosive environments |
| Zinc-plated Steel | Fair | Low | Temporary fencing |
Step 2: Select the optimal ground rod location
Choosing the right location for your ground rod is critical to ensuring an effective electric fence system. Ground rod placement techniques reveal that strategic positioning can significantly impact your fence’s performance and reliability.
When selecting a ground rod location, focus on areas with consistent soil moisture and good electrical conductivity. Avoid rocky or sandy terrain that can impede electrical grounding. Ideally, you want a spot with soft, loamy soil that maintains moisture throughout different seasons. If possible, choose a location near a natural water source like a creek or low lying area, which typically provides better ground conductivity. Ensure the area is away from existing underground utilities and maintains at least 6 feet of separation from other ground rods to prevent mutual resistance.
Your ground rod location should also consider practical farm layout considerations. Select a spot that provides easy access for future maintenance while remaining close enough to your electric fence perimeter to create an efficient grounding system. Consider potential water drainage patterns and seasonal ground conditions specific to your Canadian agricultural landscape.
Pro tip: Use a soil moisture meter to precisely evaluate ground conductivity before installing your ground rod, helping you identify the most electrically conductive location on your property.
This table highlights factors affecting ground rod performance, useful for optimizing your installation:
| Factor | Effect on Grounding | Recommendation |
|---|---|---|
| Soil Moisture | Increases conductivity | Select consistently moist area |
| Rod Depth | Reduces resistance | Minimum 8 feet recommended |
| Rod Material | Prevents degradation | Match wire and rod type |
| Rod Spacing | Avoids mutual resistance | Space rods at least 6 feet apart |
Step 3: Install the ground rod into the soil
Now that you have selected the optimal location, it is time to drive your ground rod deep into the soil. Ground rod installation techniques are critical for creating an effective electrical ground connection for your fence system.
Begin by positioning your ground rod vertically in the predetermined location. Use a post driver or sledgehammer to drive the rod steadily and consistently into the ground. Your goal is to reach a minimum depth of 8 feet to ensure consistent contact with moist soil layers. If you encounter rocky terrain or experience high resistance, consider installing multiple ground rods spaced at least 6 feet apart to improve overall grounding performance. Apply steady downward pressure while driving the rod, keeping it as straight as possible to maintain structural integrity and maximize electrical conductivity.

As you install the ground rod, periodically check its verticality using a carpenter level to ensure it remains perfectly straight. Slightly wiggle the rod during installation to help it penetrate compacted soil more effectively. Stop driving once the rod is fully embedded with only a few inches exposed above ground level, creating an accessible connection point for your grounding wire.
Pro tip: Spray water around the ground rod installation area before driving to soften the soil and improve rod penetration, especially in dry or compact ground conditions.
Step 4: Connect grounding wire securely
With your ground rod installed, the next critical step is creating a robust electrical connection that will ensure your fence system functions safely and effectively. Grounding wire connection techniques require careful attention to material compatibility and connection method.
Select a grounding wire that matches your ground rod material copper wire for copper rods, galvanized wire for galvanized rods to prevent electrolysis and corrosion. Use professional grade compression connectors or specialized exothermic welding methods instead of basic clamps. Clean both the ground rod surface and wire connection point thoroughly to remove any dirt or oxidation that could impede electrical conductivity. When attaching the wire, ensure a tight mechanical connection that creates maximum surface contact between the wire and rod.
Position your connection near the top of the ground rod where it remains accessible for future maintenance but is protected from direct environmental exposure. Tighten the connection using a torque wrench to manufacturer specifications to guarantee a secure and consistent electrical pathway. Consider applying an anti oxidation compound to the connection point to further protect against potential degradation from moisture and environmental factors.
Pro tip: Invest in high quality compression tools and dies specifically designed for your wire and rod materials to ensure a reliable mechanical and electrical connection.
Step 5: Test electric fence grounding effectiveness
After installing your ground rod, verifying its performance is crucial to ensuring your electric fence functions safely and reliably. Ground resistance testing methods are essential for confirming your electrical grounding system works as intended.
To test your ground rod, you will need a specialized ground resistance meter or a high-quality digital voltmeter capable of measuring low resistance values. Begin by disconnecting the fence energizer to prevent any electrical interference during testing. Place your testing device at the ground rod connection and measure the resistance reading. Ideally, you want a reading under 25 ohms for optimal grounding performance. Remember that soil moisture significantly impacts these measurements, so test during different weather conditions for the most accurate assessment.
If your initial test reveals resistance readings higher than 25 ohms, do not panic. You have several options to improve grounding effectiveness. Consider adding additional ground rods spaced at least 6 feet apart or selecting a location with more consistently moist soil. Alternatively, you might need to drive your existing ground rod deeper or create a more extensive grounding system by connecting multiple rods with heavy gauge grounding wire.
Pro tip: Test your ground rod resistance at different times of the year to account for seasonal soil moisture variations and ensure consistent electrical fence performance.
Secure Your Electric Fence Grounding with Expert-Quality Supplies
Installing an effective ground rod is critical to your electric fence’s performance and safety. This step-by-step guide highlights common challenges like selecting the right rod material, ensuring proper soil contact, and achieving a secure grounding wire connection. If you want to avoid ineffective grounding, corrosion issues, or unreliable fence electricity, the right tools and materials make all the difference.

Take charge of your fencing project today with fencing components designed for Canadian farm conditions. Visit FenceFast.ca to explore top-grade ground rods, compatible grounding wires, and professional installation tools that match your needs. Our selection helps you overcome soil composition challenges and maximize conductivity for dependable electric fence operation. Browse our reliable products and benefit from expert advice so you can install your electric fence system with confidence.
Frequently Asked Questions
What materials do I need to install a ground rod for my electric fence?
You will need a copper or galvanized steel ground rod (typically 8 feet long), matching grounding wire, a sturdy post driver or sledgehammer, wire cutters, electrical pliers, and safety gloves. Gather these materials before starting your project to ensure a smooth setup.
How do I choose the best location for my ground rod?
Select a location with consistently moist soil and good electrical conductivity for optimal performance. Avoid rocky or sandy areas, and make sure the spot is at least 6 feet away from other ground rods to reduce resistance.
What is the process for installing the ground rod into the soil?
Position the ground rod vertically in the selected location and use a post driver to drive it into the ground steadily until it reaches a minimum depth of 8 feet. Keep the rod as straight as possible for maximum effectiveness and check its verticality periodically during installation.
How do I securely connect the grounding wire to the ground rod?
Use a grounding wire that matches your ground rod material and ensure a tight mechanical connection. Clean the connection points to remove any dirt or oxidation, then use a high-quality compression connector to ensure optimal conductivity.
How can I test the effectiveness of my grounding system?
After installation, use a ground resistance meter to measure the resistance at the ground rod connection. Aim for a reading under 25 ohms; if the resistance is higher, consider installing additional ground rods or adjusting the rod depth to improve performance.
What should I do if my ground resistance reading is too high?
If you get a resistance reading over 25 ohms, consider installing additional ground rods spaced at least 6 feet apart or repositioning your current rod to a location with better soil moisture. This will help enhance your electric fence’s overall grounding effectiveness.
Recommended
- Electric Fence Ground Rod Installation for Reliable Fencing – FenceFast Ltd.
- Grounding a Electric Fence for Maximum Safety and Performance – FenceFast Ltd.
- Complete Guide to the Best Ground Wire for Electric Fence – FenceFast Ltd.
- Electric Fence Ground Wire: Power, Safety, and Reliability – FenceFast Ltd.

