
Choosing the right electric fencing can feel overwhelming for Canadian farmers and ranchers, especially if you’re new to the process. With over 75 percent of livestock escapes traced to inadequate fencing, protecting your animals and property becomes a top priority. This guide breaks down the basic steps and practical tips inspired by proven American standards, helping you set up an affordable system that keeps your livestock safe with confidence.
Table of Contents
- Step 1: Assess Fencing Needs And Choose Suitable Components
- Step 2: Install Fence Posts And Run Wire Or Tape
- Step 3: Mount Insulators And Connect Energizer
- Step 4: Ground The Fence Properly For Safety
- Step 5: Test Electric Fence And Verify Effectiveness
Quick Summary
| Key Insight | Explanation |
|---|---|
| 1. Assess livestock needs first | Determine your specific requirements before selecting materials for electric fencing components. |
| 2. Optimal wire and post setup | Use 3-5 horizontal wires and appropriate post types to create a secure electric fence for livestock. |
| 3. Ensure proper grounding | Install minimum three ground rods for effective grounding to maintain electrical performance. |
| 4. Regularly test voltage levels | Conduct systematic voltage tests to ensure your electric fence operates effectively and consistently. |
| 5. Plan for terrain considerations | Walk the property to identify natural barriers and plan fence routes strategically for stability. |
Step 1: Assess fencing needs and choose suitable components
Selecting the right electric fencing components requires a strategic approach tailored to your specific livestock management goals. Before purchasing any materials, carefully evaluate your property’s terrain, the types of animals you need to contain or protect, and the specific challenges of your agricultural environment.
For effective livestock control, you’ll want to consider several critical factors when designing your electric fence system. Proper wire spacing and selection become crucial according to forest service guidelines, with recommendations varying based on animal size and behavior. Typically, farmers should plan for 3 to 5 horizontal wire strands positioned at different heights to create a comprehensive barrier. Metal T-posts or sturdy wooden posts work well for supporting these wires, with recommended spacing between 12 to 20 feet depending on terrain and fence line stability.
Evaluate your energizer requirements carefully, selecting a model with sufficient power output to effectively cover your entire fence perimeter. Most small to medium livestock operations require energizers delivering between 2000 to 5000 volts, ensuring a consistent electrical charge that deters animals without causing harm. Remember that wire conductivity, ground quality, and vegetation contact can impact overall system performance.
Pro tip: Conduct a thorough property walk-through before purchasing materials to map potential fence routes and identify natural obstacles or challenging terrain that might impact your electric fencing design.
Here is a reference table summarizing the ideal wire spacing and post selection for different livestock types:
| Livestock Type | Number of Wires | Suggested Wire Heights | Recommended Post Type |
|---|---|---|---|
| Cattle | 3 | 24", 36", 48" | Metal T-post or Wood |
| Sheep/Goats | 4-5 | 8", 16", 24", 32", 40" | Wood or Fiberglass |
| Horses | 3 | 20", 30", 48" | Wood or Fiberglass |
| Pigs | 2-3 | 6", 14", 24" | Metal T-post |
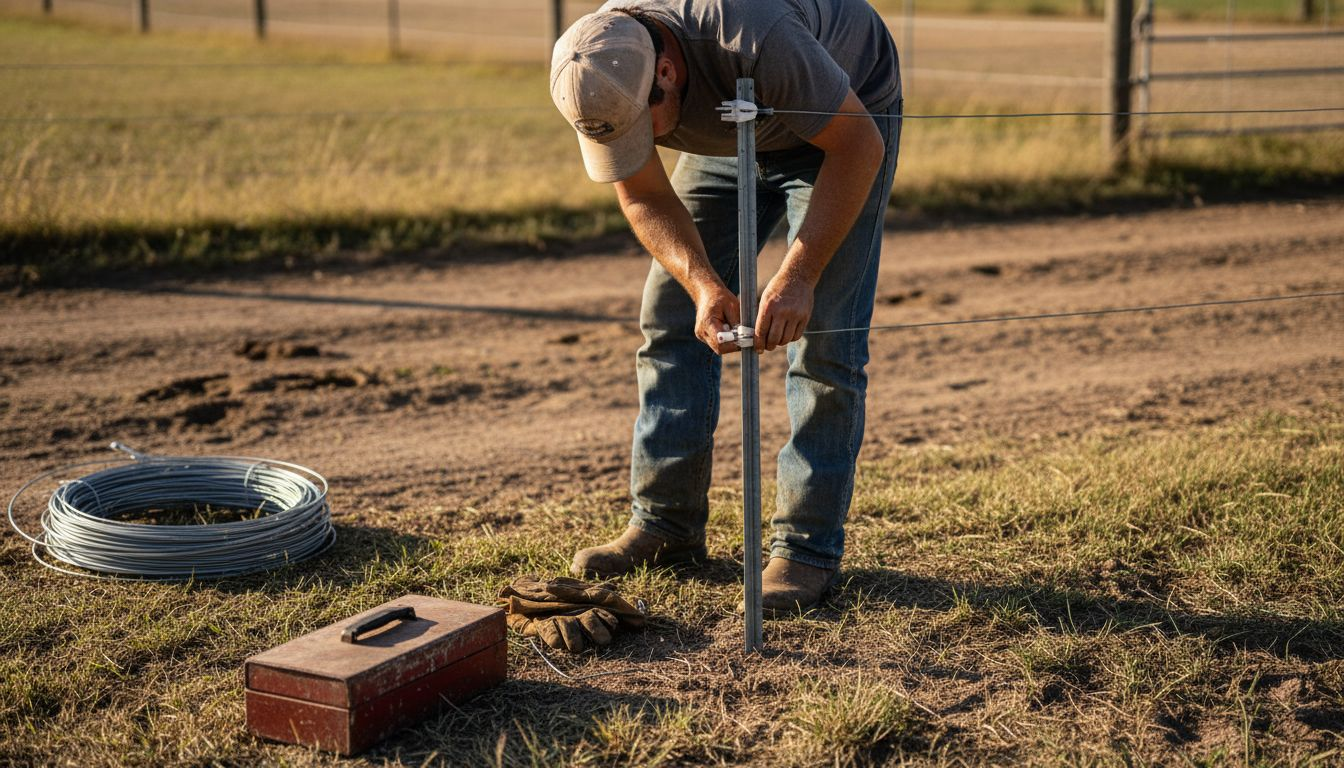
Step 2: Install fence posts and run wire or tape
Installing an effective electric fence requires precision and careful planning to ensure secure livestock containment. Your goal is to create a robust barrier that provides both physical and electrical protection for your animals.
Proper post installation techniques are critical for maintaining fence stability and effectiveness, with recommended spacing between 7 to 10 feet to ensure structural integrity. Choose between metal T-posts, wooden posts, or fiberglass depending on your terrain and specific livestock needs. When setting posts, ensure they are driven at least 18 inches deep for maximum stability, with additional bracing at corner and end sections to prevent sagging or shifting.
Running wire or polytape requires strategic placement to maximize animal control. Start by positioning your lowest wire approximately 10 to 12 inches from ground level, with subsequent wires spaced 12 to 16 inches apart. This layered approach creates a comprehensive barrier that prevents animals from pushing through or under the fence. Use high quality insulators to attach wire or tape, ensuring each strand maintains proper tension and electrical conductivity. Connect your energizer carefully, checking ground connections and overall system voltage to guarantee consistent performance.
Pro tip: Test your electric fence with a voltage meter before full deployment to confirm uniform electrical coverage and identify any potential weak spots in your installation.
Step 3: Mount insulators and connect energizer
Mounting insulators and connecting your electric fence energizer are critical steps that determine the overall performance and safety of your livestock containment system. These components work together to create an effective electrical barrier that keeps your animals secure.
Proper insulator installation prevents electrical grounding and potential short circuits, which can compromise your fence’s effectiveness. Choose high quality plastic insulators designed specifically for your post type whether metal T-posts, wooden posts, or fiberglass. When mounting, ensure each insulator is positioned securely and vertically, with enough space to prevent wire contact with the post material. Space your insulators consistently to maintain uniform wire tension and electrical conductivity across all fence sections.
Connecting the energizer requires careful attention to electrical safety and power source selection. Position your energizer in a dry, protected location away from direct sunlight and moisture, preferably in a weatherproof enclosure. Select between AC power, solar, or battery options based on your specific farm layout and accessibility to electrical sources. Carefully connect the energizer’s output terminals to your fence wires, ensuring tight and clean connections. Equally important is establishing a proper grounding system by driving ground rods into moist soil and connecting them to the energizer’s ground terminal.
This table compares the key advantages of different energizer power sources for electric fencing:
| Power Source | Key Advantages | Best Use Case |
|---|---|---|
| AC | Consistent, powerful output | Permanent fences near power |
| Battery | Portable, easy to install | Temporary or remote setups |
| Solar | Renewable, low maintenance | Isolated locations, long-term |
Pro tip: Always use a voltage tester to verify proper electrical connection and maintain at least 3000 to 5000 volts throughout your fence line for maximum animal deterrence.
Step 4: Ground the fence properly for safety
Grounding your electric fence is a critical step that ensures electrical system performance, animal safety, and overall fence effectiveness. A well designed grounding system completes the electrical circuit and prevents potential hazards for both livestock and farm operators.
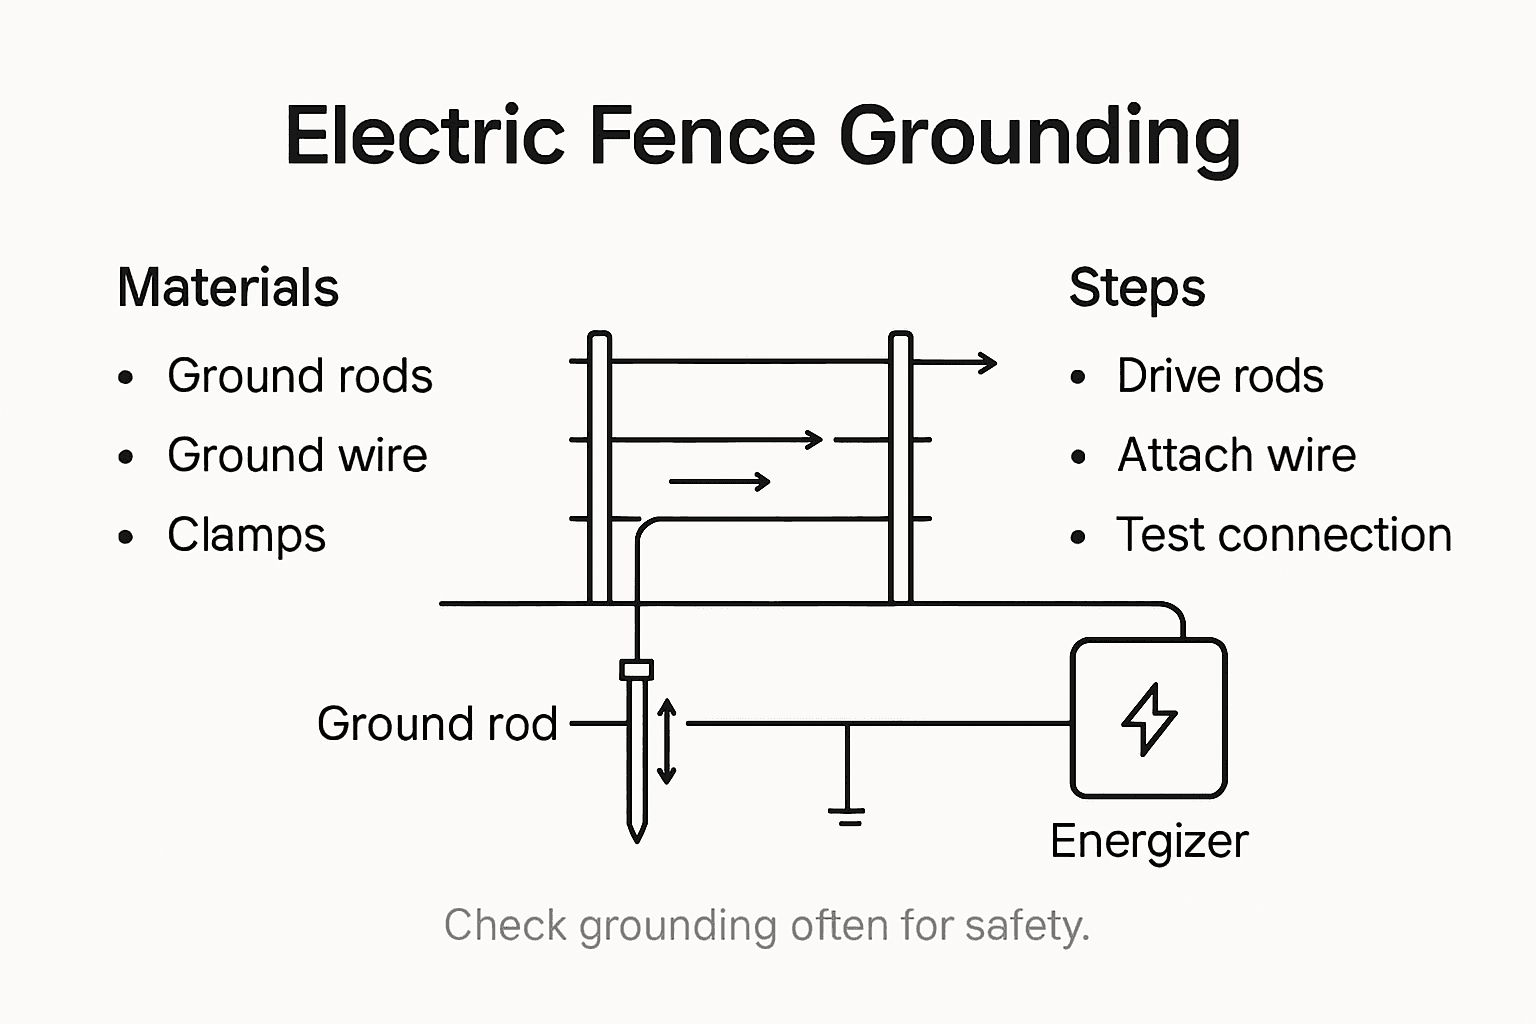
Proper grounding establishes a low impedance path for electrical current to safely dissipate into the earth, which is essential for maintaining consistent fence performance. Install ground rods made of galvanized steel or copper approximately 6 to 8 feet long, driving them into moist soil at locations with good electrical conductivity. Most installations require a minimum of three ground rods spaced at least 10 feet apart and connected with heavy gauge ground wire to create an effective grounding system. Ensure each rod is driven vertically into the ground with at least 6 feet of length exposed to maximize electrical conductivity.
When connecting your grounding system, use high quality clamps and ground wire to link the rods to your energizer’s ground terminal. Avoid rocky or extremely dry soil areas that can reduce electrical conductivity. Check your ground system regularly for corrosion, loose connections, or soil moisture changes that might impact electrical performance. During dry periods, consider adding moisture around ground rods to maintain optimal conductivity and fence effectiveness.
Pro tip: Invest in a digital ground resistance tester to periodically verify your electric fence grounding system maintains resistance below 500 ohms for maximum safety and performance.
Step 5: Test electric fence and verify effectiveness
Testing your electric fence is the final critical step in ensuring a secure and reliable livestock management system. This process validates your installation and confirms that every component functions precisely as intended to protect your animals and property.
Systematic voltage testing at multiple points helps identify potential performance issues in electric fence systems, providing a comprehensive assessment of your fence’s operational capabilities. Use a reliable digital voltage meter to check electrical output across different sections, ensuring consistent voltage levels between 3000 to 5000 volts. Walk the entire fence line methodically, testing each wire section and paying special attention to corners, gates, and areas with potential vegetation interference that might reduce electrical conductivity.
During testing, watch for common issues like voltage drops, poor ground connections, or wire breaks that could compromise fence effectiveness. Verify that insulators remain securely attached, wire tensions are uniform, and no unexpected vegetation contacts are creating electrical shorts. Repeat your testing periodically especially after major weather events or seasonal changes that might impact fence performance. Document your test results and voltage readings to track the fence system’s long term reliability and maintenance needs.
Pro tip: Conduct your voltage tests during different times of day and weather conditions to ensure consistent performance under varying environmental circumstances.
Secure Your Livestock with Expert Electric Fencing Solutions
Setting up an electric fence that fits your livestock’s needs can be challenging. Whether you are dealing with cattle, horses, or pigs, the article highlights critical aspects like proper wire spacing, energizer power, and grounding techniques. At FenceFast.ca, we understand these pain points and offer an extensive selection of fencing components, energizers, insulators, and accessories designed to meet those exact specifications.

Explore our easy-to-navigate product catalog and gain access to high-quality materials that ensure your fence delivers reliable power with full safety. Start your project today by visiting FenceFast.ca to find all the equipment you need to build, upgrade, or maintain your electric fence system. Don’t wait until your livestock’s safety is at risk. Secure your perimeter now with trusted products and expert advice available at your fingertips.
Frequently Asked Questions
What factors should I consider when assessing my electric fencing needs?
Before setting up an electric fence, evaluate your property’s terrain, the types of animals you need to contain, and any specific challenges you may face. Create a detailed plan that includes the number of wire strands, their heights, and the correct post type to ensure effective livestock control.
How do I properly install fence posts for my electric fence?
To install fence posts, space them 7 to 10 feet apart and drive them at least 18 inches deep for stability. Use appropriate bracing at corners and ends to prevent sagging, ensuring that your fence is secure and properly supports the wires.
How can I ensure proper electrical grounding for my electric fence?
Install ground rods made of galvanized steel or copper, approximately 6 to 8 feet long, driven into moist soil. Connect at least three ground rods spaced 10 feet apart to the energizer’s ground terminal using heavy gauge wire for optimal electrical conductivity.
What is the best way to test my electric fence system?
Test your electric fence by using a digital voltage meter to check the voltage across different sections, ensuring it consistently measures between 3000 to 5000 volts. Carry out tests periodically, especially after storms, to identify any potential issues such as voltage drops or ground connection problems.
How should I mount insulators and connect my energizer?
Mount high-quality insulators securely on your posts to keep the wire separate and properly tensioned. Connect your energizer in a dry location, using appropriate wire to link it to the fence and ensuring a proper grounding system is in place for safety and performance.

