

For most farm end and corner posts, heavy-duty, UV-stabilized strain-rated insulators are the right call. Reserve porcelain or ceramic for permanent, high-tension corners that need to last decades. Both work on wood, T-posts, and tube rail, but the attachment hardware differs. Line up the insulator with the direction of wire pull and use strainers at every corner.
TL;DR:
- Plastic insulators with UV stabilization are suitable for most pasture fencing, but porcelain or ceramic insulators last longer at high-stress corners.
- Proper attachment hardware varies with post type, with screw-in options recommended for load-bearing corners to withstand ongoing tension.
- Doubling up on insulators at critical corners and matching load ratings to wire type reduce risks of failure and long-term repair costs.
- Correct installation involves aligning insulators with wire pull direction, wiring double-hole insulators in a crossing pattern, and maintaining proper wire spacing.
- Signs of insulator failure include cracks, arcing marks, loose fittings, and dead fence sections, requiring prompt replacement to avoid downtime.
Table of Contents
- What Types of End and Corner Insulators Do You Need?
- Which Material Holds Up Best: Plastic, Porcelain, or Composite?
- How Do You Mount Insulators on Different Post Types?
- How Do You Choose the Right End Insulator for Your Fence?
- How Do You Install End and Corner Insulators Correctly?
- What Are the Warning Signs an Insulator Needs Replacing?
- Fencefast Field Notes on Insulator Selection
- Longevity vs. Upfront Cost: What Actually Pays Off
- Find the Right Insulators and Hardware for Your Fence Line
- Sources
What Types of End and Corner Insulators Do You Need?
The insulator you pick depends on the job the post is doing. A line post just needs to hold a wire off the ground. An end or corner post absorbs real tension every time the fence flexes in wind, snow load, or a curious steer testing the line. That’s why end and corner hardware looks and behaves differently from what you’d clip onto a mid-run post.
End strain insulators terminate a wire run. They’re built to anchor a support wire to the post, then let you tie off the fence wire itself, and they show up constantly in installation guides for cattle fencing because they’re the workhorse of any perimeter job.
Tubular corner and end post insulators handle 90-degree turns and other spots where the wire changes direction under load. Some tubular models run nearly 19.5 inches long, giving extra separation between the wire and the post to cut down on arcing.
A few other styles worth knowing:
- Double-hole insulators spread tension across two anchor points instead of one, which matters at corners carrying heavy load.
- Ring-style and wrap-around insulators fit tube rail or odd-shaped posts where a standard nail-on or screw-on design won’t seat properly.
- Strainer-style insulators are essentially end strain insulators built specifically for high-tensile wire tensioning systems.
Which Material Holds Up Best: Plastic, Porcelain, or Composite?
Material choice comes down to how much strain the post sees and how long you need the insulator to last without touching it again. UV-stabilized virgin plastic gives most livestock fencing the best balance of cost, durability, and ease of installation, and it’s the right default for the majority of pasture perimeters and cross-fencing.
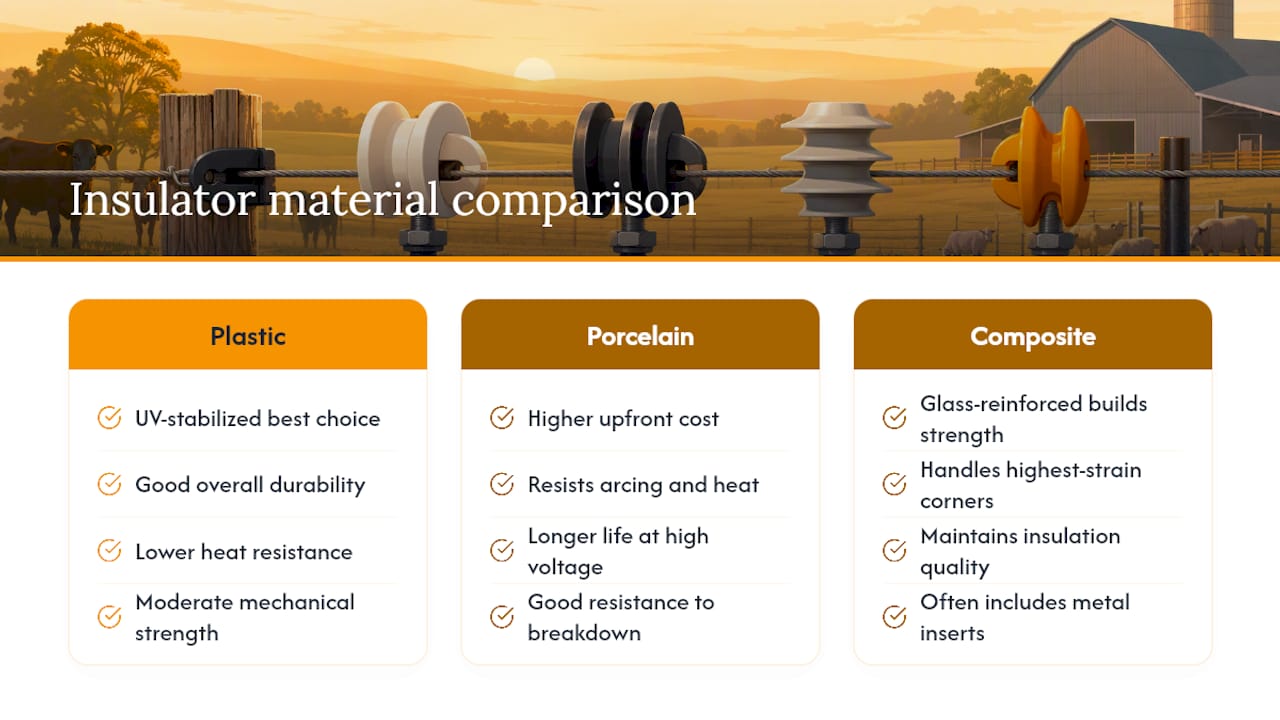
Pro Tip: Check the packaging or spec sheet for “UV-stabilized” or “UV-resistant” wording specifically. Plain plastic that lacks that additive can turn brittle and start cracking within a couple of seasons in strong sun.
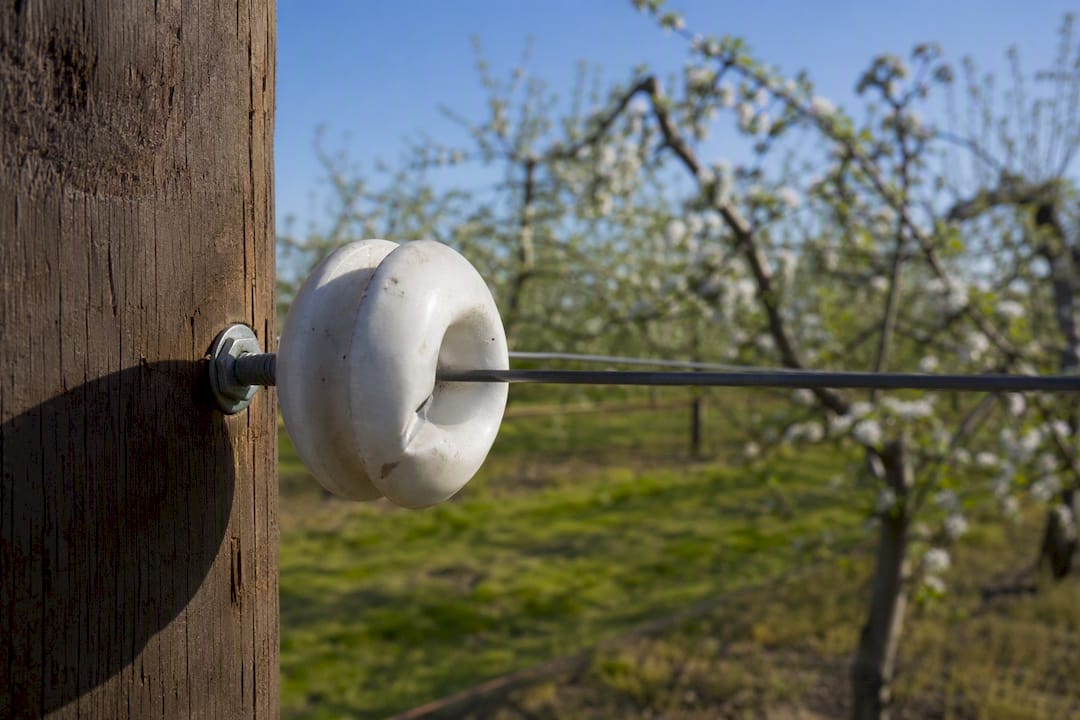
Porcelain and ceramic insulators cost more, but they resist arcing and heat better than plastic and hold up longer under constant high voltage. Both plastic and porcelain block energy loss through the post; porcelain simply does it with more mass and more resistance to breakdown over time.
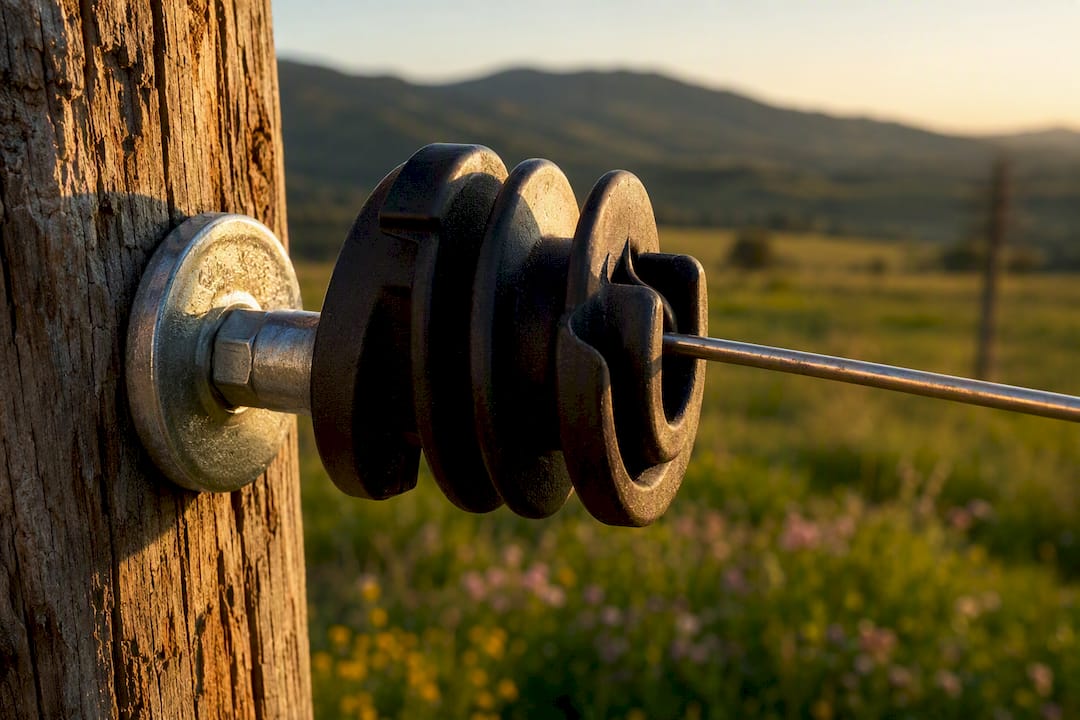
For the highest-strain corners, glass-reinforced composites and models with metal inserts add mechanical strength without giving up insulation quality. Skip the bargain-bin plastic insulators with no UV additive. They’re cheap upfront, but replacing cracked insulators every season costs more in labor than buying the right part once.
How Do You Mount Insulators on Different Post Types?
Post material dictates attachment method, and using the wrong hardware for the post is one of the most common reasons a fence goes dead at the worst possible time.
- Wood posts: Nail-on insulators go in fast but can work loose over time. Pin-lock designs hold better. For actual strain points, screw-in insulators are worth the extra few minutes per post because they resist the constant flex a corner endures.
- T-posts: Use clip-on insulators sized to match the post’s studs, or a screw-on design rated for steel. A loose clip-on that slides under tension is a classic source of an intermittent short.
- Chain link and tube rail: These need dedicated tube or rail insulators paired with clamps built for round stock. Wrap-around styles spread the load across more surface area, which matters when the rail itself is under tension.
- High-strain corners on any post type: Look for insulators with metal inserts or reinforced bodies. They cost more per unit but rarely need replacing once installed correctly.
How Do You Choose the Right End Insulator for Your Fence?
Buying the correct insulator is mostly a matter of matching the part to your wire type and your post, then thinking about what a failure would actually cost you in labor and downtime.
- Match load rating to wire type. High-tensile smooth wire pulls much harder than polyrope or poly tape, so it needs a heavier-duty insulator.
- Confirm the post fit before you buy. A screw-on insulator meant for wood won’t seat properly on a T-post stud pattern.
- Favor UV-stabilized plastic or reinforced composite over unrated plastic, and check the manufacturer’s stated strain rating rather than guessing from the price tag.
- Consider doubling up on critical corners. Stacking redundant insulators on the corners that see the most stress reduces the odds of a single failure taking down the whole run.
- Think in cost-per-year, not cost-per-unit. A $2 insulator that needs replacing every year costs more over five years than a $6 one that lasts the whole stretch.
Pro Tip: Walk your fence line once before ordering and count how many corners carry real tension versus how many are just gentle bends. You’ll often need fewer heavy-duty insulators than you think, which frees up budget to spend on the corners that actually need it.
How Do You Install End and Corner Insulators Correctly?
Installation mistakes are why perfectly good insulators fail early. The physics matter here: get the geometry wrong and you’re putting stress on a piece of plastic or porcelain that was never designed to take it.
- Orient the insulator so it lines up with the resultant pull of the wire, roughly 45 degrees on a right-angle corner, so the load pulls straight through the strongest part of the part.
- On double-hole insulators, thread the wire in a crossing pattern. This puts the insulator body in compression instead of tension, which is the difference between an insulator that lasts and one that cracks within a year.
- Anchor corner and end wires rigidly with strainers, but let intermediate line posts allow the wire to float slightly as the fence expands and contracts with temperature.
- Keep at least several inches between separate hot wires at any point to reduce the risk of arc-over, especially where wires cross near a corner.
- Use a proper crimping or knotting tool for tensioning rather than pliers and guesswork. It’s faster and it protects the wire coating.
| Step | What to check |
|---|---|
| Orientation | Insulator aligned with wire pull direction |
| Loading pattern | Double-hole insulators wired in a cross, not straight through |
| Anchoring | Corners and ends rigid; line posts allowed to float |
| Wire spacing | Minimum 6 inches between hot wires |
| Tensioning | Proper tool used, not pliers |
An end strainer goes in by connecting a support wire to the post first, threading the insulator, tying off the support, then threading the fence wire through the second hole to terminate the run cleanly.
What Are the Warning Signs an Insulator Needs Replacing?
Most insulator failures give you warning before they cause a full outage, if you know what to look for during a routine walk.
- Cracks or chalky, faded plastic mean UV degradation has set in, even if the insulator hasn’t failed yet.
- Black tracking marks or burn spots point to arcing, usually from wire spacing that’s too tight or a wire contacting the post.
- Loose nails, screws, or clips let the wire shift under tension, which accelerates wear on the insulator itself.
- A dead section of fence often traces back to a shorted end or corner insulator. Check those first before walking the entire line.
Plastic insulators in full sun typically need a look every season; porcelain and reinforced composite units can go several years between concerns. Swap a cracked or tracked insulator immediately rather than patching it. A dead fence during calving or breeding season costs far more than the part.
Fencefast Field Notes on Insulator Selection
Fencefast has worked as an authorized Gallagher dealer for more than 26 years, and that field time shapes which insulator families we stock for corners and end runs. Durability up front consistently beats cheap parts that fail mid-season. For deeper installation steps, see our insulator selection guide and high-tensile insulator guide.
Longevity vs. Upfront Cost: What Actually Pays Off
Paying more for strain-rated or ceramic insulators on permanent corners usually cuts downtime and repair labor over the fence’s life. Cheaper plastic is fine for seasonal runs or temporary paddocks you’ll take down anyway.
— Juiced
Find the Right Insulators and Hardware for Your Fence Line
Once you know which insulator style and material fit your corners, the next step is sourcing hardware that won’t let you down at the post. Fencefast’s Fence Equipment collection carries the strain-rated and UV-stabilized insulators covered in this guide, alongside the tools and fasteners you need to install them correctly the first time.

Shipping runs nationwide, and if you’re planning a larger perimeter or a mix of high-tensile and polywire runs, our team can talk through post spacing, strain points, and grant support options for eligible projects before you order. Reach out for installation consulting, or browse the Fence Equipment collection now and get the corners of your fence line built to last.
Sources
- Electric Fence Insulators: Selection & Installation Guide
- End Strain Insulator, Electric Fence Wire, Plastic, 10/bag – Agcare Products
- 1779 Tubular corner & end post insulator - Dare Products

