

Many farmers believe all electric fence insulators work the same on metal posts, but this assumption costs them dearly. Wrong insulator selection leads to electricity leaks, fence failures, and escaped livestock. Metal posts conduct electricity, making high-quality insulators essential for safe, effective containment. This guide shows you how to choose insulators rated for at least 10,000 volts, install them properly, and maintain your fence system for long-term success.
Table of Contents
- Why Quality Insulators Matter For Metal Posts
- Types Of Electric Fence Insulators For Metal Posts
- How To Properly Install Electric Fence Insulators On Metal Posts
- Maintaining And Troubleshooting Electric Fence Insulators On Metal Posts
- Find Quality Electric Fence Insulators And Accessories At Fencefast Ltd.
Key takeaways
| Point | Details |
|---|---|
| Voltage rating matters | Quality insulators must handle at least 10,000 volts to prevent arc-over failures and livestock escapes. |
| Choose the right type | Sleeve, clip-on, and bolt-on insulators each suit different metal post applications and fence designs. |
| Install correctly | Proper attachment and spacing prevent electrical leaks and ensure consistent current flow along fence lines. |
| Inspect regularly | Monthly checks catch wear, cracks, and damage before they cause fence failures or safety hazards. |
Why quality insulators matter for metal posts
Metal posts present unique challenges for electric fencing because they conduct electricity naturally. Without proper insulation, current leaks straight to ground instead of staying on your fence wire. This drains your energizer power and creates dead zones where livestock can escape without getting shocked.
Quality insulators rated for at least 10,000 volts prevent electrical arc-over, the phenomenon where electricity jumps from wire to post through air or damaged insulation. Arc-over happens more easily with lower-rated insulators, especially in humid conditions or when dirt accumulates on surfaces. Once current escapes to ground, your fence becomes useless.
Poor quality insulators fail in multiple ways:
- Crack from UV exposure and temperature swings
- Break under wire tension or impact
- Allow moisture penetration that creates conductive paths
- Degrade chemically from contact with treated metal posts
These failures force you into constant repair mode. You’ll spend more time fixing fence than managing livestock. Worse, animals learn quickly when sections lose power, targeting weak spots for escape attempts.
Pro Tip: Test your fence voltage regularly with a digital voltmeter. Readings below 3,000 volts at fence ends signal insulator problems or other system issues requiring immediate attention.
“The right insulator transforms a metal post from a grounding hazard into a reliable fence anchor. Skimping on insulator quality guarantees problems down the road.”
Investing in properly rated insulators for electric fencing insulator livestock applications saves money long term. You’ll replace components less often, experience fewer livestock escapes, and maintain consistent fence performance through all seasons. Quality insulators pay for themselves through reduced labor and improved animal containment.
Types of electric fence insulators for metal posts
Three main insulator designs work with metal posts, each offering distinct advantages for different fencing situations. Understanding these options helps you match insulator type to your specific farm needs and fence design.
Sleeve insulators slide directly over metal posts before you drive them into ground. They create a complete insulation barrier between post and wire. These work well for new fence construction where you can plan post placement around insulator positioning. Installation proves simple, though removing them later requires pulling entire posts.
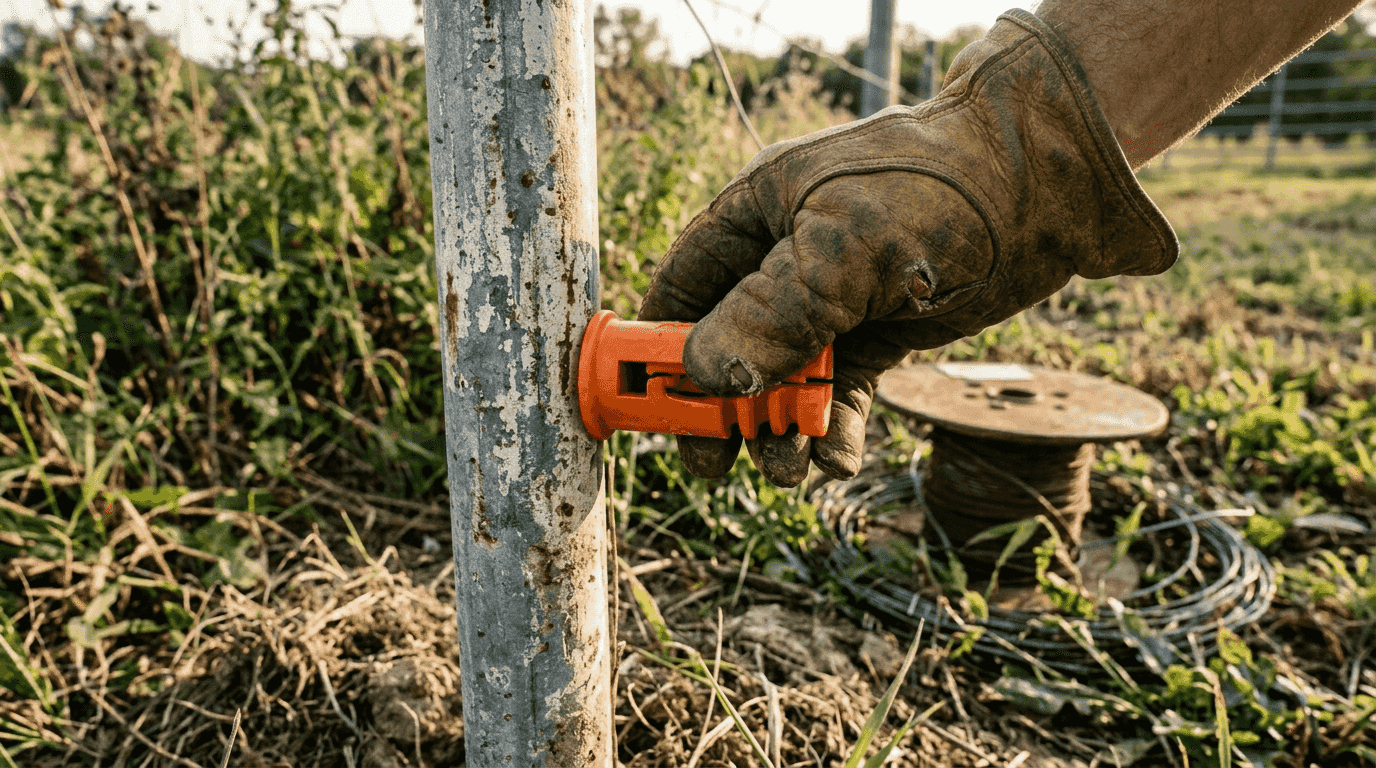
Clip-on insulators snap onto posts already in place, making them ideal for retrofitting existing fences or temporary enclosures. Modern designs use heavy-duty plastic that resists impact and weather. Some premium models feature reinforced contact points that handle high wire tension without cracking. These electric fence insulators steel posts designs install in seconds without tools.
Bolt-on insulators provide the strongest attachment for permanent, high-tension fencing systems. They bolt directly through post holes, creating rock-solid connections that withstand years of wire tension and animal pressure. While installation takes longer, the durability makes them perfect for perimeter fences and high-value livestock enclosures. Many t post electric fence insulators use this mounting style.
| Insulator Type | Voltage Rating | Installation Speed | Durability | Best Use Case |
|---|---|---|---|---|
| Sleeve | 10,000-15,000V | Medium | Good | New fence construction |
| Clip-on | 10,000-20,000V | Fast | Very Good | Retrofits and temporary fences |
| Bolt-on | 15,000-25,000V | Slow | Excellent | Permanent perimeter fencing |
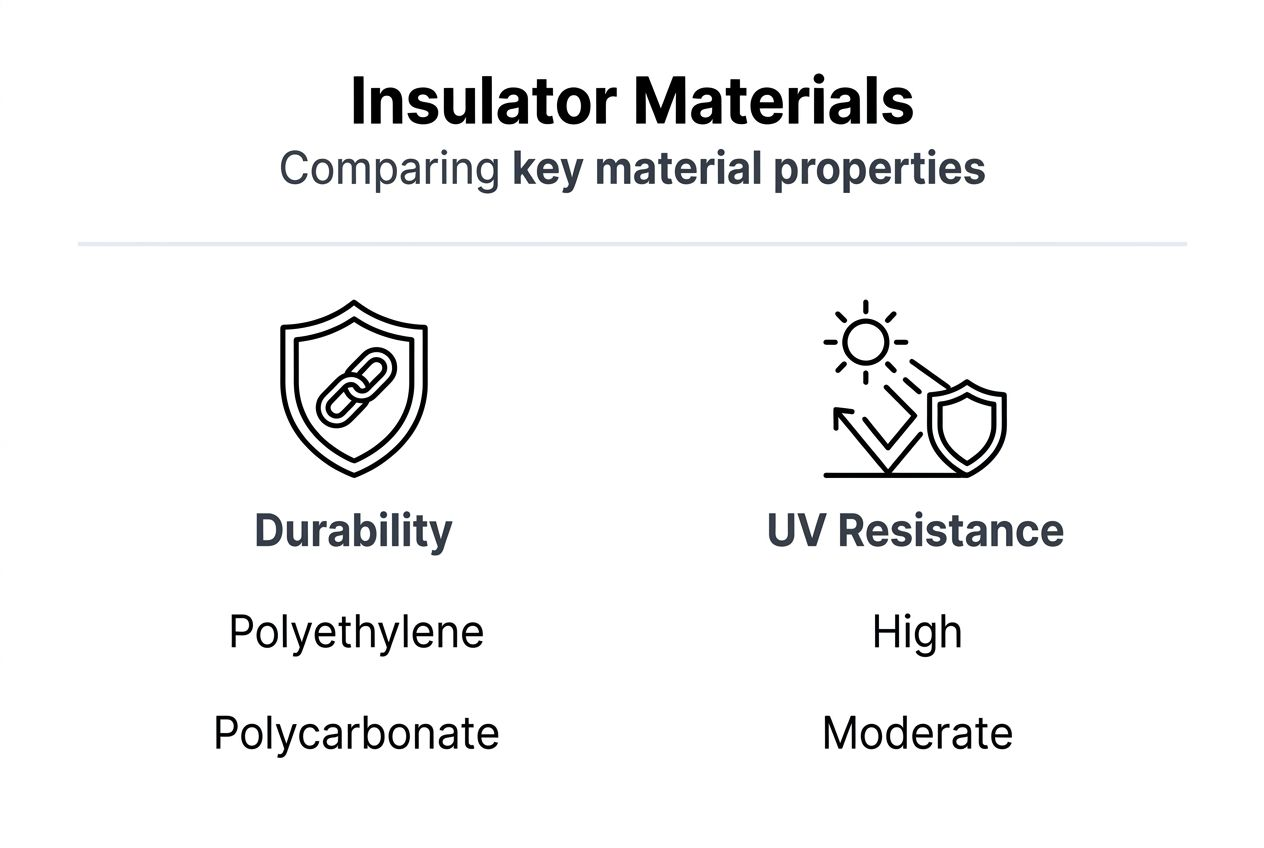
Material composition significantly impacts insulator performance and lifespan. High-density polyethylene resists UV degradation better than standard plastics, maintaining insulation properties for 10+ years in direct sunlight. Fiberglass-reinforced designs handle extreme temperature swings without becoming brittle. Avoid cheap insulators made from recycled plastics, as they often contain conductive impurities that compromise electrical resistance.
Color choice matters more than you might think. Bright colors like yellow or orange make insulators visible during installation and inspection, reducing accidental damage from equipment. UV-stabilized pigments prevent fading that signals material breakdown. Black insulators absorb more heat, potentially accelerating degradation in hot climates.
Pro Tip: Buy extra insulators of your chosen type to keep on hand. Having spares available means you can replace damaged units immediately instead of waiting for shipments while your fence stays compromised.
How to properly install electric fence insulators on metal posts
Correct installation determines whether your insulators perform reliably or fail prematurely. Following proven methods ensures secure attachment and optimal electrical performance from day one.
- Select insulators rated for at least 10,000 volts that match your post type and wire configuration
- Clean metal posts thoroughly, removing rust, dirt, and any coatings that might interfere with insulator fit
- Mark insulator positions on posts using consistent spacing, typically 12-18 inches apart depending on wire count
- For clip-on types, position the insulator and snap firmly until you hear or feel the locking mechanism engage
- For bolt-on insulators, drill pilot holes using an electric fence insulator drill bit sized for your hardware
- Install bolts or screws finger-tight first, then snug them down without overtightening that could crack plastic
- Thread wire through insulators at consistent height, maintaining proper tension without overloading attachment points
Post preparation makes the difference between secure and loose insulators. Wire brush metal posts to expose clean surface material. This removes oxidation and debris that prevents proper contact between insulator and post. For painted or galvanized posts, light sanding at attachment points improves grip.
Spacing considerations affect fence performance directly. Place insulators closer together on corners and gates where tension concentrates. Use wider spacing on straight runs to save materials while maintaining adequate support. Bottom wires need insulators positioned to prevent sagging that animals can push under.
Pro Tip: Install insulators slightly higher than your final wire height, then adjust wire down to proper level. This technique prevents overtensioning that stresses insulators and creates failure points.
Tool selection matters for bolt-on installations. Standard drill bits often slip on hardened steel posts or create oversized holes. Purpose-designed bits cut clean holes at correct diameter, ensuring bolts fit snugly without wobble. Keep spare bits handy since drilling through metal dulls them quickly.
Verify insulator alignment after installation by sighting down fence lines. Misaligned insulators create uneven wire tension and stress concentration. Adjust any crooked units before connecting energizer power. Testing voltage at multiple points along your fence confirms proper insulation and current flow through the system.
Weather timing impacts installation quality. Avoid installing insulators during temperature extremes when materials become brittle or overly flexible. Room temperature installations allow insulators to seat properly and maintain correct tension as conditions change. For detailed guidance on various insulator applications, review this electric fence post insulators guide.
Maintaining and troubleshooting electric fence insulators on metal posts
Regular maintenance catches small problems before they become fence failures. Developing consistent inspection routines protects your investment and keeps livestock safely contained.
Schedule monthly visual inspections walking your entire fence line. Look for these warning signs:
- Cracks in insulator bodies or mounting points
- Discoloration indicating UV damage or electrical tracking
- Loose attachments where insulators move or rattle
- Scorch marks on insulators or adjacent post surfaces
- Vegetation contact creating alternate current paths
Electrical leakage shows up in subtle ways before complete failure. Weak shocks at certain fence sections signal current escaping through damaged insulators rated below 10,000 volts or contaminated surfaces. Use a voltage tester to identify problem areas, working systematically from energizer outward until you locate voltage drops.
Replace damaged insulators immediately rather than waiting for convenient timing. A single failed insulator can drain enough current to weaken your entire fence system. Keep replacement insulators in your farm supplies so repairs happen same-day without waiting for parts delivery.
Cleaning insulators extends their functional life significantly. Twice yearly, wipe down insulators with dry cloths to remove dust, pollen, and mineral deposits. These contaminants create conductive paths, especially when damp. Never use wet cleaning methods that might force moisture into insulator materials or mounting points.
Common troubleshooting scenarios and solutions:
- Intermittent shocking: Check for loose insulator attachments that allow wire contact with posts during wind or animal pressure
- Rapid insulator degradation: Verify your energizer output matches insulator ratings; oversized energizers can damage standard insulators
- Corrosion at mounting points: Apply dielectric grease to bolt-on insulator hardware preventing moisture intrusion
- Cracking in cold weather: Replace with cold-rated insulators designed for extreme temperature performance
Post corrosion around insulator mounting points deserves attention during inspections. Rust can compromise insulator grip and create rough surfaces that abrade plastic components. Wire brush corroded areas and consider applying rust inhibitor to bare metal, avoiding any product contact with insulator surfaces.
Pro Tip: Photograph your fence line during initial installation. Compare current conditions to original photos during inspections, making degradation and alignment changes obvious that might otherwise go unnoticed.
Seasonal maintenance adjustments keep fences performing through changing conditions. Spring inspections follow freeze-thaw cycles that stress materials. Summer checks focus on UV damage and vegetation encroachment. Fall preparation before winter ensures no compromised insulators face harsh weather. Winter monitoring catches ice and snow loading effects.
Documenting maintenance activities helps identify patterns and predict replacement needs. Note when you install insulators, what problems occur, and how long different products last in your specific conditions. This data guides future purchases toward best t post insulators for safer electric fencing that prove durable on your farm.
Voltage testing provides objective performance data beyond visual inspection. Test monthly at fence start, middle, and end points. Readings should stay above 3,000 volts for effective livestock control. Lower readings indicate insulator problems, wire breaks, or energizer issues requiring investigation. For comprehensive information about insulator selection and performance, consult this fence insulators complete guide.
Find quality electric fence insulators and accessories at FenceFast Ltd.
You now understand what makes electric fence insulators effective on metal posts and how to install them correctly. Putting this knowledge into practice starts with sourcing quality components that meet the voltage and durability standards discussed throughout this guide.

FenceFast offers electric fence insulators specifically designed for demanding Canadian farm conditions. Our inventory includes sleeve, clip-on, and bolt-on styles rated for heavy-duty livestock containment applications. Each product meets or exceeds the 10,000-volt minimum rating that prevents arc-over failures.
Beyond insulators, we stock complete solutions for your fencing projects. The Patriot pet and garden fence accessory kit bundles essential components for quick setup. Professional installers appreciate tools like the Hayes fencing and crimping tool that streamline wire connections. Browse our full selection at fencefast.ca where you’ll find expert advice backed by products proven on working farms across Canada.
FAQ
What are electric fence insulators for metal posts?
Electric fence insulators prevent current from grounding through conductive metal posts. They create a barrier that keeps electricity flowing along fence wires to deliver effective shocks for livestock containment. Without insulators, metal posts drain power and render fences useless.
How do I know if my insulators are rated for 10,000 volts or more?
Check manufacturer labels, packaging, or product specification sheets for voltage ratings clearly stated in volts. Quality manufacturers prominently display this critical specification. Insulators without clear voltage ratings likely fail to meet minimum standards and should be avoided for reliable fence performance.
Can I use wooden post insulators on metal posts?
Wooden post insulators typically won’t attach securely to metal posts due to different mounting designs. Metal posts require insulators engineered specifically for their dimensions and conductive properties. Using improper insulators creates loose connections and electrical leakage that compromise fence effectiveness. For wood post applications, see our guide on insulators for wood posts.
How often should I inspect and replace electric fence insulators?
Inspect insulators monthly, increasing frequency after severe weather events like storms or extreme temperature swings. Replace any insulator showing cracks, discoloration, scorch marks, or loose attachment immediately. Proactive replacement prevents fence failures and livestock escapes that cost far more than new insulators.

