

A semi-permanent electric fence sits between a quick temporary setup and a fixed permanent structure. It’s designed to stay in place for months or an entire grazing season, using heavier posts and more robust hardware than a purely temporary system, yet still movable when your rotation or land use changes. For most livestock managers, the right starting point is multi-strand polywire or electric netting paired with a low-impedance energizer rated generously above your calculated fence load, backed by a solid ground system with at least three galvanized ground rods.
Before you buy anything, get these three priorities straight:
- Energizer sizing: Calculate total energized wire length across all hot strands, then choose an energizer with more joules than that load demands. Under-spec here and you’ll be troubleshooting all season.
- Grounding: A minimum of three 6-foot galvanized ground rods, spaced at least 10 feet apart. This is where most fences fail.
- Corner and anchor support: Corners carry the tension of the entire run. Reinforce them with T-posts or dedicated corner posts, not just the built-in spikes on netting.
Key Takeaways
A semi-permanent electric fence works reliably only when the energizer, grounding, and corner support are all sized for the worst seasonal conditions, not the average ones.
| Point | Details |
|---|---|
| Size the energizer generously | Calculate total energized wire length across all hot strands, then add 25–30% capacity for vegetation and dry-soil conditions. |
| Ground system is the priority | Install at least three 6-foot galvanized ground rods spaced 10+ feet apart before powering up the fence. |
| Match conductor to species | Use polytape for horses, polywire for cattle, and electric netting for sheep, goats, and poultry. |
| Reinforce every corner | Drive a T-post or reinforced step-in post at each corner before unrolling netting or stringing polywire. |
| Fencefast for equipment | Fencefast stocks Gallagher energizers, netting, and accessories with expert sizing support for rotational grazing setups. |
Table of Contents
- What does a semi-permanent electric fence actually mean?
- Which fence type fits your species and terrain?
- What components do you need for a semi-permanent install?
- How do you size an energizer for a semi-permanent fence?
- How to install a semi-permanent electric fence step by step
- Species-specific setup: voltage, wire count, and visibility
- What does a semi-permanent system cost, and how long will it last?
- Why do semi-permanent fences fail, and how do you fix them?
- Field-tested tips that pay for themselves
- Legal regulations and compliance for electric fences
- What the conventional wisdom on semi-permanent fencing gets wrong
- What Fencefast offers for your next fence project
- Sources
What does a semi-permanent electric fence actually mean?
The industry doesn’t use a single rigid definition, but the practical distinction comes down to expected lifespan and the hardware used to achieve it.
- Temporary fencing (days to a few weeks): lightweight step-in posts, polywire on a reel, minimal grounding. Designed to move fast, not last.
- Semi-permanent fencing (months to a full season, sometimes 2–3 years): heavier posts and spikes built to handle wind, rain, and snow; more robust insulators; a dedicated ground system. ACES notes that this category uses heavier hardware specifically to withstand seasonal weather loads and that grounding and corner support are the key durability factors.
- Permanent fencing (5–20+ years): driven T-posts or wood posts set in concrete, high-tensile wire, braced corners, and a fixed energizer installation. High upfront cost, minimal labor to move.
Common use cases for semi-permanent systems include rotational grazing paddocks that stay in place for a full grazing season, cross-fencing to subdivide a larger pasture, and seasonal exclusion zones around riparian areas or crop fields. The sweet spot is any situation where you need reliable containment for months but don’t want to commit to a permanent install you might reconfigure next year.
Which fence type fits your species and terrain?
Three product categories cover most semi-permanent applications. Each has a clear best-fit scenario.
Electric netting
Electric netting (sometimes called electronet) combines posts and conductor into a single roll. The built-in posts make it fast to deploy, and the multiple horizontal strands give excellent visibility to animals. That visibility matters most for small ruminants, poultry, and cattle in new paddocks where you’re still training the herd. The trade-off is weight and cost per foot compared to polywire. Netting works best when you need a complete perimeter quickly and won’t be moving it more than a few times per season. Premier1 Supplies offers two widely used options: VersaNet for lighter-duty seasonal use and PermaNet for heavier semi-permanent applications. ElectroNet is their standard poultry and sheep netting.
Polywire, polytape, and polyrope
These conductor types share the same basic structure (stainless steel or copper strands woven into a polymer carrier) but differ in visibility and durability. University of Maine Cooperative Extension research is clear on the distinctions: polytape is the most visible option and the preferred choice for horses; polyrope resists flutter in windy conditions and outlasts polytape in exposed sites; polywire is the most cost-effective choice for multi-wire cattle setups. For a semi-permanent multi-strand system, polywire on fiberglass step-in posts is a practical, affordable workhorse.
High-tensile single-wire or multi-wire perimeter
For larger semi-permanent paddocks, a single high-tensile perimeter wire run at consistent tension is the most durable option. It handles UV and weather better than poly conductors and carries voltage over long distances with minimal drop. A common strategy for rotational grazing is to run a permanent or semi-permanent high-tensile perimeter as a “feeder” wire, then subdivide with polywire reels. Gallagher’s Knowledge Hub identifies this perimeter-feeder approach as standard practice for reducing voltage drop when polywire runs get long.
Pro Tip: When using electric netting for semi-permanent paddocks, connect the netting to a high-tensile perimeter feeder rather than running the energizer lead directly to the net. You’ll maintain voltage across the full perimeter even when the polywire subdivisions are disconnected.
What components do you need for a semi-permanent install?
Getting the hardware right upfront saves you from mid-season failures. Here’s what each component category requires for a seasonal install.
Posts: Fiberglass step-in posts work well for straight runs; they’re lightweight, non-conductive, and easy to reposition. T-posts belong at corners, ends, and any point where the fence changes direction. For netting, dedicated reinforced corner posts (FiberTuff-style or heavy step-in posts with a foot spike) prevent sag over a full season.
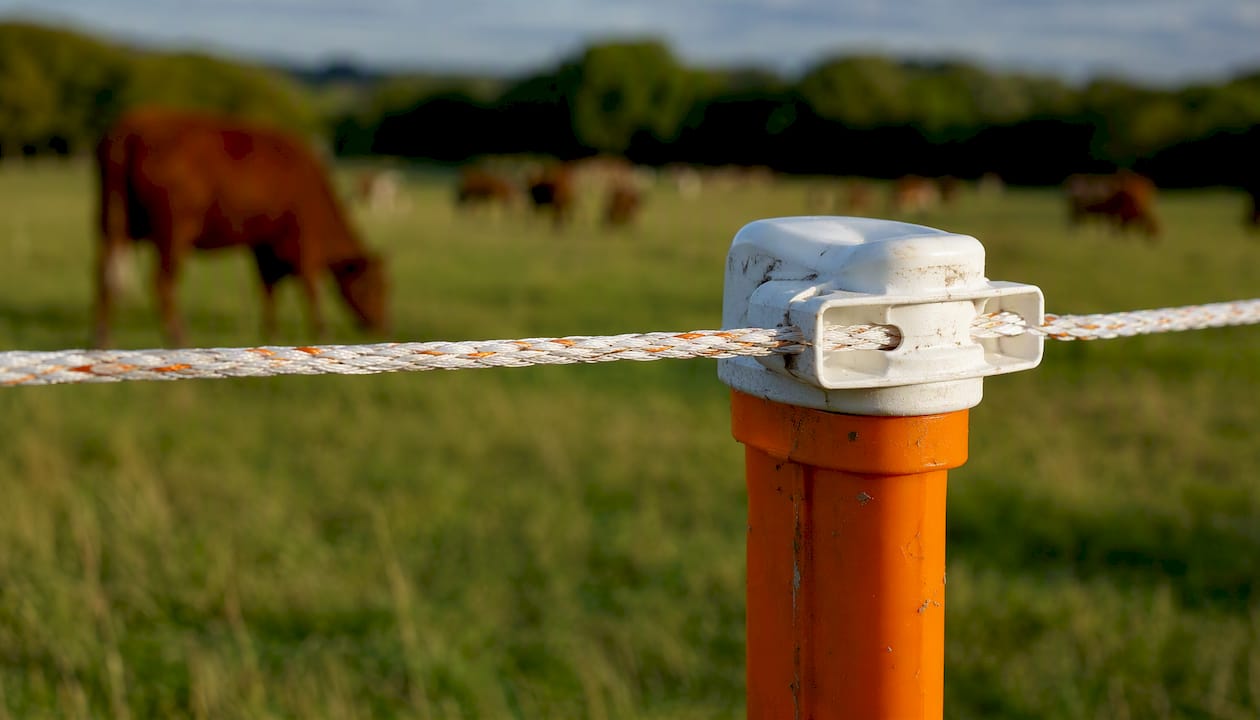
Insulators and connectors: Use UV-stabilized insulators rated for outdoor seasonal exposure. Snap-on ring insulators for T-posts and clip-in insulators for fiberglass posts are the standard choices. Avoid cheap plastic clips that crack after one winter.
Grounding hardware: UMaine Extension recommends a minimum of three 6-foot galvanized ground rods spaced at least 10 feet apart. Copper rods are not recommended in most installation guides because they oxidize and can create galvanic corrosion where they connect to galvanized wire. Use galvanized rods and galvanized ground clamps throughout.
| Component | Recommended Spec | Typical Spacing / Quantity |
|---|---|---|
| Step-in fiberglass posts | Sized to be non-conductive | Installed at regular intervals on straight runs |
| T-posts (corners/ends) | 6 ft steel, driven 18–24 in. | Every corner, gate, and end |
| Galvanized ground rods | 6 ft, 5/8 in. diameter | Minimum 3, spaced 10+ ft apart |
| UV-rated insulators | Outdoor-rated, snap-on or clip-in | One per post per hot strand |
| Ground clamps | Galvanized, matching rod diameter | One per rod |
Pro Tip: At every netting corner, drive a T-post or reinforced step-in post before unrolling the net. The net’s built-in posts are designed for straight runs, not for holding tension at a 90-degree turn. Skipping this step is the single most common reason netting sags and shorts out by midsummer.
How do you size an energizer for a semi-permanent fence?
The core rule: always buy more joules than your immediate load requires. It’s far cheaper to over-spec at purchase than to replace an undersized unit mid-season. UMaine Extension is explicit that energizer selection should be based on total energized wire length across all hot strands, soil conditions, and vegetation load, not on perimeter distance alone.
Here’s how to calculate your fence load:
- Measure the total linear length of your fence perimeter (in miles or fractions of a mile).
- Multiply by the number of hot strands. A 1-mile perimeter with 3 hot strands equals 3 miles of energized wire.
- Add any polywire subdivision runs that will be live simultaneously.
- Factor in vegetation contact and soil conditions. Sandy or dry soils require more output; heavy weed contact drains voltage fast.
- Choose an energizer rated for at least 25–30% more than your calculated load to leave headroom for expansion and vegetation leakage.
MSU Extension explains that low-impedance energizers with short, intense pulses are both safer and more efficient than older high-impedance units. The short pulse duration means the shock is effective without posing a prolonged contact risk. The Gallagher LiveLite is a compact, low-impedance option well-suited to smaller semi-permanent paddocks.
Pro Tip: In dry summers or on sandy soils, your ground system will underperform before your energizer does. Add a fourth ground rod before you upgrade the energizer. Most “weak fence” complaints trace back to grounding, not joule output.
How to install a semi-permanent electric fence step by step
The install order matters. Rushing to string wire before corners are set is how you end up re-doing the whole job.
- Measure and mark the layout. Walk the perimeter, flag corners and gate locations, and note any terrain changes that require extra posts.
- Drive corner and end posts first. T-posts at corners should be driven at least 18–24 inches deep. For netting, add a reinforced step-in post at each corner before the T-post.
- Set intermediate posts. For polywire and single-wire systems, space step-in posts every 20–30 feet on straight runs. For netting, follow the manufacturer’s spacing (typically every 10–12 feet for the built-in posts, with extra support at corners).
- Install insulators. Clip or snap insulators onto every post at the correct wire heights for your species before stringing wire.
- String conductors and tension. Start at a corner post, attach the wire, and work around the perimeter. For polywire, use a Gallagher Payout Spinner to deploy the reel cleanly without tangles.
- Install the ground system. Drive ground rods at least 10 feet apart, connect with galvanized ground wire and clamps, then run the ground lead to the energizer’s ground terminal.
- Mount and connect the energizer. Keep the energizer out of direct weather when possible. Connect the fence lead to the fence terminal and the ground lead to the ground terminal.
- Test before introducing livestock. Use a digital fence voltmeter to confirm voltage at multiple points around the perimeter. Target at least 4,000 volts for cattle and horses; 2,000 volts minimum for poultry.
Seasonal maintenance checklist:
- Check fence voltage monthly and after every major storm.
- Clear vegetation from under the fence line before it contacts the wire.
- Inspect insulators for UV cracking or breakage each spring.
- Re-tension polywire after temperature swings, which cause expansion and contraction.
- Verify ground rod connections haven’t corroded or loosened.
Pro Tip: Always turn the energizer off before handling live connections or adjusting wire. Post warning signs at regular intervals if the fence borders a public road or trail. Many states require signage on electrified fences near public access points.
Species-specific setup: voltage, wire count, and visibility
No single fence configuration works for every animal. Here’s what changes by species.
Cattle respond well to 2–3 strands of polywire at roughly 24, 36, and 48 inches. Minimum effective voltage is around 2,000–3,000 volts, though 4,000+ is more reliable for bulls or fresh stock. Polywire is cost-effective and adequate for cattle visibility. For species-specific guidance, Fencefast’s cattle fencing resource covers training strategies and energizer sizing in detail.
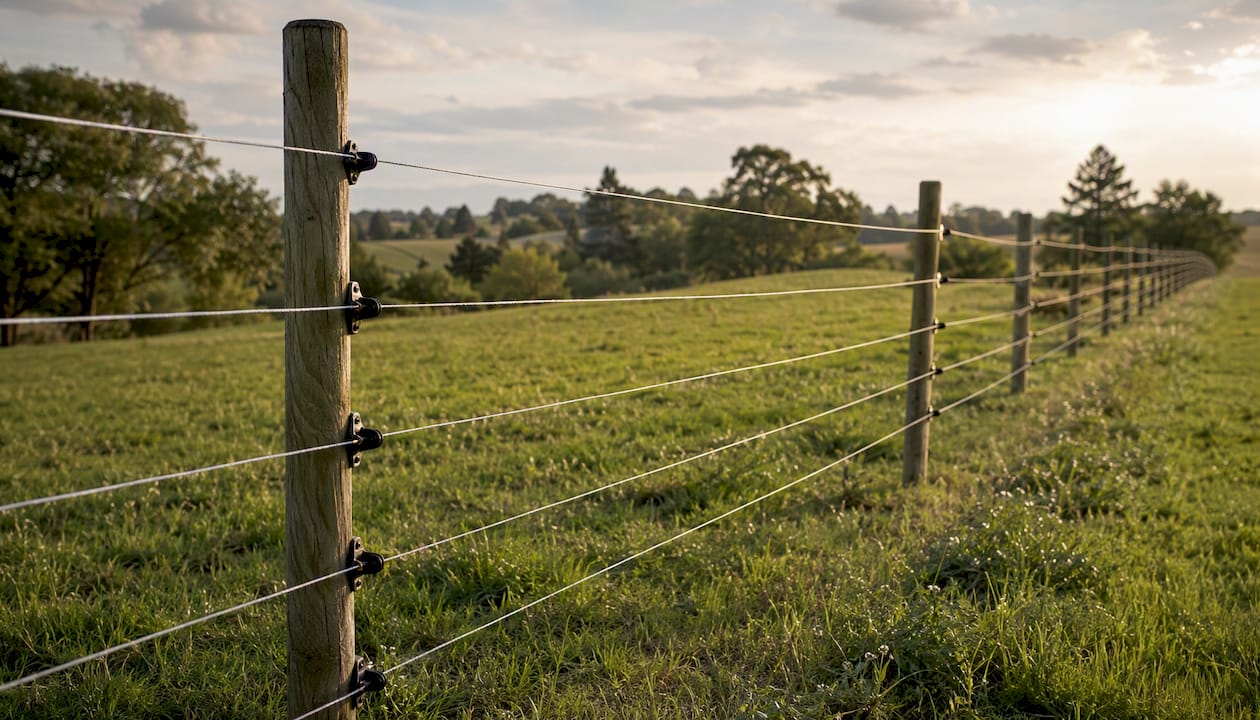
Horses need high-visibility conductors. Polytape (1.5–2 inches wide) is the standard choice because horses are more likely to run through a fence they can’t see clearly. Use 2–3 strands at 24, 36, and 48 inches, and target 4,000–5,000 volts. Fencefast’s horse fencing guide covers safe voltage thresholds and polytape selection in detail.
Sheep and goats are the most challenging species to contain electrically. Their thick wool insulates them from shock, so you need higher energy output and more strands set closer to the ground. Use 4–5 strands starting at 6–8 inches from the ground, and target 4,000–5,000 volts. Electric netting is often the most practical choice for small ruminants because the multiple horizontal strands and close spacing do the work that a multi-strand polywire system requires more effort to replicate.
Pigs respond quickly to electric fencing and learn to respect it after one or two contacts. Two strands at 6 and 12 inches, with 2,000–3,000 volts, is typically sufficient for trained pigs.
Poultry require netting rather than strand fencing. ElectroNet-style netting with a bottom strand close to the ground keeps birds in and predators out. Voltage requirements are lower (2,000 volts is generally adequate), but the ground contact of the bottom strand means vegetation management is critical.
UGA Extension emphasizes that electric fences function primarily as a psychological barrier. Training livestock to respect the fence before relying on it for containment is non-negotiable. Walk new animals along the fence on a lead, or set up a small training paddock with a hot wire at nose height before moving them to the main paddock.
What does a semi-permanent system cost, and how long will it last?
Lifespan and cost vary significantly by product type and how the fence is managed.
- Electric netting: 5–10 years with proper storage and UV protection. Cost runs roughly $1.50–$3.00 per foot for quality netting. The main wear factors are UV degradation, animal pressure on corners, and tangling during moves.
- Polywire: 3–7 years depending on UV exposure and how often it’s reeled and deployed. It’s the lowest cost-per-foot option for multi-strand setups.
- Polytape: 3–5 years. Wider tape catches wind and frays at connection points faster than polywire. Budget slightly more per foot than polywire.
- High-tensile wire: 15–25 years for the wire itself; insulators and posts may need replacement sooner. Highest upfront cost but lowest long-term cost per year.
The major cost drivers beyond materials are the energizer (a quality low-impedance unit runs $150–$600 depending on joule output), the ground system (rods, clamps, and wire add $50–$150), and reinforced corner posts. A complete semi-permanent setup for a 5-acre paddock with 3 strands of polywire typically runs $400–$900 in materials, excluding the energizer.
Tradeoffs at a glance:
- Higher initial cost of netting vs. lower labor to move compared to multi-strand polywire.
- High-tensile perimeter wire costs more upfront but eliminates annual replacement costs.
- Polywire is cheap to replace but requires more frequent tensioning and vegetation management.
Why do semi-permanent fences fail, and how do you fix them?
Poor grounding and vegetation contact cause the majority of fence failures. Before you blame the energizer, work through this diagnostic sequence.
- Measure fence voltage at multiple points with a digital voltmeter. A reading below 3,000 volts on a system that should deliver 5,000+ tells you there’s a fault somewhere.
- Inspect ground rods. Pull the ground lead and measure voltage between the ground terminal and a separate ground rod driven nearby. More than 200–300 volts here means your ground system is inadequate. Add rods.
- Walk the fence line and look for shorts. Vegetation touching the wire, a broken insulator letting wire contact a post, or a connector that’s slipped off are the most common culprits.
- Test the energizer output directly. Disconnect the fence lead and measure output at the terminals. If output is low with no load, the energizer itself may be failing.
Quick fixes that solve most problems: clear vegetation under the fence line, add one or two ground rods, replace cracked insulators, and re-seat any loose connectors. If voltage drop is severe on long polywire runs, install a high-tensile perimeter feeder wire and connect the polywire to it rather than running the full distance from the energizer.
Field-tested tips that pay for themselves
Three choices consistently separate fences that work all season from ones that need constant attention.
UMaine Extension recommends this approach explicitly.
Build a robust ground system from day one. Three 6-foot galvanized rods is the minimum; four or five is better for semi-permanent installs that will stay through a dry season. Space them at least 10 feet apart and use galvanized clamps throughout.
Use a perimeter feeder wire for large rotations. Run a single high-tensile wire around the full perimeter at semi-permanent tension, then connect polywire subdivision reels to it. Voltage stays consistent across the entire system regardless of how many polywire runs are live.
For dry, frozen, or rocky soils where ground conductivity is poor, switch to a Pos/Neg (alternating hot and grounded strand) configuration. Texas A&M AgriLife Extension identifies this as the standard contingency for high-resistance soils. In a Pos/Neg setup, an animal completes the circuit between the hot and grounded strands on the fence itself, bypassing the soil entirely. Verify that your netting or polywire system supports this configuration before purchasing.
Pro Tip: Check whether your electric netting is rated for Pos/Neg use before wiring it that way. Not all netting designs support alternating hot and ground strands, and wiring an incompatible net incorrectly will short the system.
Legal regulations and compliance for electric fences
Electric fence regulations in the United States are governed primarily at the state and local level, with no single federal standard covering all agricultural applications. Most states follow guidance aligned with the American Society of Agricultural and Biological Engineers (ASABE) standard S525, which sets limits on pulse energy, voltage, and pulse duration for electric fences used near people and animals.
Key compliance points to check before installation:
- State agricultural codes: Most states permit electric fencing for agricultural use but may require specific signage at regular intervals, particularly where fences border public roads, trails, or neighboring properties.
- Signage requirements: Many states require warning signs at intervals of 50–100 feet on electrified fences visible to the public. Check your state’s department of agriculture or extension service for the specific requirement in your county.
- Proximity to utilities: Never run fence wire parallel to overhead power lines without consulting your utility provider. Induced voltage from nearby power lines can damage energizers and create safety hazards.
- Shared boundary fences: If the fence runs along a property line, your neighbor may have rights or obligations under your state’s fence law. Many states have “fence viewer” statutes that govern shared boundary maintenance.
- Lease and easement restrictions: If you’re farming leased land, check whether the lease restricts semi-permanent installations. Some conservation easements prohibit certain fence types near waterways.
This is general information, not legal advice. Confirm current requirements with your state’s department of agriculture or a qualified agricultural attorney before installation.
What the conventional wisdom on semi-permanent fencing gets wrong
Most guides tell you to match your energizer to your current fence length and call it done. That advice works until the first dry August, when soil conductivity drops and your fence voltage falls below the threshold that keeps cattle honest. By then you’ve already moved the herd three times and the energizer is buried under a pile of polywire reels.
The real lesson is that a semi-permanent fence is a system, not a product. The energizer, the ground system, and the corner support all have to be sized for the worst conditions you’ll face in a season, not the average ones. An energizer that’s marginal in May will fail in July. Ground rods that work in wet spring soil will underperform in a dry summer. Corners that hold tension in calm weather will sag after the first windstorm.
The one change worth making before anything else: install the ground system as if you’re planning to double the fence load. Add the extra rods now, while the ground is accessible and you’re already digging. You won’t regret the $30 in hardware. You will regret skipping it when you’re troubleshooting a failing fence in the middle of a rotation.
What Fencefast offers for your next fence project
Fencefast carries the full range of Gallagher energizers, netting, polywire, and accessories needed to build a reliable semi-permanent system, with expert guidance available for sizing and layout. As an authorized Gallagher dealer with a 26-year partnership, Fencefast stocks the Gallagher LiveLite energizer for smaller paddocks and a complete line of low-impedance units for larger rotational grazing operations. The Gallagher Payout Spinner makes deploying and retrieving polywire reels faster and tangle-free, which matters when you’re moving subdivisions weekly.

Whether you’re setting up your first seasonal paddock or expanding an existing rotation, the team at Fencefast can help you spec the right energizer, ground system, and conductor for your species and acreage. Browse the full product catalog or reach out directly for a setup consultation.
Sources
The following resources back the key claims in this guide and are worth bookmarking for your installation planning.
- Temporary electric fencing basics - Alabama Cooperative Extension System (ACES)
- Electric-Fence Charger (E3470) - Michigan State University Extension
- The ins and outs of temporary electric fencing for rotational grazing - Gallagher Knowledge Hub
- Temporary fencing for pasture management - University of Georgia Extension (Forage Team)

