
The right chain link fence can transform any american property into a secure, private space, yet many homeowners underestimate the tools and preparation required for a sturdy result. A well-installed fence depends on careful planning and the proper selection of equipment. With over 80 percent of fence failures linked to installation errors, taking the time to understand each crucial step saves money and frustration. This guide walks you through the proven process to achieve a durable, long-lasting chain link fence for your american home.
Table of Contents
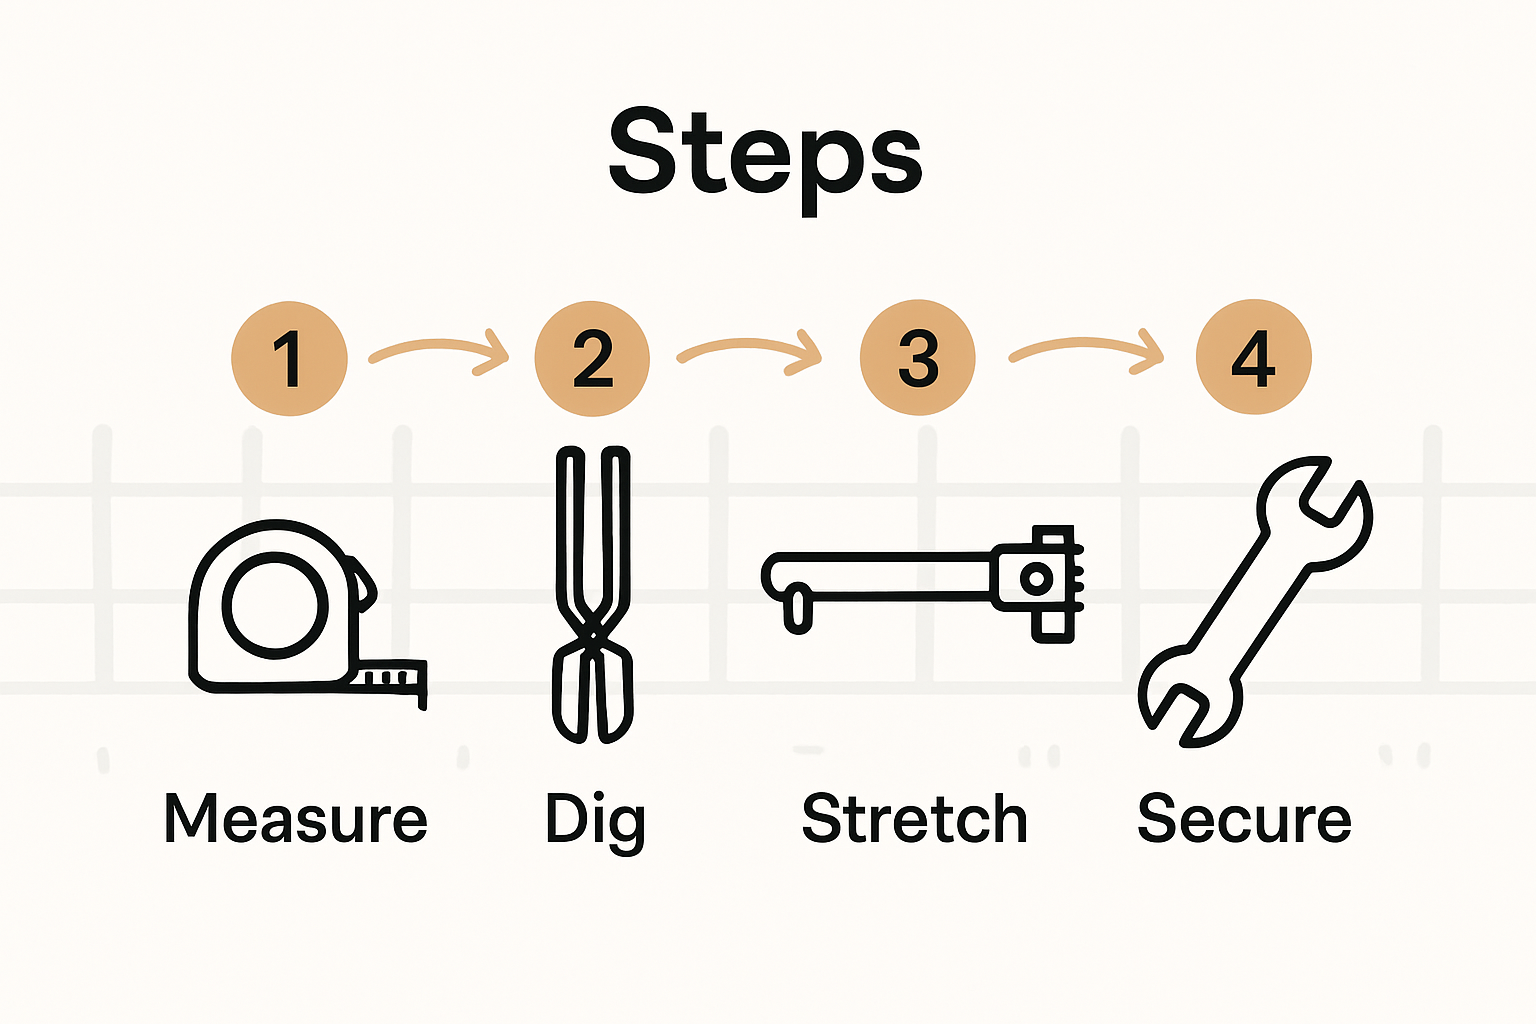
- Step 1: Gather Essential Chain Link Fence Tools to Install
- Step 2: Prepare the Site and Mark Fence Line
- Step 3: Set Fence Posts with Proper Tools
- Step 4: Assemble and Stretch Chain Link Mesh
- Step 5: Secure Fittings and Check Fence Stability
Quick Summary
| Main Insight | Clarification |
|---|---|
| 1. Gather necessary tools before starting | Collect measuring tools, digging tools, and safety equipment to ensure proper chain link fence installation. |
| 2. Mark property boundaries accurately | Conduct a thorough property survey and use stakes and string to clearly define where the fence will go. |
| 3. Dig post holes to proper depth | Ensure post holes are 24-36 inches deep and filled with gravel for stability before setting posts. |
| 4. Stretch chain link mesh carefully | Unroll and attach the chain link mesh while maintaining even tension to prevent wrinkles or sagging. |
| 5. Check stability of fittings regularly | Thoroughly inspect all connections and tension to confirm the fence’s structural integrity after installation. |
Step 1: Gather Essential Chain Link Fence Tools to Install
Before starting your chain link fence installation project, you will need to collect a comprehensive set of specialized tools. Fence installation equipment plays a critical role in creating a secure and professional result that meets industry standards like the ASTM F1553-11(2022) guidelines.
Your essential toolkit should include precise measuring tools like a tape measure, marking stakes, and string line to ensure straight fence alignment. Digging tools are crucial hardware for setting posts: a posthole digger, shovel, and power auger will help you create consistent post holes at the recommended depths. You will also need heavy duty work gloves, safety glasses, and a level to maintain proper post verticality. Specialized fencing tools like fence stretchers, come along ratchet tools, and wire cutters are mandatory for tensioning and attaching chain link fabric. Additional recommended items include a hammer, adjustable wrench, pliers, and concrete mix for securing fence posts firmly into the ground.
Pro tip: Always check your local building codes and utility locations before digging to prevent potential underground utility damage. A small investment in proper tools will save significant time and frustration during your chain link fence installation project.
Step 2: Prepare the Site and Mark Fence Line
Before installing your chain link fence, you must carefully prepare the site and establish precise fence line boundaries. Marking property boundaries requires meticulous planning and attention to detail according to ASTM F567-11a installation standards, which emphasize thorough site examination and verification.
Start by conducting a comprehensive property survey to confirm exact boundary lines and potential underground utility locations. Use marking stakes and bright string to create a clear visual representation of your proposed fence line. Measure and remeasure to ensure absolute precision before digging. Your measurement process should include checking for square corners using the 3 4 5 triangle method to guarantee straight fence sections. Clear the designated area of vegetation, rocks, and debris that might obstruct post placement. Mark each post location carefully, maintaining consistent spacing typically between 8 and 10 feet apart depending on your specific fencing requirements and terrain.
Pro tip: Contact local utility companies to perform a free underground utility scan before digging. This critical step prevents potential damage to electrical, water, or gas lines and ensures your fence installation proceeds safely and legally.
Step 3: Set Fence Posts with Proper Tools
Setting fence posts correctly is a critical foundation for your chain link fence installation. Fence installation tools play a crucial role in ensuring your posts are positioned precisely according to ASTM F567-11a installation standards, which provide comprehensive guidelines for post placement and alignment.
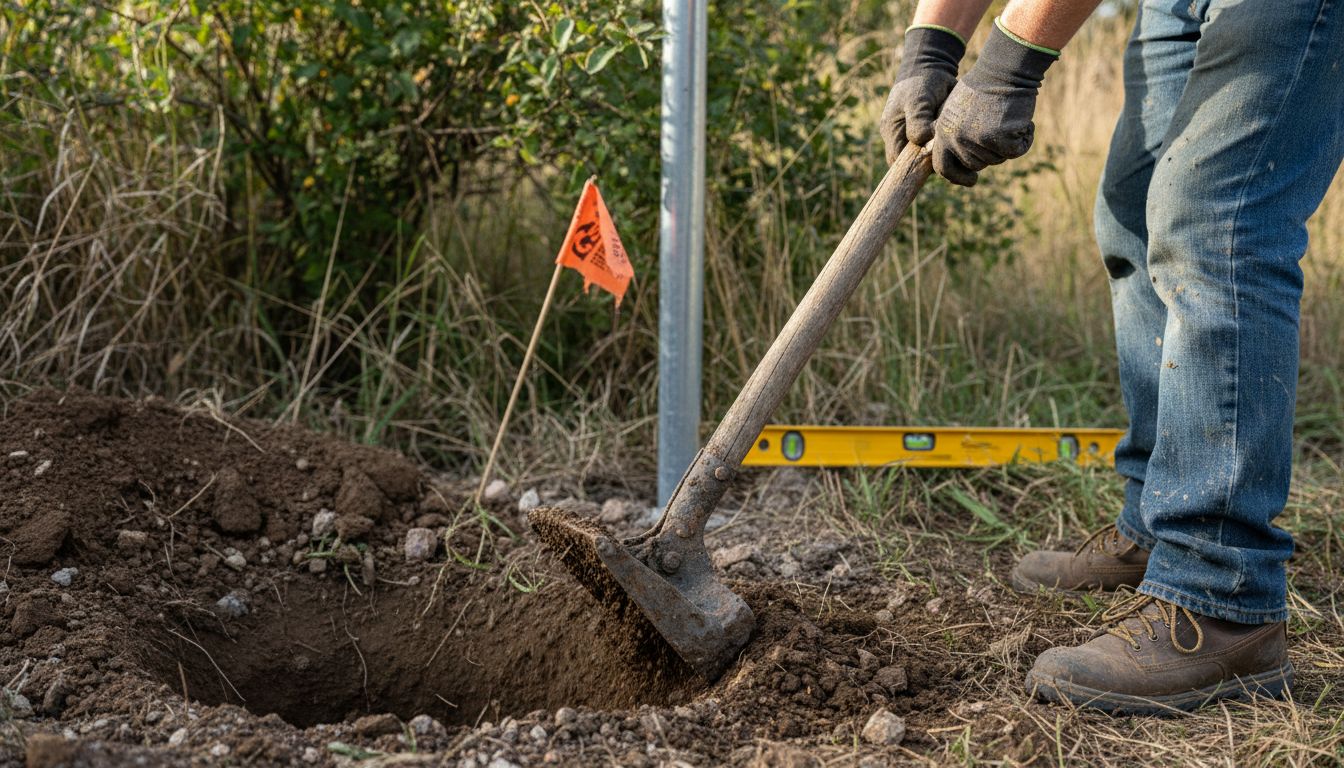
Begin by digging post holes to the recommended depth typically 24 to 36 inches deep depending on your local frost line and soil conditions. Use a power auger or manual posthole digger to create consistent diameter holes. Place 4 to 6 inches of gravel at the bottom of each hole for drainage and stability. Carefully position each terminal and corner post first, using a carpenter level to ensure they are perfectly vertical. Mix concrete according to manufacturer instructions and pour around each post, filling to ground level and creating a slight slope away from the post to prevent water pooling. Use temporary bracing to hold posts in exact position while concrete sets, which typically takes 24 to 48 hours. When setting line posts between terminal posts, maintain consistent spacing typically 8 to 10 feet apart and use a string line to guarantee straight alignment.
Pro tip: Check local building codes for specific requirements on post depth and concrete specifications, as regulations can vary by region and impact your fence installation’s structural integrity.
Step 4: Assemble and Stretch Chain Link Mesh
Assembling and stretching chain link mesh requires precision and specialized tools to ensure a professional installation. Essential tools for fence building become crucial when implementing ASTM F567-11a fabric installation standards, which provide comprehensive guidelines for proper mesh attachment and tensioning.
Start by unrolling the chain link fabric along the fence line, ensuring it is positioned parallel to the ground and aligned with your previously installed posts. Begin at a terminal post and attach the mesh using tension bands and carriage bolts. Use a fence stretcher to pull the fabric tight between posts creating a uniform tension across the entire length. Secure the mesh to line posts using wire ties every 12 to 15 inches. Work systematically from one end to the other ensuring the fabric remains straight and taut. When reaching the opposite terminal post, trim excess mesh using wire cutters and attach final tension bands. Pay close attention to maintaining consistent height and avoiding wrinkles or sagging throughout the installation process.
Pro tip: Work with a partner when stretching mesh to ensure even tension and prevent potential fabric damage. Wearing heavy work gloves will protect your hands from wire edges and provide better grip during the installation process.
Step 5: Secure Fittings and Check Fence Stability
Completely securing the chain link fence fittings requires methodical attention to detail and systematic verification of structural integrity. Farm fence building techniques become critical when implementing ASTM F567-11a installation standards, which provide comprehensive guidelines for proper fitting attachment and stability assessment.
Begin by carefully examining all tension bands, carriage bolts, and wire ties to ensure they are tightly secured at each post connection. Use an adjustable wrench to tighten any loose hardware and confirm that tension bands are evenly spaced and firmly attached. Check the vertical alignment of posts using a carpenter level and make minor adjustments as needed. Gently push and pull the fence at various points to test overall structural rigidity and identify any potential weak spots. Pay special attention to terminal and corner posts where additional reinforcement might be necessary. Systematically walk the entire fence line and verify that the mesh remains uniformly stretched without significant sags or gaps between the fabric and posts.
Pro tip: Perform a comprehensive stability check during different weather conditions. Temperature changes and ground settling can impact fence tension, so plan to inspect and readjust fittings periodically during the first few months after installation.
Equip Yourself for Success with Expert Chain Link Fence Tools
Installing a chain link fence demands precision, the right tools, and trusted materials to overcome challenges like accurate post setting, proper mesh tensioning, and secure fittings. If you want to avoid common frustrations such as uneven fence lines, sagging fabric, or unstable posts, choosing quality fence installation equipment designed for rural and agricultural use is essential. At FenceFast.ca, we understand that every detail matters—from tension bands to wire cutters—to help you meet industry standards and complete your project safely and efficiently.

Start your chain link fence project today with confidence by exploring our comprehensive range of fencing components and specialized tools. Whether you need durable staples, tensioning tools, or concrete mix for post stability, we provide reliable products backed by expert advice tailored to Canadian farmers and ranchers. Visit FenceFast.ca now and ensure your fence stands strong for years to come.
Frequently Asked Questions
What tools are essential for installing a chain link fence?
To install a chain link fence, you need tools such as a tape measure, posthole digger, level, and wire cutters. Gather these tools before starting your project to ensure an efficient installation process.
How deep should the post holes be for a chain link fence?
Post holes for a chain link fence should typically be 24 to 36 inches deep, depending on your local frost line and soil conditions. Use a power auger or manual posthole digger to achieve consistent hole depth across all posts.
How do I mark the fence line before installation?
Mark the fence line by conducting a property survey and using marking stakes and string to outline your proposed fence placement. Ensure your marks are precise to avoid any issues during installation.
What is the process for securing chain link mesh to the posts?
To secure chain link mesh, attach it to the posts with tension bands and carriage bolts, using a fence stretcher to maintain even tension. Secure the mesh to the line posts with wire ties every 12 to 15 inches for stability.
How can I check the stability of my installed chain link fence?
Check the stability by examining the tension bands, carriage bolts, and wire ties to ensure they are tight. Push and pull at various points along the fence to test its rigidity and make adjustments as necessary.

