
Protecting livestock in unpredictable Canadian climates means every detail matters, especially when it comes to fencing. Choosing and installing the right electric fence can keep predators out and manage grazing more efficiently, but it requires more than just posts and wire. This guide breaks down every vital step, from assessing your fence line to achieving the strongest grounding possible, so you gain a reliable, effective electric barrier built to withstand real-world challenges.
Table of Contents
- Step 1: Assess Fence Line And Gather Required Materials
- Step 2: Install Posts And Secure Electric Fence Wire
- Step 3: Connect Charger And Attach Insulators
- Step 4: Ground The System For Reliable Operation
- Step 5: Test The Electric Fence And Troubleshoot Issues
Quick Summary
| Key Point | Explanation |
|---|---|
| 1. Assess terrain before installation | Always survey the proposed fence line for obstacles, ensuring a clear path for effective fence deployment. |
| 2. Use quality components for reliability | Select compatible materials like high tensile wire and strong posts to ensure durability and consistent electrical performance. |
| 3. Proper grounding is essential | Install multiple ground rods in moist soil to complete the electrical circuit and ensure maximum conductivity. |
| 4. Test the fence regularly | Utilize a voltmeter to check voltage along the line, identifying low performance areas to troubleshoot effectively. |
| 5. Maintain vegetation clearance | Keep vegetation trimmed within 6 inches of the fence to prevent electrical shorts and maintain voltage integrity. |
Step 1: Assess Fence Line and Gather Required Materials
Before diving into electric fence installation, you need a strategic plan that covers terrain evaluation and material preparation. Proper assessment prevents future problems and ensures livestock safety. This initial step involves surveying your property and collecting all necessary equipment to create an effective electric barrier.
Start by carefully walking the proposed fence line, paying close attention to terrain features and potential obstacles. You want a clear path that avoids dense vegetation, rocky ground, or areas with significant slope variations. Surveying the fence line involves removing debris, checking soil conditions, and determining the most direct route for your electric fence. The goal is creating a straight, unobstructed path that maximizes the fence’s effectiveness and minimizes potential electrical shorts.
Gather your materials methodically. Essential items include an energizer, high tensile wire, sturdy posts, ceramic or polymer insulators, grounding rods, and testing equipment. Electric fence components must be compatible with each other and suited to your specific livestock type and environmental conditions. Consider factors like wire gauge, post durability, and insulator quality to ensure a robust fencing system that provides reliable protection.
Here’s a quick reference matching electric fence components to their purpose and impact:
| Component | Main Function | Impact on System |
|---|---|---|
| Energizer | Supplies electrical power | Maintains shock strength |
| High tensile wire | Conducts electricity | Durable, low maintenance |
| Posts | Supports fence structure | Prevents sagging and collapse |
| Insulators | Prevents grounding | Maintains circuit integrity |
| Grounding rods | Completes circuit | Ensures electrical continuity |
| Testing equipment | Verifies voltage | Confirms system reliability |
Pro Tip: Always have spare parts and an extra grounding rod on hand to quickly address any unexpected installation challenges or equipment failures during your electric fence setup.
Step 2: Install Posts and Secure Electric Fence Wire
Installing posts and securing electric fence wire represents a critical phase in creating an effective livestock barrier. Your goal is to establish a sturdy, reliable fence that provides consistent electrical containment while withstanding environmental challenges and animal interactions.
Proper post installation begins with strategic placement and secure anchoring. Start by marking your fence line and digging holes to an appropriate depth based on your specific soil conditions. End and corner posts require extra reinforcement since they will bear the most significant tension. Aim for a minimum depth of 2 feet, ensuring posts are perfectly vertical and tightly compacted with gravel or concrete for maximum stability. Space your line posts consistently every 50 to 100 feet, depending on terrain and wire tension requirements.
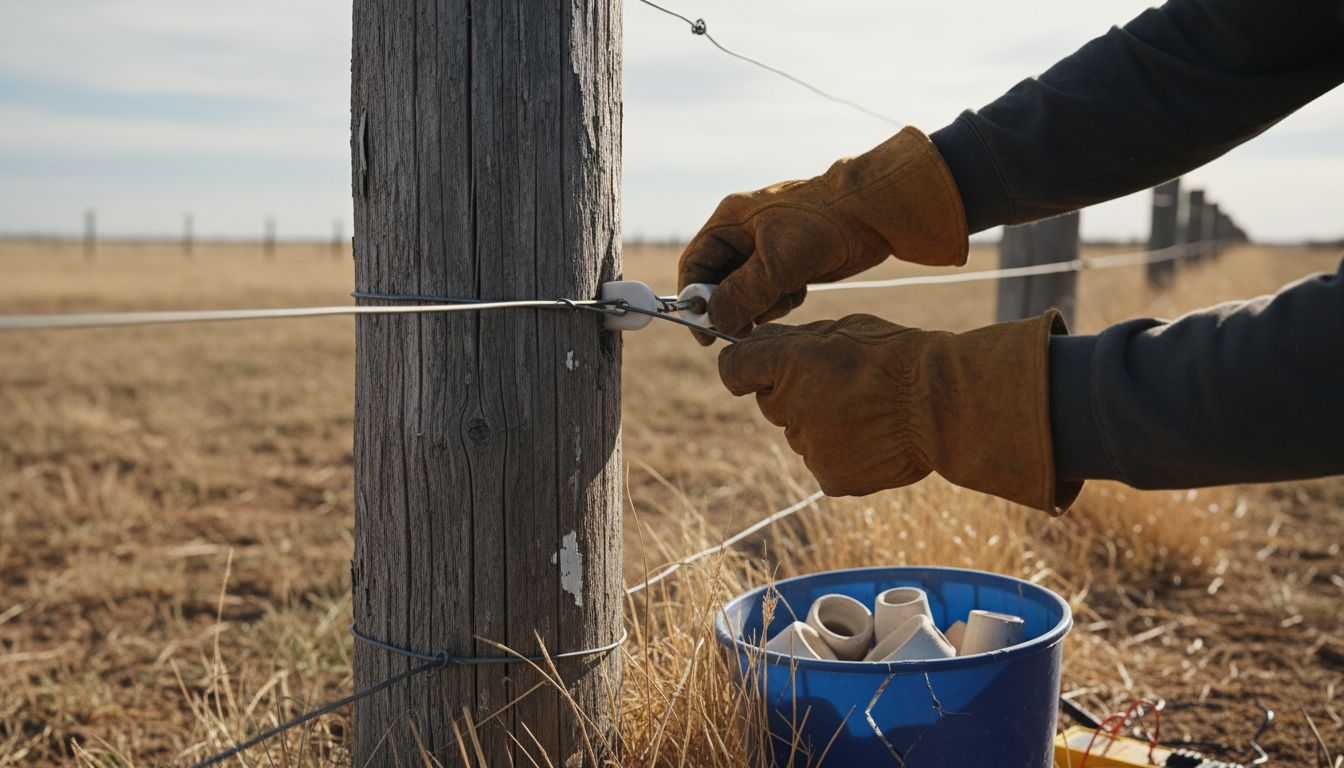
After setting your posts, carefully run and tension your electric fence wire. Use high quality ceramic or polymer insulators to prevent electrical grounding and maintain wire isolation. Attach insulators securely at consistent heights appropriate for your livestock type, typically ranging between 18 to 54 inches off the ground. Stretch each wire carefully, avoiding excessive slack while preventing overly tight tension that could damage posts or cause wire breakage. Ensure wire connections are clean, tight, and properly connected to your energizer for optimal electrical performance.
Pro Tip: Always test wire tension and electrical continuity using a voltage meter before completing your fence installation to identify and address potential weak points or electrical inconsistencies.
Step 3: Connect Charger and Attach Insulators
Now that your posts are set and wire is in place, you will connect the electric fence charger and strategically attach insulators to ensure consistent electrical performance and livestock safety. This critical step transforms your physical fence into an active electrical containment system.
Connecting the charger requires precision and careful cable management. Begin by selecting a dry, protected location near your fence line for mounting the energizer, preferably under a shelter or inside a weatherproof enclosure. Use heavy-duty cables to connect the charger’s positive terminal to your fence wire and the negative terminal to your grounding rod system. Ensure all connections are tight, clean, and free from corrosion. The grounding system typically requires three galvanized ground rods spaced at least 10 feet apart and driven at least 6 to 8 feet into the ground to maximize electrical conductivity.
When attaching insulators, focus on preventing electrical shorts and maintaining consistent wire positioning. Select high-quality ceramic or polymer insulators rated for your specific fence voltage and livestock type. Mount insulators at uniform heights around your entire fence perimeter, typically between 18 and 54 inches depending on the animals you are containing. Ensure each insulator is securely fastened to the post, with the wire sitting cleanly within the insulator without touching the post material. Double-check that no vegetation or conductive materials can contact the electrified wire, which could drain electrical charge and compromise fence effectiveness.
Pro Tip: Invest in a quality digital voltage tester to regularly check your fence’s electrical performance and quickly identify any potential grounding issues or wire breaks.
Step 4: Ground the System for Reliable Operation
Grounding represents the most critical yet often overlooked component of an electric fence system. A properly configured ground ensures your fence delivers consistent electrical shock and maintains optimal livestock containment performance across varying environmental conditions.
Electric fence grounding techniques require strategic installation of multiple ground rods to complete the electrical circuit effectively. Start by selecting three galvanized steel ground rods at least 6 feet long and made specifically for electrical grounding. Drive these rods into moist soil areas at least 10 feet apart, ensuring each rod is deeply embedded at least 6 to 8 feet underground. Connect the rods using heavy gauge copper wire, creating a continuous ground pathway that maximizes electrical conductivity and minimizes resistance.
The effectiveness of your ground system depends on soil composition and moisture content. In clay or consistently damp soils, your grounding will perform exceptionally well. However, in sandy or very dry environments, you might need to add additional ground rods or periodically moisten the soil around your ground system to maintain optimal electrical performance. Avoid rocky or extremely compact soil areas that can impede electrical conductivity. Use specialized ground rod clamps to ensure tight, corrosion resistant connections between rods and your fence energizer.
Compare grounding effectiveness based on different soil types:
| Soil Type | Grounding Performance | Recommended Adjustments |
|---|---|---|
| Clay/Loam | Very effective | Standard three rods usually adequate |
| Sandy | Poor conductivity | Add extra rods and moisten soil |
| Rocky | Difficult installation | Avoid or supplement with more rods |
| Moist/Damp | Highly effective | Consistent performance; minimal changes |
| Dry | Weak electrical connection | Increase rods, water regularly |
Pro Tip: Periodically test your ground system with a dedicated ground rod tester to verify electrical continuity and identify potential deterioration before it compromises your fence performance.
Step 5: Test the Electric Fence and Troubleshoot Issues
Testing and troubleshooting your electric fence represents the final critical step in ensuring reliable livestock protection. Your goal is to verify the entire system’s electrical performance and quickly identify any potential weaknesses that could compromise containment.
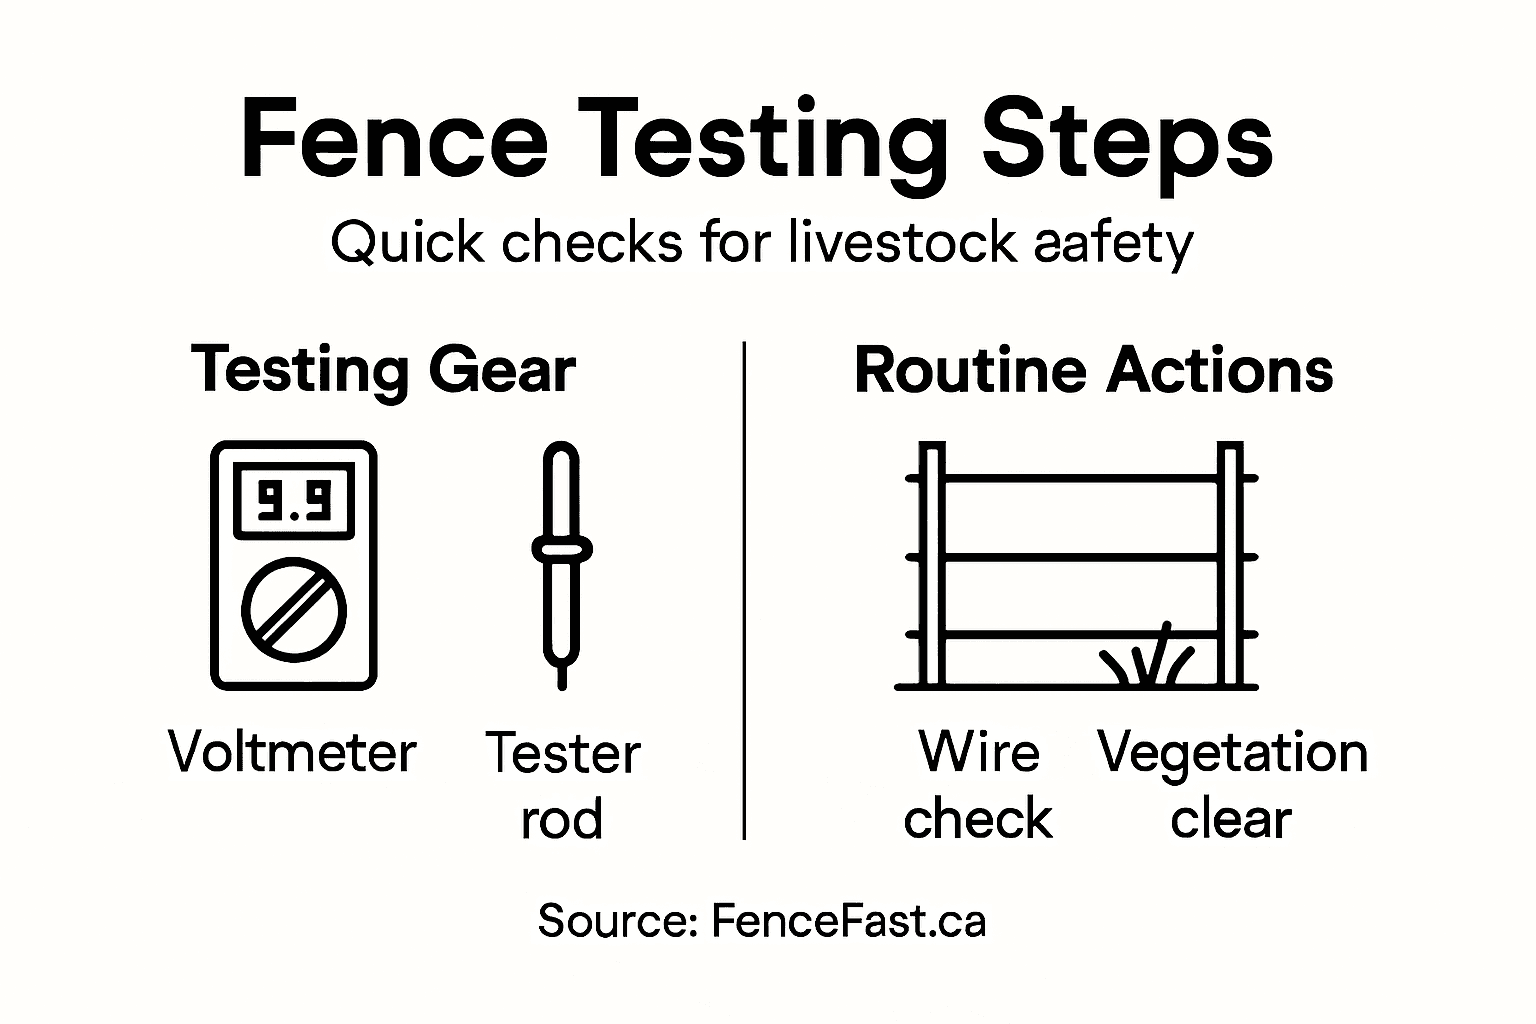
Electric fence testing techniques require a specialized high impedance voltmeter designed specifically for electric fencing. Begin by measuring voltage at multiple points along your fence line to ensure consistent electrical output. A reading below 3000 volts indicates potential problems such as vegetation interference, wire damage, or grounding issues. Systematically inspect each section of the fence, checking for vegetation touching the wires, damaged insulators, or loose connections that could drain electrical charge.
Common troubleshooting steps involve clearing vegetation within 6 inches of the fence, tightening loose wire connections, and verifying your energizer output. If voltage remains low, investigate your grounding system first. Check ground rod connections, ensure rods are deeply embedded, and confirm no corrosion exists. In some cases, you might need to add additional ground rods or replace existing ones to maintain optimal electrical performance. Remember that environmental factors like soil moisture and composition can significantly impact your fence’s electrical conductivity.
Pro Tip: Keep a dedicated voltage tester near your fence and perform quick weekly checks to catch and resolve potential issues before they become significant problems.
Secure Your Livestock with Expert Electric Fencing Solutions
Installing an electric fence requires careful planning and reliable components to ensure maximum safety and control for your animals. This article highlights key challenges such as grounding the system for consistent voltage, proper wire tensioning, and choosing the right insulators and energizers. If you want to avoid common issues like electrical shorts or weak fencing, sourcing quality materials and expert advice is essential.
At FenceFast.ca, you will find everything you need to build a durable and effective electric fence tailored to your livestock type. From high tensile wire and sturdy posts to energizers and grounding rods, our comprehensive selection helps you solve problems discussed in the article with ease. Explore our electric fencing systems to access products designed for Canadian farming conditions backed by expert support.

Ready to protect your livestock with confidence? Visit FenceFast.ca now to browse premium fencing supplies and get your project started with trusted equipment. Don’t wait until small faults turn into costly escapes. Equip your farm with materials built for durability and safety today.
Frequently Asked Questions
How do I assess the fence line before installing an electric fence?
Before installing an electric fence, walk the proposed fence line to evaluate terrain features and identify potential obstacles. Remove debris and check for rocky or sloped areas that could interfere with installation by marking out a clear path.
What materials are essential for hooking up an electric fence?
Essential materials for hooking up an electric fence include an energizer, high tensile wire, sturdy posts, insulators, grounding rods, and testing equipment. Gather these items before starting the installation to ensure a smooth setup process.
How do I properly install posts for my electric fence?
To install posts correctly, dig holes at least 2 feet deep, ensuring they are vertical and securely anchored with gravel or concrete. Space line posts every 50 to 100 feet and reinforce end and corner posts to withstand tension during operation.
What are the steps to connect the charger to the electric fence system?
First, choose a dry location to mount the charger and connect the positive terminal to the fence wire and the negative terminal to the grounding rods. Ensure all connections are tight and free from corrosion for optimal electrical performance.
How can I test the electric fence after installation?
To test the electric fence, use a specialized voltmeter to check the voltage at multiple points along the fence. If the voltage is below 3000 volts, investigate potential issues such as vegetation interference, wire damage, or grounding problems to improve performance.
What maintenance should I perform to ensure the electric fence’s effectiveness?
Regularly check the fence for vegetation encroachment, inspect connections, and verify grounding effectiveness. Perform these checks weekly to maintain optimal performance and quickly address any issues before they escalate.

