
Finding cost-effective, reliable fencing that stands up to sheep can feel like a moving target for experienced Canadian farmers. When sheep test every weak spot and you need to manage grazing rotations while protecting valuable crops, choosing the right setup becomes vital. This practical resource outlines how to select and install effective temporary sheep fencing using proven methods, so you can simplify pasture management and boost flock safety without overspending.
Table of Contents
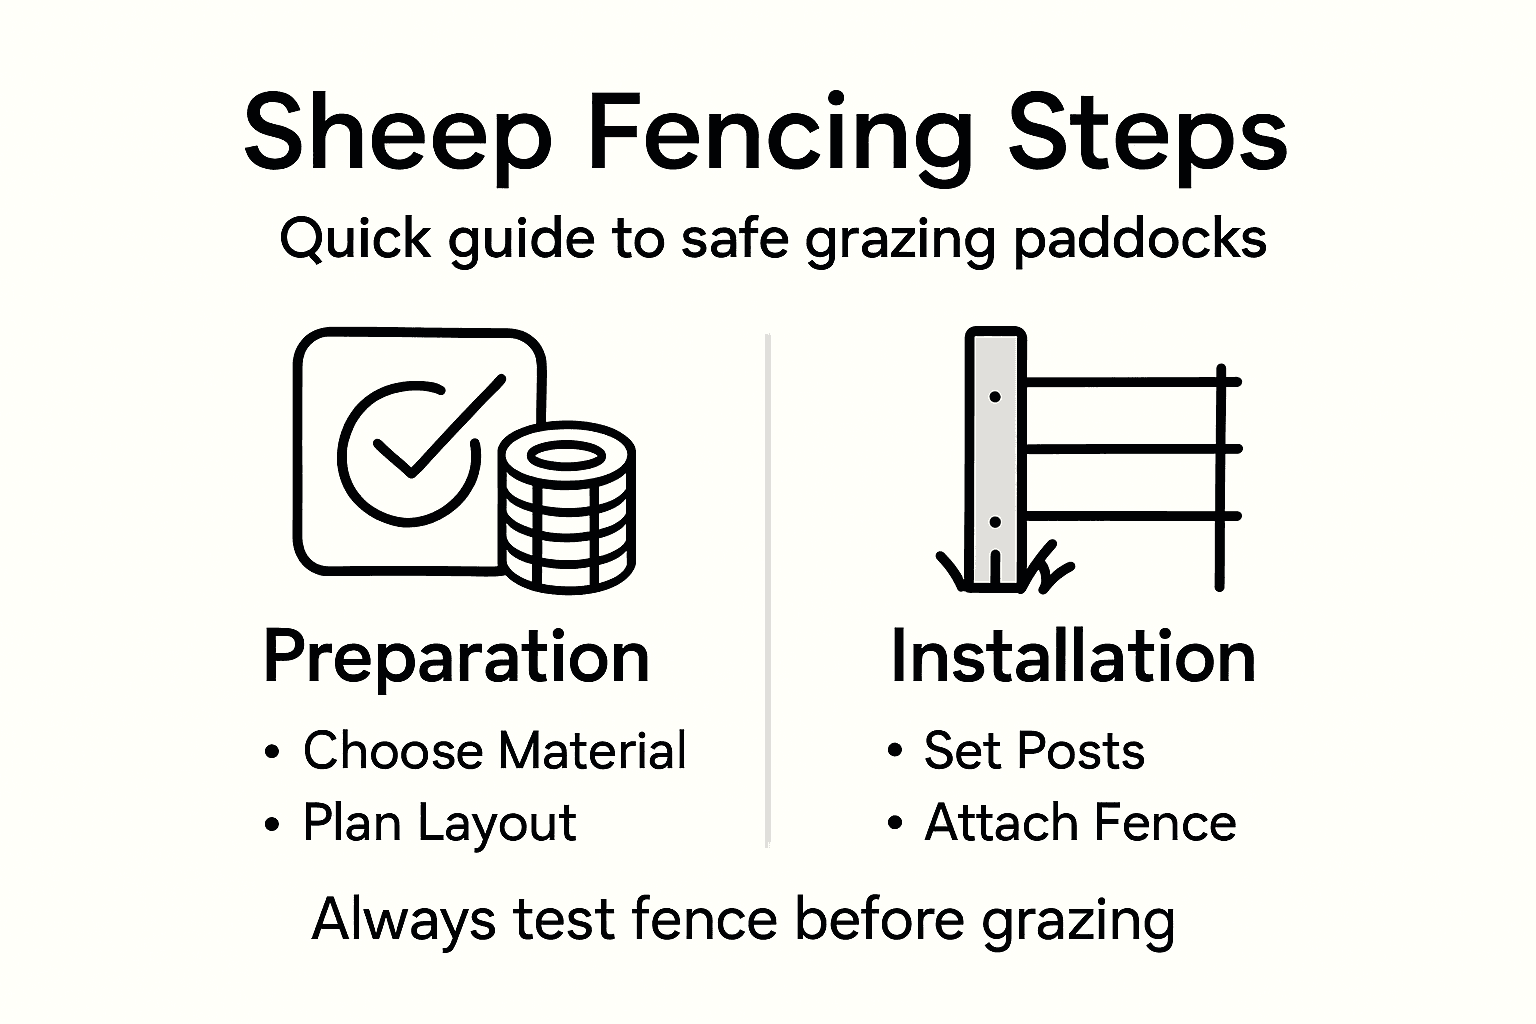
- Step 1: Choose Suitable Fencing Materials
- Step 2: Plan Your Temporary Fence Layout
- Step 3: Install Fence Posts And Anchors
- Step 4: Attach Sheep Fencing And Tension Wire
- Step 5: Test Fence Security And Stability
- Step 6: Adjust Fencing For Animal Safety
Quick Summary
| Main Insight | Explanation |
|---|---|
| 1. Choose the Right Fencing Materials | Select between mesh wire fencing and electric fencing based on your grazing strategy to effectively contain sheep and minimize maintenance. |
| 2. Plan Your Fence Layout Carefully | Sketch your fence layout considering water access, shelter, and sheep movement preferences to optimize grazing rotation and ease of maintenance. |
| 3. Securely Install Fence Posts | Set posts deep enough to withstand environmental conditions, ensuring stability and consistent spacing for effective fencing materials attachment. |
| 4. Properly Attach Fencing and Tension Wire | Carefully attach mesh or electric fencing while ensuring proper tension to maintain structural integrity and prevent escape attempts. |
| 5. Test Fence Security and Animal Safety | Conduct thorough checks for stability and weaknesses before introducing sheep, adjusting mesh height and electric voltage for optimal safety. |
Step 1: Choose suitable fencing materials
When you’re setting up temporary sheep fencing, your material choice will determine how effectively your animals stay contained and how much work you’ll put into maintenance down the road. Sheep are notorious escape artists, and they’ll test your fencing constantly, so you need materials that match their behavior and your property’s conditions. The good news is that temporary fencing gives you flexibility to experiment and find what works best for your operation without the long-term commitment of permanent installations.
Your two main categories of materials are physical barriers and electric fencing, and each serves different purposes depending on your grazing rotation strategy. Physical options like mesh wire fencing work well for preventing escape since sheep can’t slip through or push their way out the way they might with smooth wire. For Canadian operations running rotational grazing systems, many farmers pair mesh wire with lightweight posts that you can move between paddocks without heavy equipment. This combination gives you durability without the permanence.
Electric fencing has become increasingly popular because it offers something mesh fencing doesn’t: a psychological barrier that teaches sheep to respect boundaries. You’ll need proper fence chargers and grounding systems to make electric fencing effective, and this is where most people stumble initially. A weak charger won’t teach your sheep anything, and poor grounding wastes energy. But when installed correctly, electric fencing lets you subdivide pastures more frequently, rotate livestock through smaller areas to reduce parasite buildup, and even increase your stocking rates without degrading pasture quality. Consider also reviewing tips for choosing the best livestock fence to evaluate your specific needs before making your final selection.
For most Canadian farmers working with sheep, a hybrid approach works best. Use mesh fencing around your perimeter for permanent holding areas, then install electric fencing to create temporary internal divisions that you’ll move weekly or bi-weekly. This balances security with flexibility and doesn’t break the budget when you’re managing multiple grazing areas across your property.
Here’s a comparison of mesh fencing and electric fencing features for temporary sheep enclosures:
| Feature | Mesh Fencing | Electric Fencing |
|---|---|---|
| Containment Method | Physical barrier | Psychological deterrent |
| Portability | Moderate, needs posts | High, lightweight posts |
| Power Requirement | None | Requires charger and ground |
| Maintenance Frequency | Low to moderate | Must check voltage often |
| Effectiveness on Sheep | Blocks escapes physically | Deters via mild shock |
| Recommended Use | Perimeters or holding pens | Rotational paddock systems |
Pro tip: Test any fencing material on a small section before committing your entire flock, and watch how your sheep interact with it over a few days to see if they’ll challenge it.
Step 2: Plan your temporary fence layout
Before you drive a single post into the ground, take time to sketch out your fence layout on paper or using a simple digital tool. This planning phase saves you from costly mistakes and ensures your temporary fencing works with your property’s natural features rather than against them. Your layout should balance three key priorities: giving your sheep access to water and shelter, optimizing their grazing rotation, and making the system easy to move and maintain week after week.
Start by walking your property and noting where water sources are located, where natural shelter exists, and how the terrain slopes. Sheep naturally gravitate toward areas with good drainage and avoid muddy low spots, so plan your paddock divisions with this in mind. When considering animal behavior patterns like movement preferences, you’ll want to orient your temporary fences so animals move easily toward light and away from tight, enclosed feeling spaces. This reduces stress on your flock and makes handling easier during rotations. Think about where you’ll place water troughs in relation to grazing areas. Most operations place water at the edge of paddocks rather than in the center, allowing sheep to drink without trampling forage. If you’re running multiple pasture divisions, consider temporary lanes between paddocks that let animals move from one area to the next without you having to manually drive them.
Your layout should also account for practical fencing details like corner placement and spacing. Proper corner construction and spacing reduce stress on both your materials and your animals, and corners that are set at proper angles hold up better under the constant pressure sheep apply when moving through paddocks. Create a simple map showing how many paddocks you want, roughly how large each will be, and where gates or access points will go. If you’re planning to use electric fencing subdivisions, mark those separately from any permanent mesh fencing. This visual reference becomes invaluable when you’re actually installing and especially when you’re moving fences later in the season. You can also reference temporary electric fence setup guidance for paddock division planning if electric subdivision is part of your strategy.
Pro tip: Measure your paddock sizes based on how many days you want sheep grazing each area. If you’re rotating every seven days with enough forage for 30 days of growth, divide your usable pasture into five equal paddocks instead of guessing at dimensions.
Step 3: Install fence posts and anchors
This is where your temporary fencing goes from plan to reality. Getting posts in the ground correctly determines whether your fence stands firm through months of grazing or collapses under pressure from curious sheep. Posts need to be set deep enough to resist frost heave in Canadian winters, anchored in solid soil, and spaced consistently so your fencing materials sit at the proper height and tension.
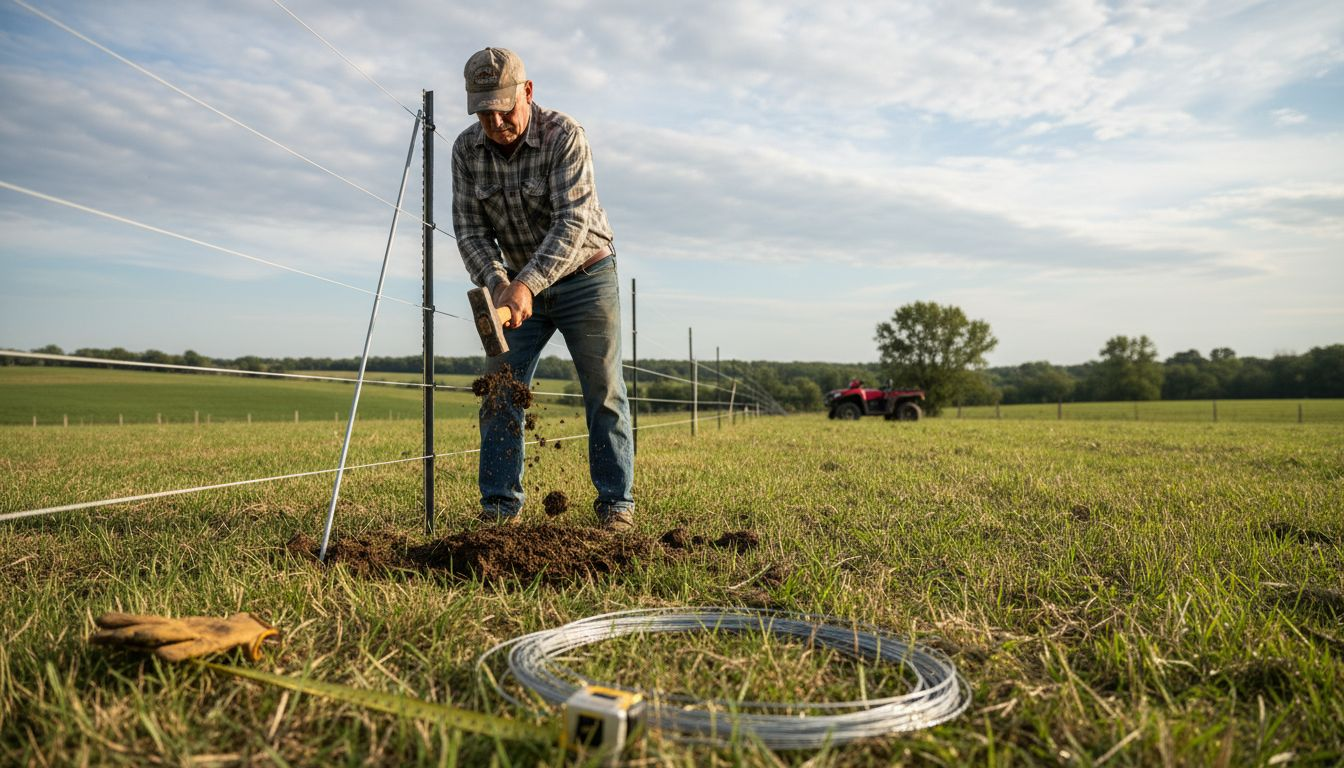
Start by marking where each post will go based on your layout plan. For temporary electric fencing, posts can be spaced 8 to 10 feet apart, while mesh fencing typically needs posts every 5 to 6 feet for adequate support. When you begin installing posts, proper post installation depth and soil compaction prevent heaving during freeze and thaw cycles. Your posts need to go deep enough to exceed your local frost line, typically 30 to 36 inches in most Canadian regions. The soil around posts must be well compacted, not loose or saturated, so avoid setting posts in clay or silt unless you compact the surrounding area thoroughly with gravel. If you’re using treated wooden posts, make sure they’re rated for ground contact. Metal posts work equally well and require less maintenance, though they conduct electricity differently if you’re installing electric fencing.
Corners and end posts need special attention because they take the most pressure. Secure corner anchors and braces withstand fencing tension from materials pulling on multiple sides. At corners, set posts at a slight angle pointing outward or install a diagonal brace post to transfer that force into the ground. Your installation tools matter too. Manual post drivers work for small operations driving just a few posts, but fence installation tools like hydraulic drivers save time when you’re setting multiple posts across numerous paddocks. Whatever tool you choose, keep your post heights uniform so wire or mesh attaches at consistent heights, preventing sagging and maintaining your fence integrity. Once posts are set, walk the entire line and sight down the posts to check alignment before you attach any fencing materials.
Pro tip: Set corner posts first and use a string line stretched between them as a guide for intermediate posts, ensuring a straight fence that looks professional and performs better under pressure.
Step 4: Attach sheep fencing and tension wire
Now that your posts are set and aligned, it’s time to attach your fencing materials and create the tension that keeps everything in place. This step transforms loose posts into a functioning barrier that will contain your sheep for months. Proper attachment and tension matter equally, because a well-built fence with poor tension fails just as quickly as poor materials stretched too tight.
Start at one corner and work systematically along your fence line. If you’re using mesh fencing, you’ll attach it using staples or clips that resist weathering and hold under constant animal pressure. Drive staples at a slight downward angle so they don’t pop out over time as posts shift and weather changes. Space your staples about 6 inches apart along the length of each post, ensuring you’re pulling the mesh tight as you go. For electric fencing, properly stretching wire and securing it with insulators prevents short-circuiting and maintains the psychological barrier that keeps sheep at a distance. Never use metal staples or clips on electric fencing, as they’ll ground out your fence and render it useless. Instead, use plastic insulators specifically designed for electric fencing, spacing them at 3 to 4 foot intervals along each post.
Tension wires run horizontally along the fence and do the heavy lifting of structural support. Tension wires maintain fence structure and prevent deformation from wind, snow, and animal pressure. Install a tension wire about 4 inches from the top and another about 4 inches from the bottom of your fence line, running the entire length. Tighten these wires progressively, not all at once, so you distribute the load evenly. Use a come-along or ratchet strap to create tension gradually, checking that posts remain plumb and aligned as you tighten. The fence should feel firm and rigid, not loose or bouncy. Consider reviewing practical sheep fencing ideas to see how experienced operations handle attachment details across different temporary setups.
Pro tip: Start your tension wire attachment at the corner post and work toward open areas, tightening gradually in 2 to 3 inch increments per post rather than cranking everything to maximum tension at once, which prevents posts from leaning.
Step 5: Test fence security and stability
Before you let your sheep into the paddock, take time to thoroughly test your entire fence installation. This testing phase catches problems while they’re easy to fix, rather than discovering them after your flock has spent a week pushing against weak spots. A well built fence that fails inspection is infinitely better than discovering problems after your sheep have escaped into neighboring pastures.
Start by walking the entire fence line and visually inspecting every section. Look for loose fittings, sagging wire or mesh, and any damaged panels that might have been overlooked during installation. Check that all posts are firmly anchored and haven’t shifted during the tensioning process. Testing fence security involves inspecting for loose fittings and sagging sections to ensure posts remain firmly set and tension wires haven’t relaxed. Push against the fence at various points along the line with your body weight, simulating the pressure sheep will apply when grazing. The fence should feel solid and immobile, not give way or flex excessively. Pay special attention to corners and gate areas, as these take the most abuse. If you’re using electric fencing, test the charger to ensure it’s delivering adequate voltage. Most modern chargers have indicator lights showing they’re functioning, but you can also touch the fence with the back of your hand to feel a slight tingle, confirming the charge is working.
Next, examine the gates and any access points you’ve created. Gates must open and close smoothly without binding or leaving gaps large enough for sheep to escape through. Check tension wires for tightness by plucking them like guitar strings. They should produce a firm hum when you strike them, indicating proper tension. Regular maintenance checks during grazing season maintain containment and prevent escapes and injuries. Make a mental note or written list of any minor adjustments needed, then address them immediately. Once your sheep are grazing, make these fixes harder because you’ll need to manage the animals while working on the fence. Consider reviewing basic electric fence setup guidance if you’re using electric components and want to verify everything is functioning optimally before introducing animals.
Pro tip: Do a final walk-through at dusk when shadows highlight any sagging sections or gaps you might miss in full daylight, then make corrections before moving your sheep into the area.
Step 6: Adjust fencing for animal safety
With your fence installed and tested, you now need to fine tune it specifically for sheep safety. Sheep have unique characteristics that make them different from cattle or horses, and your fencing adjustments should account for their size, behavior, and tendency to get caught on things. Making these adjustments before introducing your flock prevents injuries and escape attempts that could disrupt your entire grazing rotation.
Start by examining your mesh size and fence height. Sheep are smaller than cattle, so gaps that would safely contain a steer might allow a lamb or small ewe to slip through. Adjusting fence height and mesh size prevents escape while minimizing injury risks to your animals. A mesh opening of 2 inches or smaller keeps sheep contained, while anything larger creates escape opportunities. Check the bottom of your fence line especially carefully. Sheep will push and probe at ground level, and even small gaps can lead to escape attempts. If you find gaps, you can add additional fencing material or bury mesh slightly into the soil to close them. Run your hands along the entire fence looking for sharp edges, protruding staples, or barbed wire that could catch wool or tear skin. Barbed wire should be avoided entirely for sheep since they injure themselves easily trying to escape from it. If you inherited barbed wire fencing, consider replacing those sections with smooth wire or mesh.
For electric fencing, voltage adjustment is critical to safety. Proper electric fence voltage levels deter animals without causing harm and must be monitored regularly. Most chargers have adjustable settings, and sheep typically need 2000 to 3000 volts for an effective psychological barrier. Too much voltage can injure animals, while too little fails to teach them boundary respect. Test the voltage with a voltmeter if your charger doesn’t have a built in indicator. Check all insulators and connections to ensure there are no shorts grounding out your system. Walk the fence perimeter one more time and look specifically for areas where grass, weeds, or moisture might be contacting the electric wire. Any contact will ground out your fence and reduce effectiveness. Consider reviewing essential livestock fence safety tips for additional perspectives on making your setup as safe as possible for your animals.
Use this table to quickly reference recommended fence measurements and safety settings for sheep:
| Parameter | Recommended Value | Notes |
|---|---|---|
| Mesh Opening Size | 2 inches or smaller | Prevents lambs from slipping through |
| Fence Height | 32–40 inches | Tall enough to deter leaping |
| Electric Voltage | 2000–3000 volts | Sufficient for sheep, not harmful |
| Post Spacing | 5–6 ft (mesh), 8–10 ft (electric) | Depends on fence type |
Pro tip: Watch your sheep’s behavior during their first hour in a new paddock, as they’ll immediately test the fence and reveal any weak spots or safety issues you might have missed during your initial adjustments.
Secure Your Sheep with Reliable Temporary Fencing Solutions
Setting up temporary sheep fencing can be challenging when you face issues like choosing the right materials, ensuring proper tension, and maintaining animal safety. This article highlighted the importance of using the right mesh size, post spacing, and electric fencing voltage to keep your flock secure without causing harm. If you want fencing products that stand up to Canadian weather and sheep behavior, partnering with a trusted supplier can make all the difference.

At FenceFast.ca, we specialize in providing a wide range of fencing components and electric fencing systems designed specifically for livestock management. From durable mesh wire and quality staples to efficient fence chargers and insulators, our selection is tailored to keep your sheep contained and safe. Explore our resources and products that support quick installation, reliable security, and animal-friendly fencing designs. Don’t wait until your sheep test their limits - visit FenceFast.ca today to get expert advice and order the perfect fencing supplies for your operation.
Frequently Asked Questions
What materials are best for installing temporary sheep fencing?
The best materials for temporary sheep fencing include mesh wire fencing and electric fencing. Choose mesh fencing for permanent boundaries and electric fencing for flexible internal divisions that can be adjusted easily throughout the grazing season.
How do I plan my temporary fence layout for sheep grazing?
To plan your temporary fence layout, sketch where water sources, natural shelters, and grazing areas are located. Aim for a design that allows easy sheep movement, access to resources, and minimal stress during rotations, ensuring each paddock provides adequate space for grazing.
How do I properly install fence posts for sheep fencing?
Install fence posts by marking their locations according to your layout, ensuring posts are spaced 5 to 6 feet apart for mesh fencing and 8 to 10 feet apart for electric fencing. Set posts deep enough to exceed the local frost line (30 to 36 inches) for durability, and compact the surrounding soil to prevent shifting.
What is the best way to attach fencing materials and tension wire?
To attach fencing materials, start at one corner and work systematically along the line, using staples for mesh and insulators for electric wire. Ensure the tension wires are installed about 4 inches from both the top and bottom, and tighten gradually to maintain uniform height and structural integrity.
How can I ensure the safety of my sheep around the fence?
To ensure safety, check that mesh openings are 2 inches or smaller and that the fence height is between 32 and 40 inches. Inspect for sharp edges or gaps at the bottom that could allow escapes, and adjust voltage levels on electric fencing to 2000 to 3000 volts for effective deterrence without harm.
What steps should I take to test the security and stability of my temporary fence?
Walk the entire fence line to visually inspect for loose fittings and sagging wire. Push against the fence at various points to simulate pressure from sheep, ensuring it remains solid and secure before allowing sheep into the paddock.

