

TL;DR:
- Regular fence maintenance involves inspections, vegetation control, and timely repairs to prevent livestock escapes. Weekly or bi-monthly checks, combined with proper materials like durable wire and fasteners, greatly extend fence lifespan and effectiveness. Addressing issues immediately and keeping a repair kit ensures a secure fencing system that minimizes long-term costs.
Field fence maintenance is the ongoing process of inspecting, repairing, and caring for fencing components to keep your livestock contained and your investment protected. Neglected fences fail in predictable ways: wires sag, posts rot, and animals escape at the worst possible moment. The industry term for this work is “fence upkeep,” though property owners and livestock managers use both terms interchangeably. Agricultural guidelines recommend inspecting fences every 1–2 months to catch problems before they become expensive repairs. Fencefast supplies the tools and materials Canadian farmers need to stay ahead of those problems year-round.
What does field fence maintenance actually involve?
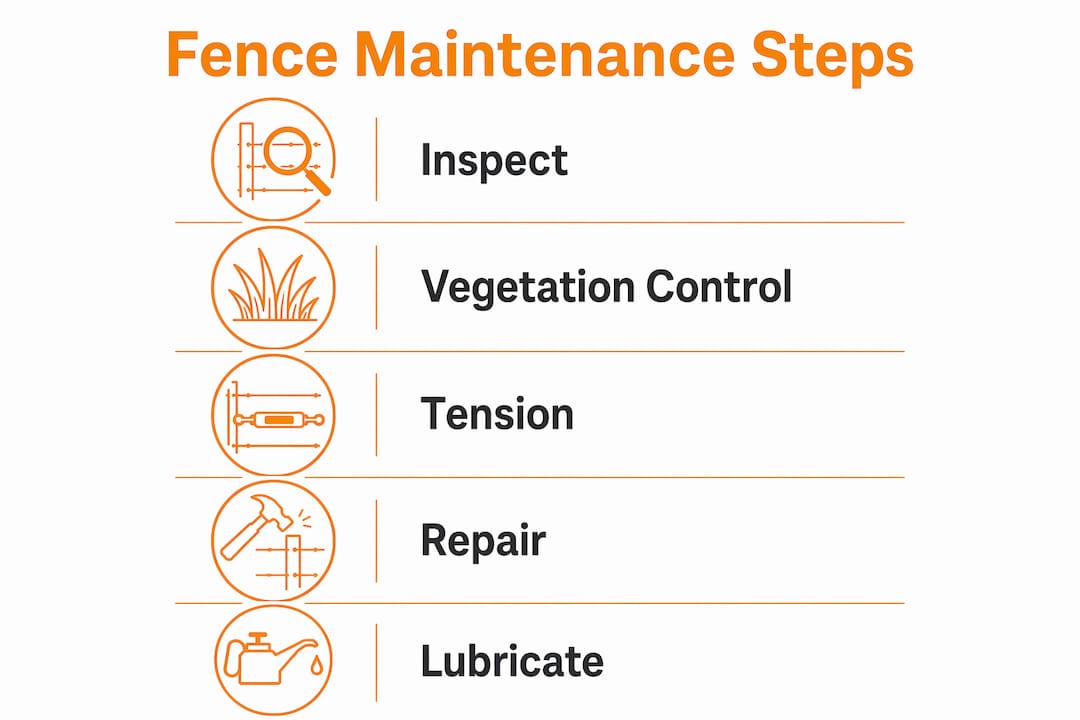
Field fence maintenance covers four core tasks: inspection, tensioning, vegetation control, and repair. Each task targets a different failure mode, and skipping any one of them creates a weak point in your containment system. A fence that looks fine from a truck window can have rotted posts, loose staples, and sagging wire that only show up on foot.
Regular inspections every 1–2 months are the foundation of any maintenance program. After major storms, add an unscheduled walk regardless of when you last checked. Wind, ice, and fallen trees cause damage that does not wait for your calendar.
During each inspection, check these components:
- Wire tension: Wires should be taut but not rigid. Slack wire sags under livestock pressure and creates escape gaps.
- Post condition: Look for leaning, cracking, or soft spots at the soil line.
- Fasteners: Staples and clips should be flush and rust-free. Loose fasteners let wire shift and eventually pull free.
- Vegetation contact: Plants touching the fence line trap moisture and, on electric fences, bleed voltage to ground.
- Gate hardware: Hinges, latches, and chains wear faster than fence wire and deserve their own check.
Pro Tip: Push a screwdriver firmly into the base of each wooden post at the soil line. If it sinks more than half an inch with light pressure, internal rot has started and the post needs replacement before it fails under load.
How does vegetation control protect your fence line?
Vegetation is the most underestimated threat to a fence’s lifespan. Thick brush and climbing vines add physical weight to wire strands, pulling them down over time. They also trap moisture against posts and fasteners, accelerating rot and rust simultaneously.
Clearing at least two feet on either side of your fence line is the standard practice for both conventional and electric fencing. That clearance prevents grounding faults on electric systems and reduces the moisture load on wooden posts. On electric fences, a single heavy weed touching a live wire can drain enough voltage to make the fence ineffective.
Practical vegetation management looks like this:
- Mechanical trimming: Use a brush cutter or mower along the fence line two to three times per growing season. Keep string trimmers away from wooden posts. The spinning line damages the wood surface and creates entry points for moisture and insects.
- Approved herbicides: A targeted herbicide application in spring kills perennial weeds before they establish. Always follow label directions and check local regulations before applying near waterways.
- Vine removal: Pull climbing vines by hand before they lignify. Mature woody vines can exert enough force to pull staples from posts.
Pro Tip: Schedule your first vegetation pass in early spring before growth gets ahead of you. Proactive vegetation management prevents the kind of overgrowth that takes a full day to clear instead of an hour.
Moisture buildup from dense vegetation is also the leading cause of wire sag in low-lying fence sections. Keeping the fence line clear lets air circulate and dries out the posts after rain.
What are the best techniques for fence repair and tensioning?
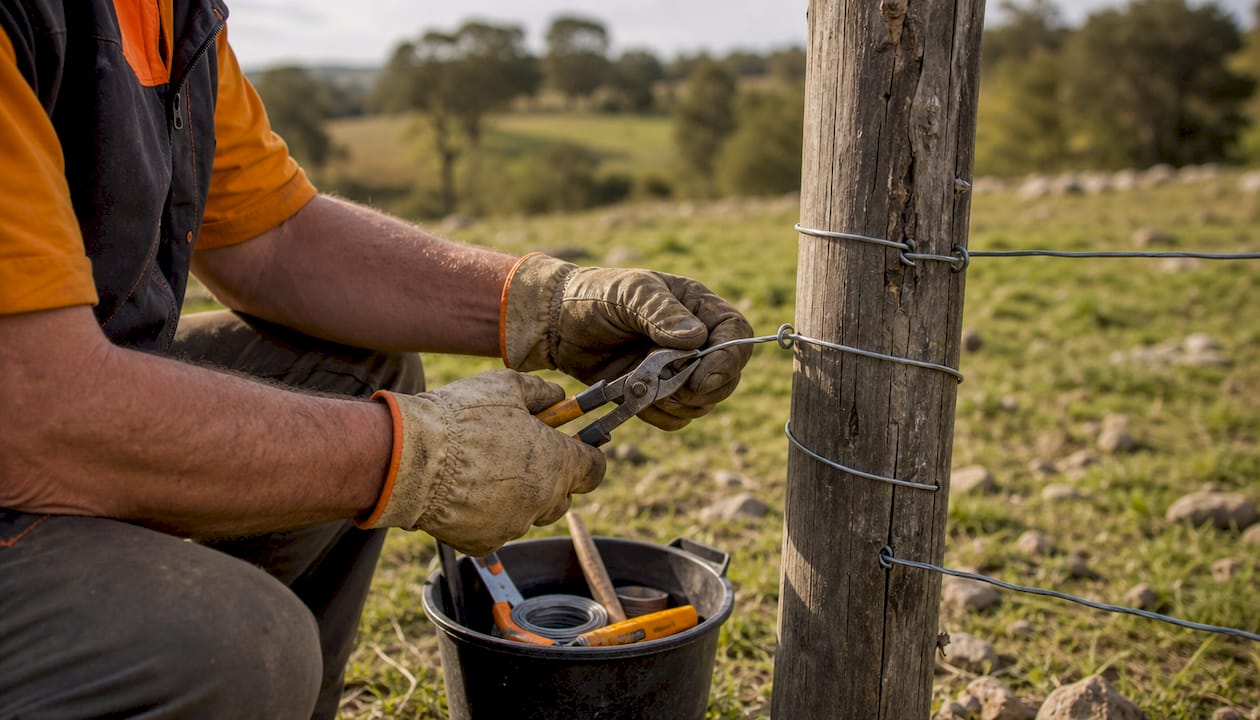
Proper tensioning and timely repairs are what separate a fence that lasts 20 years from one that needs full replacement in 10. Loose wires are the primary cause of fence failure and the most common source of livestock injury. Restoring tension is a skill worth learning correctly.
Restoring wire tension
- Identify the slack section. Walk the line and mark every span where wire hangs visibly loose or moves more than two inches under hand pressure.
- Use a wire stretcher or come-along. Attach the tool to the wire at least one post back from the problem area. Pull gradually. Over-tightening in cold weather causes wire to snap when temperatures drop further.
- Re-staple or re-clip. Once tension is restored, fasten the wire to each post in the section. Drive staples at a slight angle so they grip the wood fibers rather than splitting them.
- Check corner posts and H-braces. Tension transfers directly to corner assemblies. A leaning corner post will undo any tensioning work within weeks.
Replacing damaged posts
Rotted or broken posts require full replacement, not patching. Dig out the old post completely and remove as much of the decayed wood as possible. Set the new post at a depth of at least one-third of its total length. Add a layer of gravel at the bottom of the hole before setting the post. Gravel improves drainage and keeps the post base drier, which is the single biggest factor in wooden post longevity.
Hardware and wire repairs
- Fasteners: Replace rusted staples with double-galvanized or stainless steel hardware. Rust weakens the grip and eventually causes the wire to pull free entirely.
- Broken wire splices: Use fencing sleeves to join broken wire sections. A properly crimped sleeve holds as much tension as the original wire. Twisted field repairs work short-term but loosen over time.
- Essential tools: A basic fence repair kit should include fencing pliers, wire cutters, a wire stretcher, a post hole digger, and a supply of staples and fencing sleeves.
Which wire materials last the longest?
The wire you choose determines how much maintenance your fence demands over its lifetime. Not all galvanized wire is equal, and the difference in lifespan between grades is significant.
Class 3 galvanized and Zinc-Aluminum coated steel wire last up to 30 years, compared to roughly 7 years for Class 1 galvanized wire. That gap represents decades of labor and replacement costs. The upfront price difference is real, but the long-term math strongly favors the higher-grade material.
| Wire type | Estimated lifespan | Maintenance frequency | Key consideration |
|---|---|---|---|
| Class 1 galvanized | ~7 years | Every 1–2 months | Rusts faster in wet climates |
| Class 3 galvanized | Up to 30 years | Every 2–3 months | Higher upfront cost, lower lifetime cost |
| Zinc-Aluminum coated | Up to 30 years | Every 2–3 months | Best corrosion resistance overall |
| Barbed wire (Class 1) | 5–10 years | Monthly in wet areas | Rust and barb wear are primary concerns |
High-tensile wire allows wider post spacing, which reduces material and labor costs on large properties. That spacing advantage also means fewer posts to inspect and replace over time. For livestock managers running fence across hundreds of acres, the savings compound quickly.
Lubricate gate hinges and any moving metal hardware annually with a rust-inhibiting oil. Treat any surface rust on wire or posts with a wire brush and rust-converting primer before it penetrates to the core metal. You can find fencing materials for Canadian farms that match your climate and livestock type through Fencefast’s material guides.
Key Takeaways
Consistent field fence maintenance, built around monthly inspections, vegetation control, and quality materials, is the most cost-effective way to protect your livestock and your fencing investment.
| Point | Details |
|---|---|
| Inspect every 1–2 months | Walk the full fence line monthly and add checks after every major storm. |
| Clear two feet on each side | Vegetation control prevents moisture damage and voltage loss on electric fences. |
| Choose Class 3 or Zinc-Aluminum wire | Higher-grade wire lasts up to 30 years versus 7 years for Class 1 galvanized. |
| Replace fasteners with galvanized hardware | Double-galvanized or stainless steel staples resist rust and hold wire tension longer. |
| Keep a repair kit stocked | Fencing pliers, wire cutters, sleeves, and a stretcher let you fix problems the same day you find them. |
What I’ve learned from years of watching fences fail
The fences I see fail most often share one thing in common: the owner waited until something broke before paying attention. A monthly fence walk takes 20 minutes on a small property and maybe an hour on a larger one. That time investment prevents the kind of failure that costs a full day of labor, a vet bill, and the stress of rounding up cattle at 6:00 AM.
Vegetation control is the maintenance task most property owners skip first, and it’s the one that causes the most silent damage. An electric fence that looks intact but is grounded out by a patch of tall grass is functionally useless. Your livestock figure that out before you do. For anyone running electric fencing for livestock, vegetation management is not optional. It’s the difference between a working fence and a false sense of security.
One thing I’d push back on is the instinct to crank wire as tight as possible when tensioning. In cold Canadian winters, wire contracts. If you’ve already maxed out the tension in fall, you’ll find snapped wire in february. Tension to the manufacturer’s recommended spec and leave a small margin for thermal contraction.
Corner posts and H-braces deserve more attention than most managers give them. Every wire on a fence run terminates at a corner. If that corner moves even slightly, tension drops across the entire span. Check brace wire and diagonal supports every time you inspect. A loose brace is a slow-motion fence collapse.
My practical recommendation: build a repair kit and keep it in your truck or ATV. When you find a problem on your walk, fix it immediately. Problems that get flagged for “later” tend to get worse before they get addressed.
— Juiced
Fencefast has the supplies to keep your fence working
Staying on top of fence upkeep is easier when you have the right materials on hand before a problem appears.

Fencefast carries the full range of fencing components Canadian property owners and livestock managers rely on, from tensioning tools and wire accessories to double-galvanized staples, fencing sleeves, and replacement wire in Class 3 and Zinc-Aluminum grades. Whether you’re restoring tension on an aging wire fence or replacing rotted posts before winter, Fencefast stocks what you need and ships across Canada. Browse the full catalog at Fencefast to find materials matched to your fence type, livestock species, and climate conditions.
FAQ
How often should I inspect my field fence?
Inspect every 1–2 months and always after major storms. Frequent short walks catch small problems before they become full repairs.
What is the longest-lasting wire for field fencing?
Class 3 galvanized and Zinc-Aluminum coated steel wire both last up to 30 years, making them the best long-term choice for field fencing despite higher upfront costs.
How do I check if a wooden post is rotted?
Press a screwdriver firmly into the post base at the soil line. If it penetrates more than half an inch with light pressure, the post has internal rot and needs replacement.
Why does vegetation damage electric fences?
Plants touching a live wire bleed voltage to ground, reducing fence effectiveness. Clearing two feet on each side of an electric fence prevents grounding faults and keeps the system working at full power.
What tools do I need for basic field fencing repair?
A repair kit should include fencing pliers, wire cutters, a wire stretcher, fencing sleeves, double-galvanized staples, and a post hole digger. These tools cover the most common field fencing repair tasks without requiring a contractor.

