
TL;DR:
- Installing gates on fences involves properly setting reinforced posts and using correctly rated hardware. Precise measurements and full concrete curing are essential to prevent gate sagging and failure over time. Using heavy-duty hinges, anti-sag braces, and proper clearance ensures long-lasting, functional gates.
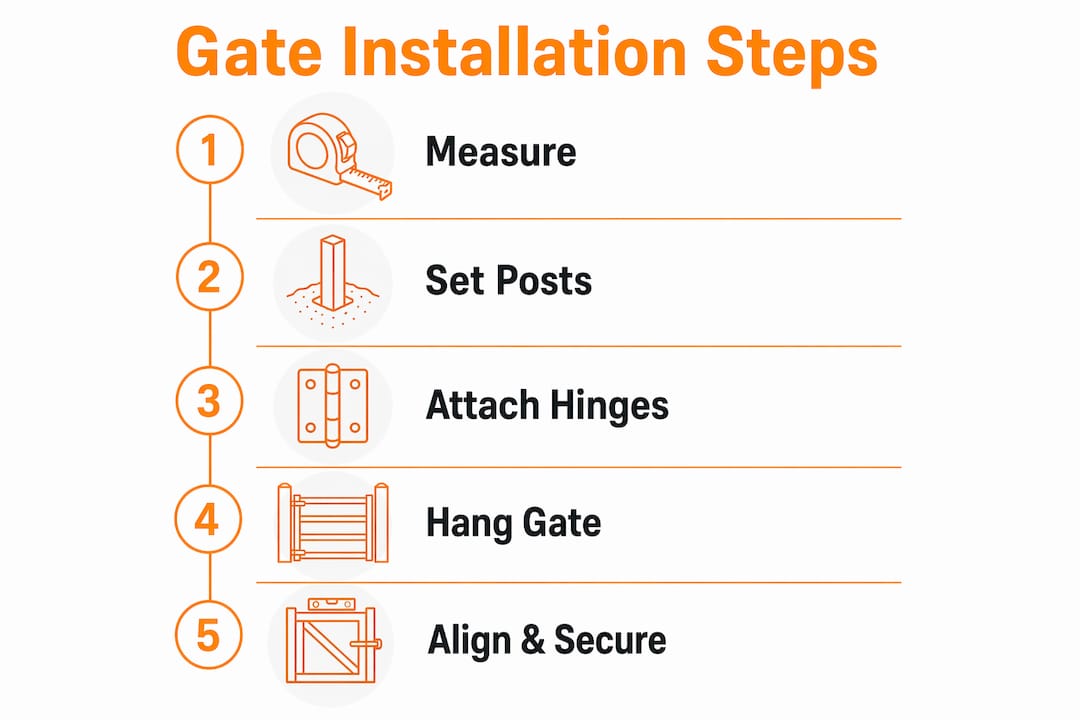
Installing gates on fences is the process of adding a movable, hinged section to your fence line to allow controlled access while keeping the rest of the barrier intact. Done right, a gate improves property access, strengthens security, and adds real value to your land. Done wrong, it sags within a season and becomes a daily frustration. This guide covers every step: tools, post setting, gate hanging, hardware selection, and the mistakes that cause most failures. You will need a post-hole digger, concrete mix, heavy-duty hinges, a latch, a power drill, a level, and a wrench before you start.
What tools and materials do you need for installing gates on fences?

Gate installation requires two categories of preparation: the right tools and the right hardware. Skipping either one is the fastest path to a gate that binds, sags, or fails within a year.
Essential tools:
- Post-hole digger or power auger
- Level (4-foot minimum)
- Power drill and bits
- Adjustable wrench and socket set
- Tape measure and marking chalk
- Concrete mixing tub or wheelbarrow
- Circular saw (for wood gates)
Essential materials:
- Concrete mix (fast-set works well for posts)
- Pressure-treated lumber for gate frames and posts
- Gate panels (wood, vinyl, or chain-link)
- Heavy-duty hinges, latch hardware, and carriage bolts
The hardware you choose must match your fence material. The table below shows the right pairing.
| Hardware type | Best for wood | Best for vinyl | Best for chain-link |
|---|---|---|---|
| Strap hinges | Yes | No | No |
| Butt hinges | Yes | Yes | No |
| Pintle and gudgeon | Yes | No | No |
| Tension band hinges | No | No | Yes |
| Thumb latch | Yes | Yes | No |
| Fork latch | Yes | Yes | Yes |
Accurate measurements matter more than most DIYers expect. Measure the gate opening twice, account for clearance on all sides, and mark your post locations with stakes before you dig anything.
Pro Tip: Buy hinges rated for at least 1.5 times the gate’s actual weight. Undersized hinges are the single most common cause of gate sag, and upgrading them after the fact costs far more time than buying right the first time.
How do you set gate posts for long-term stability?
Gate posts carry dynamic loads that standard fence posts never face. Every time the gate swings, the hinge post absorbs a cantilever force that pulls it forward. Gate posts must be deeper and better reinforced than standard fence posts to resist these forces. Treating them the same is the most common structural mistake in fence gate DIY.
Follow these steps to set posts correctly:
- Mark the post locations. Measure the gate width plus 3 inches for hardware clearance. Mark both post centers with stakes.
- Dig the holes. Post holes should be 30–36 inches deep and at least 12 inches wide. Shallower holes allow frost heave and post movement over time.
- Add a gravel base. Pour 4–6 inches of gravel into each hole before setting the post. Gravel promotes drainage and prevents water from pooling at the base, which accelerates rot.
- Set the posts plumb. Place the post in the hole and use your level on two adjacent faces. Brace it with scrap lumber so it holds position while you pour.
- Pour and shape the concrete. Mix concrete to a thick consistency and fill the hole to about 2 inches below grade. Slope the top of the concrete away from the post to shed water.
- Let it cure. Concrete needs 48–72 hours to cure before you hang any gate weight on the posts. Rushing this step causes the post to shift under load.
- Check plumb again after curing. Posts can move slightly as concrete sets. Verify alignment before you attach any hardware.
When adding a gate to an existing fence, do not assume the current posts can handle gate loads. Existing fence posts usually lack the structural depth and concrete footing that gate posts require. Replacing them is the right call, not the cautious one.
Pro Tip: Mix your concrete slightly wetter than the bag instructions suggest for post work. A wetter mix flows around the post base and eliminates air pockets that weaken the footing over time. Just do not go so wet that it becomes soupy.
For a deeper look at selecting the right posts for your fence system, Fencefast has a practical guide worth reading before you buy materials.
How do you hang and align a gate panel correctly?
Hanging the gate is where precision pays off. A gate that is off by a quarter inch at installation will bind or fail to latch within months. Work through these steps in order.
- Mount hinges to the gate frame first. Attach hinges to the gate panel before touching the post. This gives you a stable surface to work on and ensures the hinges are perfectly level with each other.
- Mark hinge positions on the post. Hold the gate panel against the post at the correct height. Mark the hinge locations with a pencil. The bottom hinge should sit 7–9 inches from the bottom of the gate. The top hinge should sit 7–9 inches from the top.
- Set the side clearance. The gate panel needs ½ to ¾ inch of clearance on the latch side. Use a scrap piece of wood as a spacer while you drill.
- Set the ground clearance. Aim for 2–3 inches of clearance between the gate bottom and the ground. This prevents dragging on uneven terrain and allows for seasonal ground movement.
- Attach hinges to the post. Drill pilot holes and use carriage bolts rather than screws wherever possible. Bolts distribute load across the post and resist pull-out far better than wood screws.
- Install the latch hardware. Mount the latch fork on the gate and the strike plate on the post. Latch forks that miss strike plates by more than 3/16 inch cause binding and functional failure. Take your time with this step.
- Install anti-sag hardware. Add a diagonal brace or turnbuckle cable to the gate frame. The diagonal brace must run from the bottom hinge-side corner to the top latch-side corner. This direction puts the brace in compression and actively resists gravity.
Pro Tip: Replace standard hinge screws with ¾-inch all-thread hinge bolts during installation. These bolts let you fine-tune hinge position after the gate settles, which saves you from pulling everything apart six months later.
What are the most common gate installation mistakes?
Most gate failures stem from treating gates like static fence panels rather than dynamic structures with real mechanical demands. Knowing the failure points before you start prevents expensive rework.
Common mistakes and how to fix them:
- Using existing fence posts without reinforcement. Standard fence posts are not engineered for gate loads. Replace them or sister a new post alongside the existing one set in fresh concrete.
- Skipping the concrete cure time. Hanging a gate before the concrete reaches full strength shifts the post under load. Wait the full 48–72 hours.
- Wrong diagonal brace direction. A brace running from the top hinge corner to the bottom latch corner acts in tension and eventually stretches or fails. Reverse it so it runs from bottom hinge to top latch.
- Undersized hinges. Two small hinges on a heavy gate will bend and pull loose. Use three hinges on gates taller than 5 feet, and size them for the actual weight.
- No ground clearance. Gates set too close to the ground drag after the first hard rain softens the soil. Build in 2–3 inches from the start.
- Ignoring gate weight. Support wheels prevent sagging on wood gates wider than 5 feet or on double gates by transferring weight from the hinges to the ground. Add them during installation, not after the gate starts to drop.
- Skipping pilot holes. Driving screws without pilot holes splits wood frames and reduces holding strength. Drill every hole before driving any fastener.
Corrective maintenance is straightforward once you know what to look for. Tighten hinge bolts every spring. Check post movement by pushing the gate post firmly at the top. Any wobble means the footing needs attention before the gate gets worse.
Key Takeaways
Proper gate installation depends on reinforced posts, correctly sized hardware, and precise alignment from the first step to the last.
| Point | Details |
|---|---|
| Post depth and concrete cure | Dig holes 30–36 inches deep and wait 48–72 hours before hanging any gate weight. |
| Hardware must match gate weight | Use hinges rated for 1.5 times the gate’s weight and bolt them through the post with carriage bolts. |
| Latch alignment tolerance | Keep latch fork and strike plate within 3/16 inch of each other to prevent binding. |
| Diagonal brace direction | Run the brace from the bottom hinge corner to the top latch corner to keep the gate square. |
| Support wheels for heavy gates | Add support wheels to any gate wider than 5 feet or heavier than 50 lbs to reduce hinge stress. |
Why I think most gate failures are entirely preventable
The honest truth about gate installation is that most failures are not caused by bad luck or cheap materials. They are caused by one decision made early: treating the gate like just another fence panel.
A fence panel sits still. A gate swings, bounces, slams, and carries the weight of every person who leans on it. The post holding that gate needs to be set deeper, concreted more carefully, and given more time to cure than any other post in your fence line. I have seen gates installed on posts that were barely 18 inches deep with no concrete at all. They looked fine for three months. By the following spring, the post had shifted two inches and the gate dragged on the ground.
The other thing I have learned is that anti-sag hardware is not optional on any gate wider than 4 feet. A turnbuckle cable or a solid diagonal brace costs very little compared to rehanging a gate that has racked out of square. Install it on day one, not after the problem appears.
Hardware selection is where DIYers tend to cut corners because good hinges cost more than cheap ones. That math reverses fast when you factor in the time spent rehinging a gate that failed. Buy the heavy-duty hardware, use all-thread bolts, and check your alignment before the concrete sets. Those three habits will make your gate last decades instead of seasons.
— Juiced
Get the right gate hardware from Fencefast

A well-built gate starts with the right materials. Fencefast carries fencing components, gate hardware, and installation supplies suited to farms, rural properties, and serious DIY projects across Canada. Whether you are working with wood, vinyl, or chain-link, the Fencefast product catalog covers hinges, latches, post hardware, and full gate systems. The team also provides expert guidance to help you match hardware to your specific fence type and gate size. If you want to understand the full picture of fence installation steps before ordering, Fencefast has practical resources to walk you through it.
FAQ
How deep should gate post holes be?
Gate post holes should be 30–36 inches deep and at least 12 inches wide. This depth provides the leverage needed to resist the cantilever forces created by a swinging gate.
How long should concrete cure before hanging a gate?
Concrete needs 48–72 hours to cure before you attach any gate hardware or hang the gate panel. Hanging the gate too early shifts the post and weakens the footing permanently.
Can I add a gate to an existing fence without replacing posts?
Only if the existing posts are already set in concrete at the correct depth. Retrofitting a gate usually requires replacing existing fence posts with new, concrete-set gate posts because standard fence posts lack the structural depth for gate loads.
What causes a gate to sag after installation?
Sagging is caused by undersized hinges, a diagonal brace running in the wrong direction, or posts that were not set deep enough. Support wheels on gates wider than 5 feet or heavier than 50 lbs prevent hinge stress and reduce sagging significantly.
What is the correct latch alignment tolerance for a fence gate?
The latch fork and strike plate must align within 3/16 inch of each other. Any gap larger than that causes binding and prevents the gate from latching securely.
Recommended
- DIY Fence Installation Tips for a Lasting Result – FenceFast Ltd.
- Fence Installation Equipment: Achieve Strong, Lasting Fences – FenceFast Ltd.
- Essential Tools for Fence Building: A Step-by-Step Guide – FenceFast Ltd.
- How to Build a Fence: Step-by-Step Guide for Rural Properties 2025 – FenceFast Ltd.

