
Setting up electric fencing for horses can feel overwhelming, especially when persistent voltage drops and containment failures leave you frustrated. Many horse owners discover that failure to maintain proper wire tension causes up to 40% of fence faults in horse enclosures. This comprehensive guide walks you through equipment selection, installation, safety protocols, troubleshooting common mistakes, and maintenance routines. Following these proven steps ensures reliable containment and protects your horses from injury while reducing costly repairs.
Table of Contents
- Prerequisites And Equipment Selection
- Site Preparation For Electric Fencing
- Step-By-Step Installation Process
- Safety Considerations And Warnings
- Common Mistakes And Troubleshooting
- Expected Results And Maintenance Outcomes
- Discover Top Electric Fencing Supplies At Fencefast Ltd.
- Frequently Asked Questions About Electric Fencing For Horses
Key takeaways
| Point | Details |
|---|---|
| Proper equipment prevents failures | Selecting energizers with 5,000+ volts and quality grounding systems eliminates most common faults. |
| Wire tension is critical | Maintaining proper tension avoids 40% of fencing problems and ensures consistent shock delivery. |
| Regular inspections extend lifespan | Checking voltage and clearing vegetation every 3-6 months maintains reliable performance. |
| Safety signage is mandatory | Canadian regulations require visible warning signs at all access points to prevent injuries. |
| Well-installed systems succeed | 82% of properly maintained electric fences report zero containment incidents over 12 months. |
Prerequisites and equipment selection
Starting with the right tools and materials makes the difference between a reliable fence and constant headaches. You need an energizer powerful enough to deliver effective deterrence without harming your horses.
Horses require energizers with a minimum output of 5,000 volts to ensure effective containment in Canadian conditions. Lower voltage units simply won’t provide enough shock to discourage testing the boundaries. Look for models rated for at least 25 acres if you’re fencing multiple pastures.
Grounding creates the circuit that makes electric fencing work. Install grounding rods spaced 10-15 meters apart, driving them at least 1.8 meters deep into moist soil. Poor grounding causes weak shocks and frustrated animals that learn to push through.
Essential tools and materials:
- Wire strippers and tensioners for proper installation
- High-tensile wire rated for equine use
- Plastic or wooden posts spaced appropriately
- Galvanized staples and insulators
- Voltage tester for system checks
- Warning signs meeting Canadian standards
| Equipment Type | Recommended Specification | Purpose |
|---|---|---|
| Energizer | 5,000+ volts, 25+ acre capacity | Delivers consistent shock |
| Grounding Rods | 1.8m length, copper-bonded steel | Completes electrical circuit |
| High-Tensile Wire | 12.5 gauge, galvanized | Withstands tension and weather |
| Posts | Fiberglass or treated wood | Supports wire at proper height |
Pro Tip: Test your soil conductivity before buying grounding rods. Sandy or rocky soil needs additional rods spaced closer together to achieve proper grounding. Moist clay soil conducts electricity better and requires fewer rods.
Understanding Canadian safety regulations prevents legal issues and injuries. Provincial requirements mandate specific signage placement and maintenance standards. Review your local bylaws before installation, as some municipalities have additional restrictions on electric fencing near public roads or trails.
Consider reviewing electric fence tips for horses and equine electric fencing for horses resources. Comparing different electric fencing kits helps you select the most appropriate system for your specific property and herd size. Learning electric fencing basics before starting prevents expensive mistakes.
Site preparation for electric fencing
Proper site preparation prevents most electrical faults that plague poorly planned installations. Taking time to clear vegetation and plan your fence route saves hours of troubleshooting later.
Clear a one-meter-wide strip along your planned fence line. Vegetation shorts and moisture near fence lines cause significant voltage drops and fence failures. Remove brush, tall grass, and low-hanging branches that could contact the wire.
Mark your fence layout carefully, avoiding wet areas or highly conductive soil patches. Water accumulation near posts creates grounding issues that drain power from the fence line. Walk the perimeter during different weather conditions to identify problem spots.
Key site preparation steps:
- Survey the entire fence route for obstacles
- Remove rocks and debris from post locations
- Identify optimal grounding rod placement
- Plan gate locations for convenient access
- Mark utility lines to avoid accidental damage
Locate grounding rods where soil conductivity is highest, typically in areas that stay naturally moist. Avoid placing them near building foundations or underground utilities. The ground system needs direct earth contact without interference from concrete or buried pipes.
Plan routing to fit pasture usage patterns and natural horse movement. Horses follow familiar paths, so design your fence to work with their behavior rather than against it. Avoid sharp corners where animals might get trapped or tangled.
Pro Tip: Install temporary stakes and run string along your planned fence line before committing to post installation. This lets you visualize the layout and make adjustments before digging. Walk the perimeter with your string guide to check sight lines and identify any overlooked obstacles.
Avoid placing fence near dense tree lines or thick brush. These areas require constant maintenance to prevent shorts. If you must fence wooded sections, plan for regular trimming schedules and consider wider clearing zones.
Following grounding guidelines during site prep ensures your system operates at peak efficiency. Proper grounding rod placement in conductive soil creates the circuit needed for effective shock delivery.
Step-by-step installation process
Following a systematic installation sequence ensures every component works together correctly. Rushing through steps or skipping details creates problems that surface weeks later.
Complete installation sequence:
- Install corner posts first, setting them 30% deeper than line posts for stability
- Space line posts 10-12 meters apart along the cleared fence route
- Drive grounding rods firmly every 10-15 meters using a post driver
- Attach insulators to posts at appropriate heights for horses (typically 120cm)
- String high-tensile wire through insulators without excessive tension initially
- Use wire tensioners to eliminate all slack gradually and evenly
- Connect grounding system with insulated copper wire to energizer ground terminal
- Mount energizer in protected location with suitable power source
- Connect fence wire to energizer hot terminal using insulated connectors
- Test voltage at multiple points along fence line with digital tester
- Adjust tension and grounding until achieving consistent 5,000+ volt reading
- Install visible warning signs at all entrances and access points
Proper installation sequence and wire tension prevent up to 40% of fencing faults that plague hastily assembled systems. Each step builds on the previous one, creating a reliable circuit.
Attach high-tensile wire using proper tensioners to eliminate slack completely. Loose wire sags over time, creating shorts when it touches vegetation or the ground. Proper tension keeps wire clear of hazards and delivers consistent shock.
| Power Source | Installation Cost | Operating Cost (Annual) | Best Use Case |
|---|---|---|---|
| Solar Panel | $400-600 | $0 | Remote pastures, off-grid locations |
| AC Mains | $200-300 | $25-40 | Properties with grid access |
| Battery | $150-250 | $60-80 | Temporary or portable fencing |
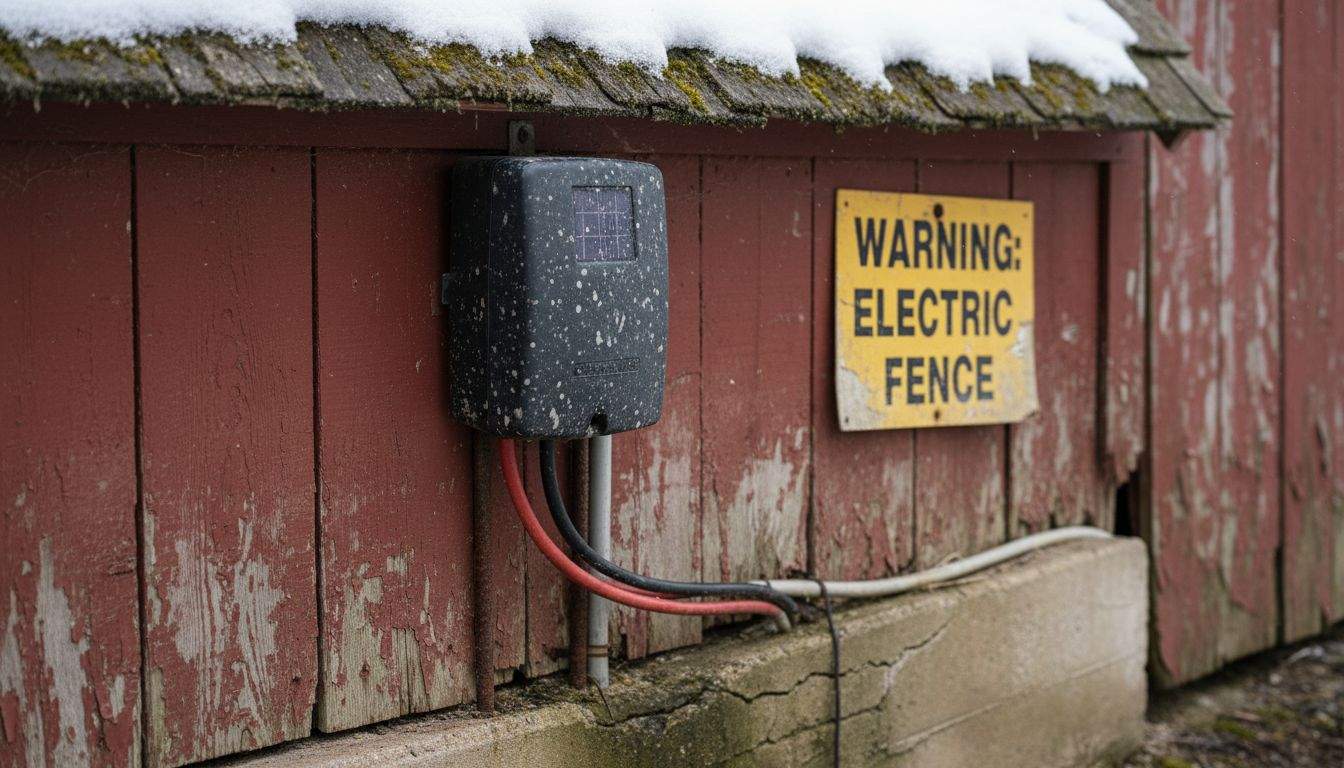
Mount your energizer in a weatherproof location protected from direct rain and snow. Solar units need southern exposure without shade from trees or buildings. AC-powered units require GFCI outlets for safety.
Test voltage along the entire fence line after completing installation. You should measure at least 5,000 volts at every point. Lower readings indicate problems with grounding, shorts, or wire connections. Fix issues before allowing horses access.
Pro Tip: Create a simple maintenance log documenting your initial voltage readings at key points along the fence. Record measurements every 50 meters so you have baseline data for future troubleshooting. When problems develop, comparing new readings to your baseline quickly identifies problem areas.
Install electric fence warning signs as mandated by Canadian regulations. Place signs every 10 meters and at all gates or access points. Clear visibility prevents accidents and satisfies legal requirements.
Consult the detailed electric fence installation guide for visual references and additional tips. Understanding basic electric fence setup principles helps you troubleshoot issues independently. Review electric fencing basics before starting if this is your first installation.
Safety considerations and warnings
Electric fencing presents real hazards when improperly maintained or marked. Protecting both horses and people requires consistent safety practices and clear communication.
Post warning signs at all entrances and fence access points as required by Canadian regulations to reduce accidental injury. Signs must be weather-resistant and visible from both sides of the fence. Replace faded or damaged signs immediately.
Critical safety practices:
- Inspect fence weekly for wire breaks, loose connections, and shorts
- Test voltage monthly with digital meter to verify consistent power
- Keep vegetation trimmed at least 30cm away from all wires
- Educate all caretakers and visitors about electric fence risks
- Maintain proper grounding to prevent dangerous voltage buildup
- Disconnect power before performing any repairs or maintenance
Inspect your fence regularly for wire tension, breaks, and shorts. Loose connections create arcing that drains power and creates fire risks in dry conditions. Tighten all connectors and replace damaged insulators promptly.
Keep vegetation trimmed aggressively to prevent accidental shorts. Even light contact between wire and grass creates voltage loss. Schedule trimming every two weeks during growing season, monthly during dormant periods.
Educate caretakers and visitors about electric fence risks before they enter pastures. Many people instinctively grab fence wires when climbing through or over. Explain the shock intensity and demonstrate safe crossing procedures at designated gates.
“Proper grounding is the single most important safety factor in electric fencing. Without adequate ground contact, voltage can travel through unintended paths, including people touching the fence and standing on wet ground.” This principle underlies all safe installation practices.
Maintain proper grounding system integrity to avoid shock hazards. Check ground rod connections annually, ensuring tight contact without corrosion. Poor grounding creates dangerous situations where voltage seeks alternative paths through people or animals.
Consider reviewing comprehensive electric fence safety for horses resources that detail risk mitigation strategies specific to equine facilities. Understanding safety requirements protects your investment and prevents liability issues.
Common mistakes and troubleshooting
Recognizing and fixing frequent errors improves containment reliability and reduces frustration. Most problems stem from a few predictable causes.
Low voltage typically results from improper grounding rod installation or poor soil contact. Failing to tension wires causes 40% of electric fence faults in horse enclosures. Check ground connections first when voltage drops below 4,000 volts.
Most common installation mistakes:
- Installing too few grounding rods for soil conditions
- Leaving wire slack that touches vegetation or ground
- Placing energizer in damp location causing electrical leaks
- Using incorrect wire gauge that can’t maintain tension
- Ignoring vegetation management leading to constant shorts
- Skipping regular voltage testing until containment fails
Wire slack causes shorts or reduced shock strength throughout the system. Check tension every three months, especially after temperature extremes. Cold weather contracts wire, creating slack. Hot weather expands wire, potentially breaking connections.
Vegetation touching wires causes persistent faults and voltage loss. A single blade of grass contacting the wire creates a drain that weakens the entire circuit. Regular trimming prevents this common problem.
Ignoring updates and repairs leads to system failures at critical times. Replace worn insulators before they crack. Tighten loose connections before they arc and burn. Proactive maintenance prevents emergency repairs.
Lack of safety signage increases injury risks and legal liability. Even if you know where the electric fence runs, visitors and service workers don’t. Clear marking prevents accidents.
Pro Tip: When troubleshooting low voltage, disconnect the fence wire from the energizer and test the energizer output directly. If voltage measures correctly at the unit but drops along the fence line, you have a short or grounding issue. If voltage is low at the energizer, check your grounding system first.
Consult the comprehensive electric fence troubleshooting guide for systematic diagnostic procedures. This resource walks through testing sequences that identify problems quickly.
Expected results and maintenance outcomes
Properly installed electric fencing delivers reliable containment with minimal ongoing costs. Understanding realistic performance expectations helps you evaluate your system.
Regular inspection every 3-6 months extends fence lifespan significantly. Schedule detailed checks in spring and fall, with quick visual inspections monthly. This routine catches problems before they become failures.
Solar-powered fences reduce operating costs by approximately 25% compared to battery systems in off-grid areas. Initial investment pays back within two years through eliminated battery replacement costs. Solar panels require occasional cleaning but otherwise operate maintenance-free.
| Maintenance Task | Frequency | Impact on Performance |
|---|---|---|
| Voltage Testing | Monthly | Ensures consistent deterrence |
| Vegetation Trimming | Bi-weekly (growing season) | Prevents shorts and voltage loss |
| Connection Inspection | Quarterly | Eliminates arcing and fire risks |
| Grounding System Check | Annually | Maintains proper circuit function |
| Wire Tension Adjustment | Semi-annually | Prevents sagging and shorts |
Properly maintained fencing lasts beyond 5 years with minimal component replacement. High-tensile wire withstands Canadian weather extremes when properly tensioned. Insulators and connectors need occasional replacement, but core components remain functional.
Replace worn wires and posts as needed to maintain reliability. Rust compromises wire conductivity and strength. Cracked insulators allow current leakage. Address deterioration promptly rather than waiting for complete failure.
Consistent voltage of 5,000+ volts serves as the benchmark for effective containment. Test at multiple fence points, not just near the energizer. Voltage should remain within 500 volts across the entire system. Larger variations indicate problems requiring attention.
82% of well-installed electric fences report zero containment incidents over 12 months when maintained according to manufacturer specifications. This success rate demonstrates the reliability of properly executed installations.
Discover top electric fencing supplies at FenceFast Ltd.
FenceFast Ltd. provides comprehensive electric fencing solutions specifically tested for Canadian agricultural conditions. Finding quality equipment from knowledgeable suppliers makes installation easier and results more reliable.

Our inventory includes energizers, grounding systems, high-tensile wire, and installation tools designed for equine applications. Every product undergoes field testing in various Canadian climate zones to ensure year-round performance. We stock solar, battery, and AC-powered options suitable for any property configuration.
Expert staff offer personalized advice on selecting equipment matched to your specific property size, soil conditions, and herd requirements. Whether you’re fencing a small paddock or extensive pasture, we help you choose components that work together efficiently. Our installation resources guide you through every step with detailed instructions and troubleshooting support.
Explore our selection of fence installation equipment and specialized fence installation tools designed for efficient setup. Review our comprehensive electric fencing basics guide for additional technical information and best practices.
Frequently asked questions about electric fencing for horses
How often should I test the voltage on my electric fence?
Test voltage monthly during active use periods and before turning horses into newly fenced areas. Use a digital voltage tester at multiple points along the fence line, not just near the energizer. Consistent readings above 5,000 volts indicate proper function.
Can I install electric fencing myself, or should I hire a professional?
Most horse owners successfully install electric fencing following detailed instructions and using proper tools. The process requires basic mechanical skills but no specialized training. Consider professional installation for complex properties with difficult terrain or extensive perimeter fencing. Starting with a small section builds confidence before tackling larger projects.
What are the best materials for fence posts in Canadian climates?
Fiberglass posts withstand freeze-thaw cycles without cracking and never rot. Treated wooden posts offer traditional aesthetics and work well in dry climates but require replacement every 8-12 years. Steel posts conduct electricity and require careful insulation but provide excellent strength. Choose based on your budget, aesthetic preferences, and soil conditions.
How does solar power affect electric fence reliability in winter?
Modern solar panels generate sufficient power even during short winter days, though snow accumulation reduces output. Mount panels at steep angles to encourage snow shedding. Battery backup systems maintain fence operation during extended cloudy periods. Most solar energizers function reliably year-round in Canadian conditions with proper panel sizing and positioning.
What signs indicate my fence needs urgent repair?
Voltage readings below 4,000 volts require immediate attention. Visible wire damage, broken insulators, or arcing connections present safety hazards and containment risks. Horses testing the fence repeatedly indicate weakened shock strength. Strange clicking sounds from the energizer suggest internal component failure. Address these issues before they cause containment breaches or injuries.

