
Grounding stands as the most overlooked yet critical component of electric fence systems. When your livestock wander through fence lines or fail to respect boundaries, poor grounding is usually the culprit. Canadian farmers face unique challenges with freeze-thaw cycles, varied soil conditions, and seasonal moisture changes that directly impact grounding effectiveness. This guide walks you through selecting materials, installing grounding systems correctly, and troubleshooting common issues to keep your livestock safely contained year-round. You’ll learn proven techniques tailored specifically for Canadian farming conditions that prevent the grounding failures responsible for most electric fence problems.
Table of Contents
- Key takeaways
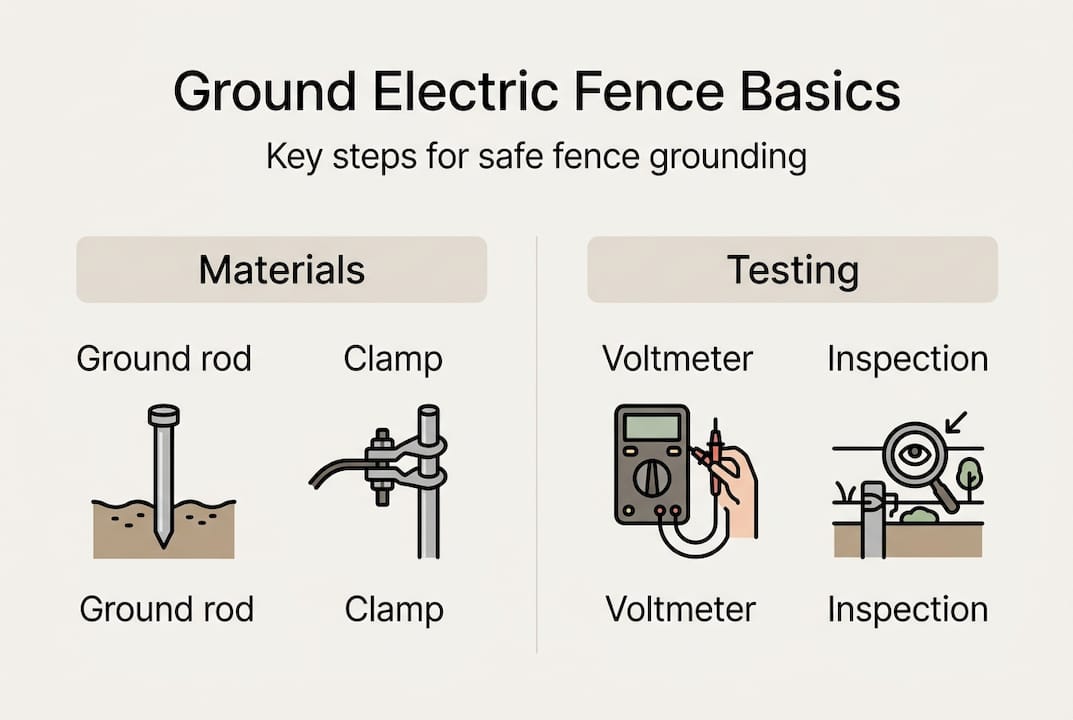
- What you need: tools, materials, and prerequisites for grounding
- Step-by-step guide to installing and grounding your electric fence
- Verifying and troubleshooting your electric fence grounding system
- Enhance your electric fencing setup with FenceFast products
- Frequently asked questions
Key Takeaways
| Point | Details |
|---|---|
| Grounding essential | Grounding is essential for effective livestock containment and system reliability. |
| Galvanized rods required | Use galvanized steel grounding rods six to eight feet long and five eighths inch in diameter to resist corrosion in freeze thaw cycles. |
| Avoid metal mixing | Never mix copper and galvanized steel components to prevent electrolysis and premature grounding failure. |
| Multiple rods recommended | Install at least three rods spaced ten feet apart within twenty feet of the energizer for load distribution and redundancy. |
What you need: tools, materials, and prerequisites for grounding
Successful grounding starts with proper preparation. Having the right equipment on hand prevents delays and ensures your system functions correctly from day one.
Your material list should include galvanized steel grounding rods, which resist corrosion better than copper in freeze-thaw cycles. Canadian winters create expansion and contraction that damages inferior materials quickly. Select rods between 6 and 8 feet long with diameters of at least 5/8 inch for adequate surface area. You’ll also need 12.5-gauge galvanized wire for connections between rods and back to your energizer.
Essential tools include:
- Post driver or sledgehammer for driving rods into soil
- Wire strippers for clean electrical connections
- Grounding rod clamps rated for outdoor exposure
- Tape measure for proper spacing and depth verification
- Voltage tester or fence tester for system verification
- Wrench set for tightening clamp connections
Comparing grounding rod specifications helps you select the right option for your property:
| Rod Type | Length | Material | Diameter | Best For |
|---|---|---|---|---|
| Standard | 6 feet | Galvanized steel | 5/8 inch | General purpose, moderate soil |
| Heavy duty | 8 feet | Galvanized steel | 3/4 inch | Clay or rocky soil, permanent installations |
| Copper clad | 6-8 feet | Steel core, copper coating | 5/8 inch | High conductivity needs, mild climates |
Before purchasing materials, assess your soil conditions carefully. Dig a small test hole to check moisture levels and composition. Sandy soils drain quickly and may require additional rods for adequate grounding. Clay soils hold moisture well but can be difficult to penetrate. Rocky terrain demands heavy-duty rods and patience during installation.
Pro Tip: Never mix copper and galvanized steel components in your grounding system. The combination creates electrolysis that corrodes connections and causes grounding failure within months. Stick with one metal type throughout your entire system.
Check out the best grounding rod options available for Canadian conditions to ensure you’re selecting materials that will perform reliably in your specific climate zone.
Step-by-step guide to installing and grounding your electric fence
Proper installation determines whether your grounding system functions effectively for years or fails within months. Follow these steps carefully to build a reliable foundation for your electric fence.
Start by selecting your grounding location within 20 feet of your fence energizer. Choose a spot with consistently moist soil away from buildings, water lines, and other grounding systems that could interfere with your fence. Mark positions for at least three grounding rods spaced 10 feet apart in a straight line.
Follow this installation sequence:
-
Drive the first rod into the ground using steady, controlled strikes with your post driver. Continue until only 4 to 6 inches remain above ground. The rod should penetrate at least 6 feet deep, reaching below the frost line in most Canadian regions.
-
Install remaining rods at 10-foot intervals using the same technique. Multiple rods distribute the electrical load and provide redundancy if one rod loses effectiveness due to dry conditions.
-
Attach grounding clamps to each rod approximately 2 inches below the top. Tighten clamps firmly to ensure solid metal-to-metal contact without gaps.
-
Run 12.5-gauge galvanized wire between rods, connecting each clamp in series. Strip wire ends cleanly and wrap them clockwise around clamp screws before tightening.
-
Connect the final wire run back to the ground terminal on your fence energizer. This completes the electrical circuit that allows current to return through the earth.
-
Verify all connections are tight and free from corrosion or dirt that could impede electrical flow.
For properties with consistently dry or frozen soil conditions, consider the wire-return method instead. This approach works especially well in Canadian prairie regions where earth-return systems struggle during winter months. Wire-return grounding uses a separate insulated wire running parallel to your hot fence wire. Animals touching the fence complete the circuit directly through the wire-return system rather than through soil, eliminating soil conductivity as a limiting factor.
To install wire-return grounding, run an insulated wire along your fence line attached to separate posts. Connect this wire directly to your energizer’s ground terminal. Space the wire-return line 6 to 12 inches below your hot wire. When livestock contact both wires simultaneously, they complete the circuit and receive a strong shock regardless of soil moisture.
Pro Tip: Measure soil conductivity using a basic soil moisture meter before selecting your grounding method. Readings below 30% moisture suggest wire-return grounding will perform more reliably than traditional earth-return systems.
Avoid these common installation mistakes that compromise grounding effectiveness. Shallow rod placement reduces surface area contact with soil and limits current dispersion. Insufficient rod quantity forces too much current through too little grounding surface. Loose connections create resistance that weakens your fence output. Mixing metal types accelerates corrosion and shortens system lifespan.
Refer to this detailed ground rod installation guide for additional techniques specific to challenging soil conditions and terrain.
Verifying and troubleshooting your electric fence grounding system
Installation represents only half the equation. Testing and maintaining your grounding system ensures continued reliability and prevents livestock management problems before they start.
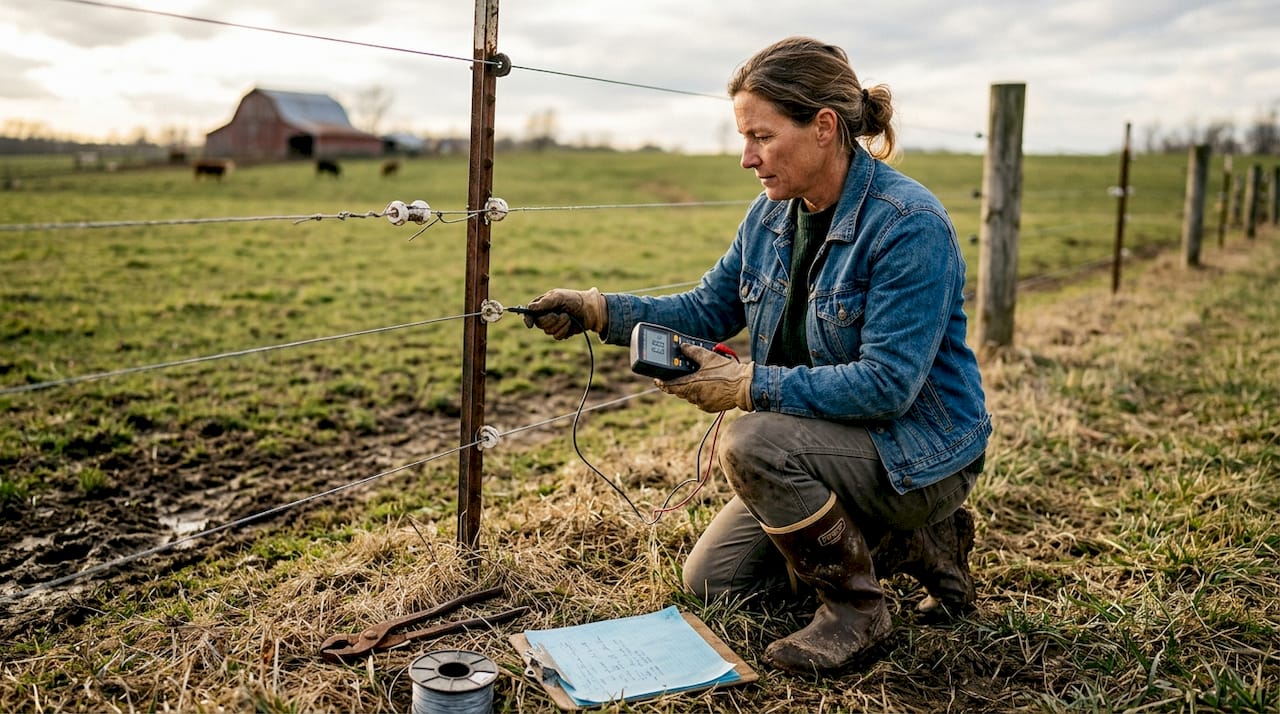
Test your fence voltage immediately after installation using a quality fence tester or digital voltmeter. Touch the tester probe to your hot fence wire while standing on dry ground. A properly functioning system should read between 4,000 and 6,000 volts on the fence line. Readings below 3,000 volts indicate grounding problems or energizer issues requiring immediate attention.
Perform the advanced grounding test by creating a temporary short circuit. Place several metal stakes along your fence line and connect them to the hot wire with jumper wires. This simulates heavy fence load conditions. Now test voltage at your grounding rods. Readings above 400 volts at the ground system indicate insufficient grounding capacity. Add more rods or switch to wire-return grounding to resolve the issue.
Recognize these warning signs that signal grounding failures:
- Livestock pushing through or ignoring fence boundaries
- Inconsistent shock strength along different fence sections
- Visible arcing or sparking at fence connections
- Fence performance degrading during dry weather
- Weak or absent shock when testing with your hand
Comparing grounding methods helps you select the right approach for your specific conditions:
| Method | Best Soil Conditions | Canadian Climate Suitability | Installation Complexity | Maintenance Needs |
|---|---|---|---|---|
| Earth-return | Moist, conductive soil | Coastal regions, southern Ontario | Moderate | Seasonal inspection |
| Wire-return | Dry, sandy, or frozen soil | Prairies, northern regions | Higher | Minimal |
| Combination | Variable moisture | Properties with mixed conditions | Highest | Regular monitoring |
Poor grounding causes 80% of electric fence failures, primarily due to incomplete electrical circuits leading to weak shocks for livestock. Addressing grounding issues immediately prevents escaped animals and reduces long-term maintenance costs.
Follow this troubleshooting checklist when fence performance declines. First, inspect all grounding rod clamps for corrosion, looseness, or damage. Clean corroded connections with a wire brush and apply fresh clamps if needed. Second, measure voltage at multiple fence points to identify weak sections. Third, check soil moisture around ground rods, especially during drought conditions. Fourth, verify your energizer is functioning correctly by testing output voltage directly at the unit. Fifth, examine fence wire for vegetation contact or damage that could drain power before reaching livestock.
Seasonal adjustments keep your system working through Canadian winters. Frozen soil dramatically reduces conductivity for earth-return systems. Monitor fence performance closely as temperatures drop below freezing. Consider supplementing with additional ground rods before winter or switching to wire-return grounding for problem areas. Spring thaw often reveals connection issues caused by frost heaving, so schedule thorough inspections as ground softens.
Maintain a regular inspection schedule to catch problems early. Check all grounding connections monthly during active grazing seasons. Annual deep inspections should include removing soil around rod tops to verify solid connections and absence of corrosion. Replace any damaged components immediately rather than risking system failure during critical livestock management periods.
Visit electric fence ground rod basics for comprehensive information about maintaining optimal grounding performance across all seasons.
Enhance your electric fencing setup with FenceFast products
Building a reliable grounding system requires quality materials designed specifically for Canadian agricultural conditions. FenceFast offers complete grounding solutions that simplify installation and ensure long-term performance.
Our galvanized steel grounding rods resist corrosion through multiple freeze-thaw cycles while maintaining excellent conductivity. We stock various lengths and diameters to match your specific soil conditions and fence requirements. Professional-grade clamps and connectors ensure solid electrical connections that won’t loosen over time.

The Patriot electric fence accessory kit includes essential components for proper grounding installation, saving you time sourcing individual parts. Browse our complete selection at FenceFast Canada to find everything you need for successful electric fence projects.
Frequently asked questions
How deep should I drive ground rods for electric fences?
Drive grounding rods between 6 and 8 feet deep to reach below the frost line and ensure consistent soil contact year-round. Deeper installation provides more surface area for electrical dispersion and improves performance in variable soil conditions. Shallow rods often fail during dry periods or winter freezing, leading to weak fence output and escaped livestock.
What grounding method works best in frozen or dry prairie soils?
Wire-return grounding eliminates dependency on soil conductivity by running a dedicated return wire parallel to your hot fence wire. This method maintains strong shock delivery even when soil freezes solid or dries completely during summer droughts. Earth-return systems using traditional ground rods struggle in these conditions because frozen or dry soil cannot conduct electricity effectively back to the energizer.
How often should I inspect and maintain electric fence grounding?
Inspect grounding connections monthly during grazing season and conduct thorough annual inspections before winter. Check for loose clamps, corroded connections, and damaged wires that compromise system performance. Severe weather events like heavy storms or extreme temperature swings warrant immediate inspection to catch problems before they affect livestock containment.
How can I tell if my electric fence grounding is failing?
Weak or inconsistent shocks along your fence line indicate grounding problems requiring immediate attention. Use a fence tester to measure voltage at multiple points, looking for readings below 4,000 volts that signal inadequate grounding. Livestock ignoring fence boundaries or pushing through wires also suggests grounding failure, especially if the energizer tests properly when checked directly at the unit.

