
Livestock escapes cost Canadian farmers thousands of dollars every year in damaged crops, broken fences, and emergency vet bills. The good news is that electric fences reduce escapes by 75 to 90% on farms that use them correctly. The key word is correctly. A fence that is poorly set up or introduced too fast can confuse animals and make the problem worse. This guide walks you through the psychology behind electric fence training, the right equipment for each species, and a step-by-step process that works for cattle, horses, sheep, and goats on Canadian farms.
Table of Contents
- How electric fences train livestock: The basics
- Essential tools and materials for electric fence training
- Step-by-step: Training livestock to respect the electric fence
- Troubleshooting electric fence training mistakes
- Verifying your results: How to ensure fence training success
- Electric fence solutions and support for Canadian farmers
- Frequently asked questions
Key Takeaways
| Point | Details |
|---|---|
| Fast learning curve | Most livestock learn to avoid electric fences after only a few exposures. |
| Safety depends on setup | Correct voltage, proper grounding, and clear visibility ensure animal safety and fence effectiveness. |
| Preparation is crucial | Using species-specific gear, maintaining ground rods, and visible tape all contribute to better training outcomes. |
| Regular checks matter | Testing voltage and inspecting fences in all weather prevents escapes and extends fence life. |
| Expert support available | Dedicated fencing suppliers offer tailored products and advice for Canadian farm conditions. |
How electric fences train livestock: The basics
Electric fences do not work the same way a physical barrier does. They work on the brain, not the body. When an animal touches the wire, it receives a short, high-voltage, low-amperage pulse that is startling but not harmful. The animal connects that unpleasant feeling with the fence and learns to stay away. That memory sticks.
This is called psychological conditioning, and it is far more effective than a physical barrier for most livestock. A wooden fence can be pushed through. A wire fence can be crawled under. But an animal that has learned to fear the electric fence will not even test it. That is the real power of this system.
Different species learn at different speeds. Cattle typically learn after 1 to 3 shocks, horses after just 1 to 2 contacts, while sheep and goats usually need 2 to 3 attempts. Heavily wooled sheep may take longer because their fleece insulates them from the pulse. Patience matters with those animals.
Key insight: The goal of electric fence training is not to hurt your animals. It is to teach them a boundary they will respect for years without constant reinforcement.
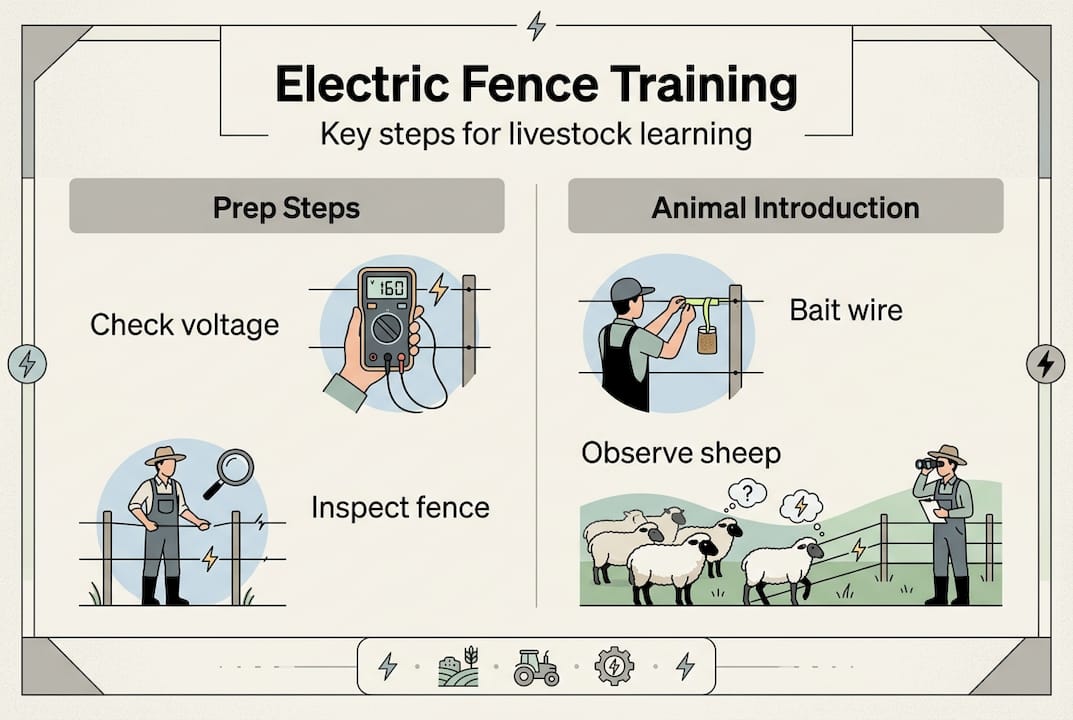
Pro Tip: Before you introduce any animal to an electric fence, walk the fence line yourself and test it with a fence voltmeter. A fence that delivers inconsistent shocks teaches nothing and frustrates both you and your livestock.
Essential tools and materials for electric fence training
Once you understand why electric fences work, getting the right gear makes all the difference. A fence that is underpowered or poorly grounded will not train your animals. It will just annoy them.
Here is what you need before you start:
- Energizer or charger: Sized for your acreage and species. Larger pastures and harder-to-train animals need more joules of output.
- Insulated posts: Fiberglass or plastic step-in posts work well for temporary training paddocks.
- Fence wire or polytape: High-visibility polytape is especially useful for horses, which rely heavily on sight.
- Ground rods: At least 3 rods, each 6 to 8 feet long, driven into moist soil and spaced 10 feet apart.
- Fence tester or voltmeter: Non-negotiable. You cannot manage what you cannot measure.
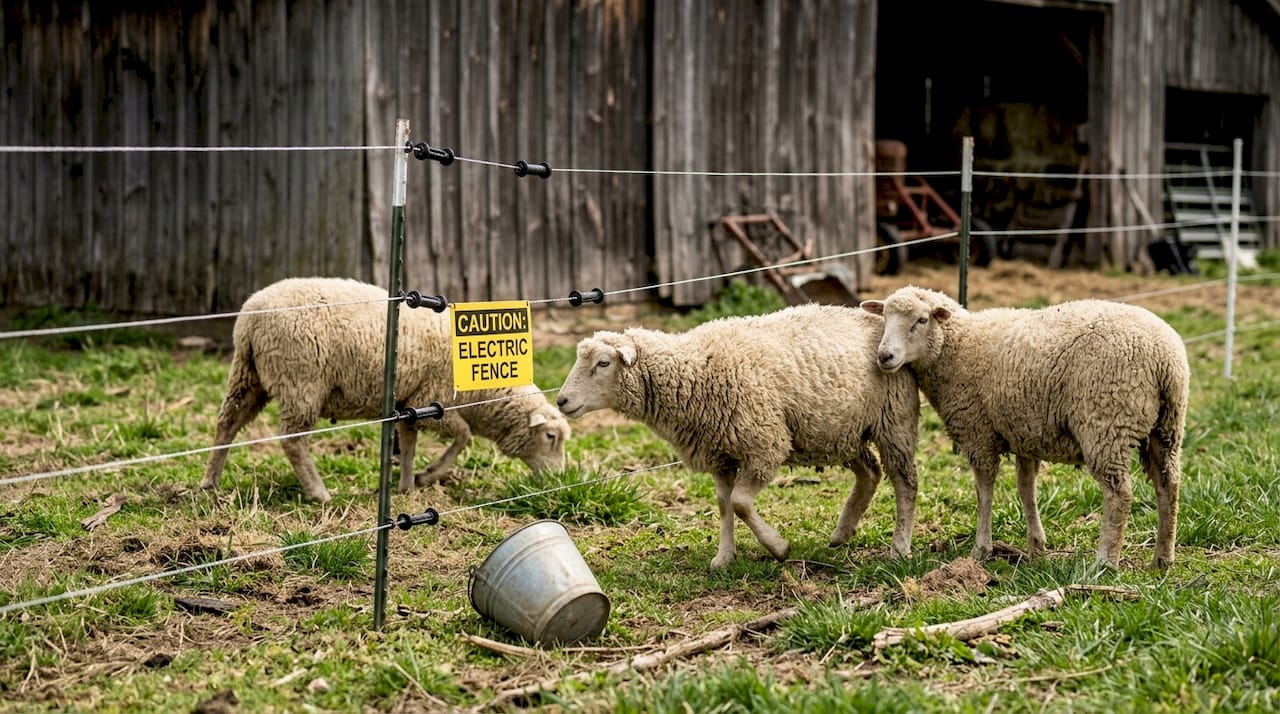
- Warning signs: Required by law in many Canadian provinces and good practice everywhere.
Wire height and voltage requirements vary significantly by species. Use this table as your starting reference from the basic setup guide:
| Species | Number of wires | Wire heights | Recommended voltage |
|---|---|---|---|
| Cattle | 3 wires | 24", 36", 48" | 2,000 to 4,000 V |
| Horses | 3 wires (high visibility) | 24", 36", 48" | 2,000 to 4,000 V |
| Sheep | 4 to 5 wires | Starting at 8" | 4,000 to 7,000 V |
| Goats | 4 to 5 wires | Starting at 8" | 4,000 to 7,000 V |
Goats and sheep need more wires starting closer to the ground because they are smaller and more agile. Horses need high-visibility tape or rope so they can see the fence clearly and avoid running into it at speed.
Step-by-step: Training livestock to respect the electric fence
With your materials ready, follow this sequence for each species. Rushing any step increases the chance of animals panicking or learning the wrong lesson.
- Set up a small training paddock. Use a temporary electric fence to create a space roughly half an acre or smaller. Smaller areas mean more fence contact opportunities and faster learning.
- Charge the fence fully before introducing animals. Test voltage at multiple points. You want consistent output across the entire line.
- Introduce animals in small groups. Crowding animals near the fence causes panic. Three to five animals per session is a manageable number.
- Pair novices with experienced animals. Calm, fence-savvy animals teach nervous ones faster than any human can. The experienced animal’s calm behavior near the fence signals safety to the group.
- Let animals make contact on their own. Do not push or herd animals into the wire. Natural curiosity will do the work. Forced contact causes fear, not learning.
- Supervise every session. Watch for signs of stress: repeated fence testing, bunching in corners, or animals that refuse to eat or drink.
- Repeat over 2 to 5 days. Short sessions work better than long ones. After a few days, most animals will show clear hesitation near the fence line.
For building and testing fences before your first training session, make sure every connection is solid and every insulator is intact. A single fault can drop your voltage below effective levels.
Sheep require extra attention. Their wool reduces conductivity, so higher voltage settings are critical. Check out specific guidance on fencing for sheep to get wire spacing and energizer sizing right for your flock.
Pro Tip: Bait the fence. Smear a small amount of peanut butter or molasses on the wire at nose height. Animals will investigate with their lips and tongue, which are far more sensitive than their hide. One contact at that spot and the lesson is learned fast.
Troubleshooting electric fence training mistakes
Even experienced farmers run into problems. Most fence failures come down to a short list of fixable issues.
Common problems and what causes them:
- Animals escaping despite the fence: Almost always a grounding or voltage problem. Proper grounding is the most common failure point in electric fence systems.
- Fence losing power after rain: Vegetation touching the wire drains the charge. Walk the fence line after every significant rain and clear any contact points.
- Woolly sheep not responding: Increase voltage. Wool is a natural insulator. You may need to go toward the upper end of the 4,000 to 7,000 V range.
- Horses panicking at the fence: Switch to high-visibility polytape and reduce the training group size. Horses are flight animals and need to see the boundary clearly.
- Fence working in summer but failing in winter: Dry or frozen soil reduces grounding effectiveness. Drive ground rods deeper or add more rods in areas with poor soil moisture.
Safety note: Never electrify barbed wire. The combination creates a serious injury risk for both animals and people. Use smooth wire or polytape for all electric fence applications.
For detailed guidance on how to ground fences correctly, and to review grounding techniques specific to Canadian soil conditions, those resources will save you a lot of troubleshooting time. Also review safety tips for Canadian farmers before you energize any new fence system.
Always maintain a minimum of 3,000 volts at the fence line after accounting for any losses through the system. Below that threshold, most livestock will not receive a strong enough signal to reinforce the boundary.
Verifying your results: How to ensure fence training success
Training is not a one-time event. Confirming that your fence is working and your animals have learned the boundary is an ongoing process, especially through Canadian winters and dry summers.
Signs that training has worked:
- Animals approach the fence line and then stop or turn away without contact
- No fence testing behavior such as pushing, rubbing, or pawing at the wire
- Animals graze calmly near the fence without bunching or agitation
Use this comparison to guide your ongoing monitoring:
| Situation | What to check | Action needed |
|---|---|---|
| Animals testing the fence | Voltage at multiple points | Retest and retrain if below 3,000 V |
| Fence working in summer, failing in winter | Ground rod depth and soil moisture | Add rods or water ground rod area |
| Multi-species pasture | Wire heights and offset wires | Adjust for smallest species present |
| After a lightning storm | Energizer and surge protection | Inspect and replace damaged components |
Test in varying weather conditions and log your voltage readings at multiple points along the fence. Lightning protection is especially important in Canada, where summer storms can damage energizers and leave your fence dead for days without you knowing. Review general electric fence safety tips to keep your system compliant and your animals protected year-round.
Electric fence solutions and support for Canadian farmers
You now have the knowledge to set up, train, and maintain an electric fence system that keeps your livestock where they belong. The next step is making sure you have the right equipment to back it up.

FenceFast Canada supplies Canadian farmers and ranchers with high-quality energizers, polytape, ground rods, voltage testers, and everything else you need for a complete electric fence system. Every product ships Canada-wide, and the team offers design consulting to help you match your setup to your specific species, acreage, and soil conditions. If you are just getting started, the electric fence accessory kit is a practical way to get the core tools in one order. From first-time setups to multi-species pasture upgrades, FenceFast has the gear and the guidance to help you get it right.
Frequently asked questions
How long does it take for livestock to learn electric fences?
Most livestock learn to respect electric fences after 1 to 3 shocks, with cattle and horses learning fastest. Sheep and goats, especially woolly breeds, may need a few extra sessions before the boundary is fully established.
What voltage is best for training different livestock?
Cattle and horses respond well to 2,000 to 4,000 volts, while sheep and goats need 4,000 to 7,000 volts because their wool and hide reduce conductivity. Always measure at the fence line, not just at the energizer output.
What do I do if animals are escaping despite the electric fence?
Start by checking your grounding system and measuring voltage at several points along the fence. Poor grounding is the most common failure point and is often the cause when a fence that worked before suddenly stops deterring animals.
Is electric fence safe for young or pregnant livestock?
Yes, when installed correctly. Electric fences deliver short, low-amperage pulses that are startling but not harmful. Supervise young animals closely during their first training sessions and use a properly sized energizer for your setup.
Can I use electric fence on multi-species pastures?
You can, but you need to adjust wire heights and spacing for the smallest species in the group. Multi-species setups need offset wires to prevent animals from getting tangled and to ensure each species receives an effective deterrent at the right height.

