
Solar fencing has a reputation problem in Canada. Many farmers assume that cloudy skies and deep winters make solar-powered systems unreliable, but that assumption is wrong. With the right battery autonomy and properly sized panels, solar fencing works year-round even in the harshest Canadian conditions. This guide covers how these systems work, how to size and install them correctly, and how to keep them running through every season so your livestock stay secure and your operation stays efficient.
Table of Contents
- How solar fencing works: Power, panels, and pulse
- Sizing and selection: Matching solar fencing to your needs
- Installation essentials: Maximizing performance and reliability
- Maintenance and troubleshooting: Ensuring year-round security
- A Canadian farmer’s perspective: What most guides miss about solar fencing
- Ready for a reliable solar fencing solution?
- Frequently asked questions
Key Takeaways
| Point | Details |
|---|---|
| Solar fencing works in Canada | Proper sizing and installation allow solar electric fences to perform reliably throughout harsh Canadian winters. |
| Grounding and maintenance | Most failures stem from grounding or vegetation issues, not equipment—monthly checks prevent headaches. |
| Sizing is everything | Oversize panels and batteries by 20-30% for winter conditions and long-term peace of mind. |
| Installation basics matter | Simple steps—like correct site selection and proper ground rod installation—make the biggest difference in fence reliability. |
How solar fencing works: Power, panels, and pulse
Now that we’ve addressed the reliability myth, let’s break down exactly how solar fencing systems function on your farm.
A solar electric fence system has three core components working together: the solar panel, the deep-cycle battery, and the energizer. The panel captures sunlight and converts it to electrical energy. That energy charges the battery, which stores power for nights and cloudy days. The energizer then draws from the battery to deliver short, high-voltage pulses along the fence wire. Solar fencing systems use photovoltaic panels to charge deep-cycle batteries and power low-impedance energizers for both containment and predator deterrence.
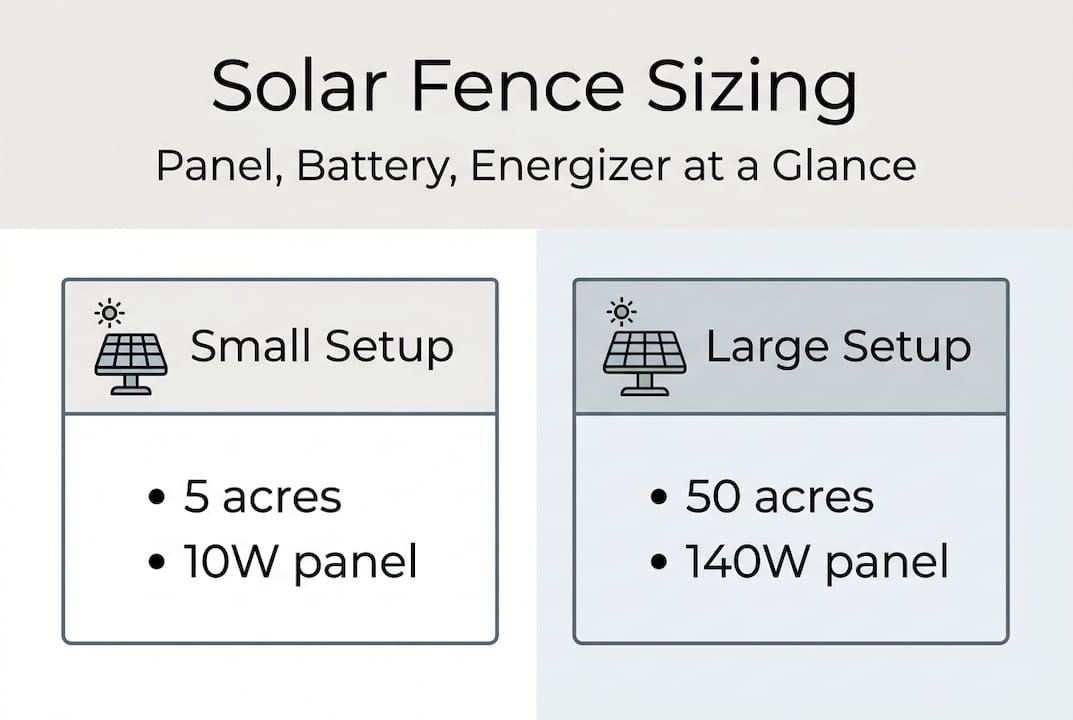
Panels range from 10W for small paddocks to 140W for large perimeter setups. Batteries are typically 12V deep-cycle units, with 100Ah or higher capacity recommended for Canadian operations. Energizers output between 0.4 and 6 joules and deliver between 4,000 and 10,000 volts depending on the model and load. For a practical benchmark, the Speedrite 3000 covers 120 acres at 6,200V under a 500-ohm load, which is a solid reference point for mid-sized cattle operations.
Popular energizer models and specs
| Model | Output (Joules) | Voltage at 500Ω | Coverage |
|---|---|---|---|
| Speedrite 1000 | 1.0J | 5,200V | 40 acres / 16km |
| Speedrite 3000 | 3.0J | 6,200V | 120 acres / 48km |
| Gallagher S40 | 0.4J | 4,000V | 12 acres / 5km |
| Gallagher S100 | 1.0J | 5,500V | 40 acres / 16km |
For a deeper look at how to match panels and energizers, the solar fence charger basics guide is a useful starting point. When choosing a solar energizer, always factor in your vegetation load and animal type, not just acreage.
Key advantages over grid or generator alternatives:
- No trenching, wiring runs, or utility hookups required
- Fully portable for rotational grazing systems
- Lower long-term operating costs with no fuel expenses
- Proven benefits for remote ranches where grid power is unavailable or cost-prohibitive
- Scalable from a single paddock to a full perimeter system
Pro Tip: Always oversize your panels and battery bank by 20 to 30 percent for Canadian conditions. That buffer covers extended cloudy periods, shorter winter days, and the natural degradation of battery capacity over time.
Sizing and selection: Matching solar fencing to your needs
Understanding how the technology works, your next priority is ensuring your solar fencing system is properly sized for your unique farm scenario.
Getting the sizing right is the single most important decision you’ll make. An undersized system will fail quietly, and you won’t know until animals escape or a predator gets through. Follow these steps to size correctly:
- Estimate your total fence length. Measure your perimeter and any interior cross-fencing. Convert to kilometers for easier comparison with energizer specs.
- Identify your animal type and risk level. Cattle require a minimum of 4,000V. Horses need at least 3,000V. Predator control zones should target 6,000V or higher.
- Assess vegetation load. Heavy grass and brush touching the fence wire drains voltage fast. Add one joule of output for every significant vegetation zone.
- Calculate your winter buffer. Canadian setups need 7 or more days of battery autonomy and low-light rated panels. Cold temperatures actually boost panel efficiency slightly, but shorter days reduce total energy input.
- Choose monocrystalline panels. These perform better in diffuse and low-angle light, which is exactly what you get during Canadian winters.
System sizing by scenario
| Scenario | Panel Size | Battery Capacity | Energizer Output |
|---|---|---|---|
| Small sheep paddock (5 acres) | 10W | 40Ah | 0.5J |
| Cattle perimeter (80 acres) | 50W | 100Ah | 2.0J |
| High-wildlife / predator zone | 80W | 150Ah | 4.0J |
| Large ranch perimeter (200+ acres) | 120W | 200Ah | 6.0J |
The energizer comparison resource covers specific models side by side, which helps when you’re deciding between output classes. For cattle-specific setups, the cattle fence guide goes deeper on wire spacing and voltage targets.
The most common mistake farmers make is sizing for a perfect summer day. Size for a January week with no direct sun, and your system will handle everything else with ease.

Installation essentials: Maximizing performance and reliability
Once you’ve selected your system, installation is where most reliability is won or lost. Here’s how to do it right.
Even the best-spec’d system will underperform with poor installation. Follow these steps carefully:
- Choose a south-facing panel location. Tilt the panel at an angle equal to your latitude plus 15 degrees for winter optimization. In Saskatchewan, that means roughly 67 degrees from horizontal.
- Drive your ground rods correctly. Use three 6-foot copper or galvanized rods spaced 10 feet apart. Drive them fully into moist soil. Dry or rocky ground requires longer rods or additional rods in series.
- Connect in the right order. Panel to battery, battery to energizer, energizer to fence wire, energizer to ground rods. Never reverse this sequence.
- Run wiring in conduit where possible. This protects connections from UV degradation and rodent damage, both of which are serious issues in Canadian climates.
- Mount panels on robust frames. Wind and snow load are real threats. Use galvanized steel mounts rated for your region’s weather.
Poor grounding and vegetation contact cause the majority of solar fence failures, not faulty equipment. Most troubleshooting calls trace back to one of these two issues.
The fence installation steps guide covers Canadian-specific grounding challenges in detail. For a full walkthrough of charger setup, the installation guide is worth bookmarking.
Pro Tip: Test fence voltage monthly with a digital voltmeter. Cattle fences should read 4,000 to 6,000V at the far end of the line. Anything below 4,000V means you have a grounding issue, vegetation contact, or a failing battery connection.
In winter, check that snow isn’t covering your panel face. Even a partial snow layer can cut output by 50 percent. A quick brush-off takes 30 seconds and can save you hours of troubleshooting.
Maintenance and troubleshooting: Ensuring year-round security
Proper installation gets you started, but long-term reliability depends on regular maintenance and timely troubleshooting.
Solar fencing is low maintenance, but it is not zero maintenance. A monthly routine keeps small issues from becoming costly failures.
Monthly maintenance checklist:
- Clean solar panel surface with a damp cloth to remove dust, bird droppings, and debris
- Test fence voltage at multiple points along the line
- Inspect all wire connections and battery terminals for corrosion
- Clear vegetation growing up into or touching the fence wire
- Check battery charge level and compare to previous months for trend tracking
- Inspect mounting hardware and panel angle after any major storm
Routine panel cleaning and monthly voltage checks are the two highest-impact habits for long-term system health. Energizer modes can also be adjusted seasonally, with higher output settings used during peak wildlife pressure in fall.
When animals escape or voltage drops unexpectedly, work through this quick diagnostic:
- Low voltage reading: Check for vegetation on the wire first. Then test ground rod resistance. Finally, check battery charge.
- Fence outage: Inspect the energizer indicator light. If it’s off, check the battery connection and fuse.
- Intermittent problems: These almost always trace back to a loose connection at the battery terminals or a corroded ground rod clamp.
For cattle-specific reliability tips, reliable livestock power covers energizer selection and output targets. The Gallagher S40 is a popular entry-level option worth reviewing if you’re managing a smaller paddock and want a proven, low-maintenance unit.
A Canadian farmer’s perspective: What most guides miss about solar fencing
With the fundamentals covered, here’s what years of hands-on experience reveal about the realities of solar fencing in Canada.
Most solar fencing guides focus on specs and components. What they miss is the mindset shift required to run these systems well in Canada. The farmers who struggle with solar fencing are almost never using bad equipment. They’re skipping the fundamentals: grounding, vegetation control, and battery sizing.
Here’s the counterintuitive truth: Canadian winters can actually favor solar fencing. Cold temperatures improve panel efficiency, and snow reflection can boost panel output on clear days. The real challenge is the short days, not the cold. A properly sized battery bank handles that gap without issue.
Virtual fencing technology is emerging and worth watching, but it requires cellular coverage that most remote Canadian operations simply don’t have. For off-grid ranches and remote pastures, solar-electrified wire fencing remains the gold standard. The off-grid solar tips available for Canadian setups reinforce this point clearly. Reliability comes from doing the basics right, not from buying the most expensive unit on the shelf.
Ready for a reliable solar fencing solution?
If you’re ready to make the switch to solar or upgrade what you have, there are trusted options to help you succeed.

At FenceFast.ca, we stock a full range of solar fencing systems sized for Canadian farms, from small paddock kits to large-scale perimeter setups. Our team understands the unique demands of Canadian winters, remote pastures, and high-pressure predator zones. Whether you need a complete kit, a replacement energizer, or accessories like a fence accessory kit or electric fence netting, we carry what you need with nationwide shipping. Browse our catalog or reach out for a consultation to get the right system for your operation.
Frequently asked questions
Can solar electric fences work in low sunlight during Canadian winters?
Yes. With 7 or more days of battery autonomy and monocrystalline panels, solar fencing performs reliably through Canadian winters, and snow reflection can actually supplement panel output on clear days.
How often should I check and maintain a solar-powered fence?
Inspect your system monthly. Clean panels and test voltage at multiple fence points, and clear any vegetation touching the wire to maintain consistent performance.
What are the most common causes of solar fencing failures?
Most failures come from poor grounding or vegetation contact with the wire. Grounding and vegetation issues account for the vast majority of problems, not equipment defects.
Can solar fencing keep out predators and wild animals?
Yes. High-voltage solar energizers deliver short, sharp pulses that effectively deter predators and contain livestock, making them well-suited for farms with coyote, bear, or wolf pressure.

